
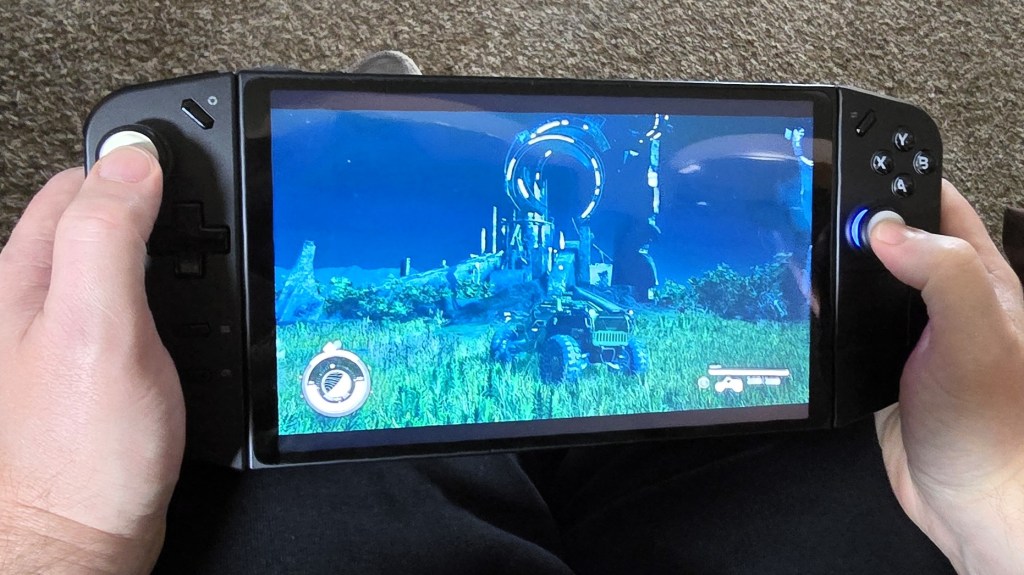
I’ve written about my Legion Go before. It is a great machine for playing while hanging out with my family in the living room. I find playing games on the couch to be far more enjoyable than doom-scrolling these days. I don’t necessarily want to take the main screen in my house to do it.
I constantly switch out the games that I am playing at any given time. It helps keep my interest in the hobby active. The downside is that it can take a year or more to finish some of them. If I fall into playing a single title too much it starts feeling like a job rather than an escape. My solution is to have fifteen to twenty games in active rotation at any given time. This is where the Legion Go presents an issue for me.
The SSD that comes in the Go from Lenovo is 512 GB. Five hundred and twelve gigabytes is enough storage to give most people an enjoyable gaming experience. For a game hoarder like me, it is a little restrictive. A few AAA titles and a handful of oldies is all that will fit on the factory drive.
The device has an SD card slot, but I haven’t found a chip that can keep up with modern games. Older titles and emulated games work on the SD card without issue. The same goes for video and music.
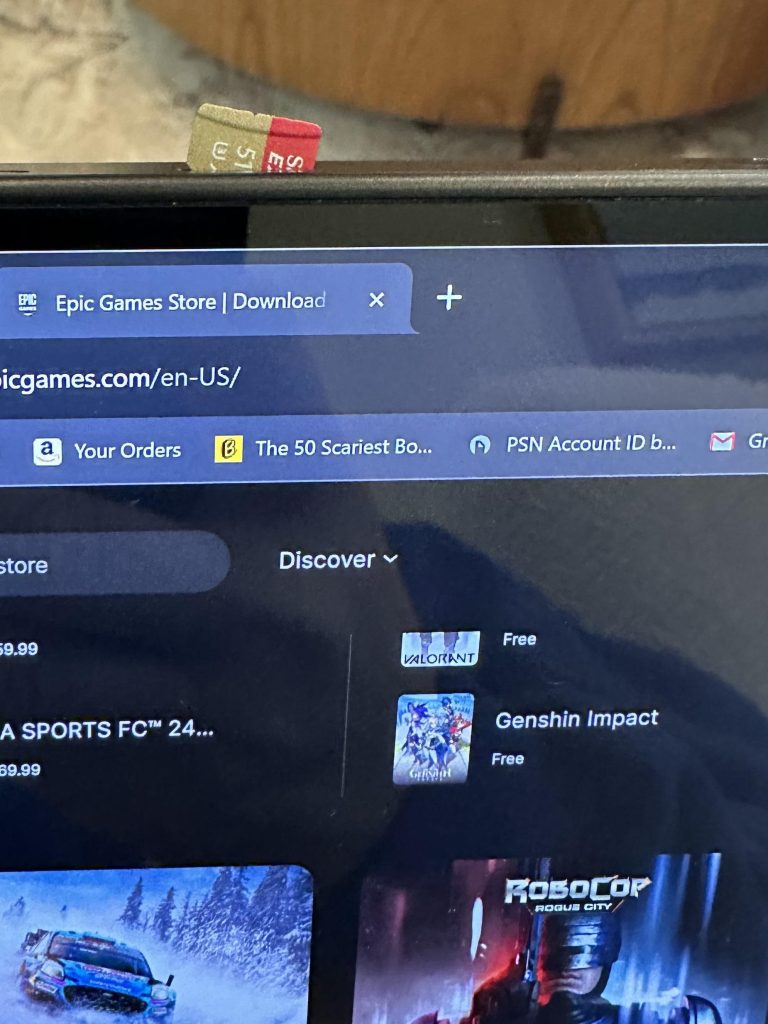
Complex games like Battlefield 2042 and Doom Dark Ages fail to install on cards. Even my best SD doesn’t handle the big stuff. When I try, the install gets to between 40 and 50 percent and then crashes. I suspect the chip is overheating, but I haven’t investigated it yet.
After struggling with storage anxiety for a while, I decided to SSD swap my Go. I did some research online and watched several different sets of step-by-step instructions on YouTube. I cobbled together the procedure below from them.
If you proceed with any of these instructions, you are doing so at your own risk. These machines are full of small, fragile parts. Electronics are sensitive in general. You could brick or otherwise damage your machine if you make a mistake.
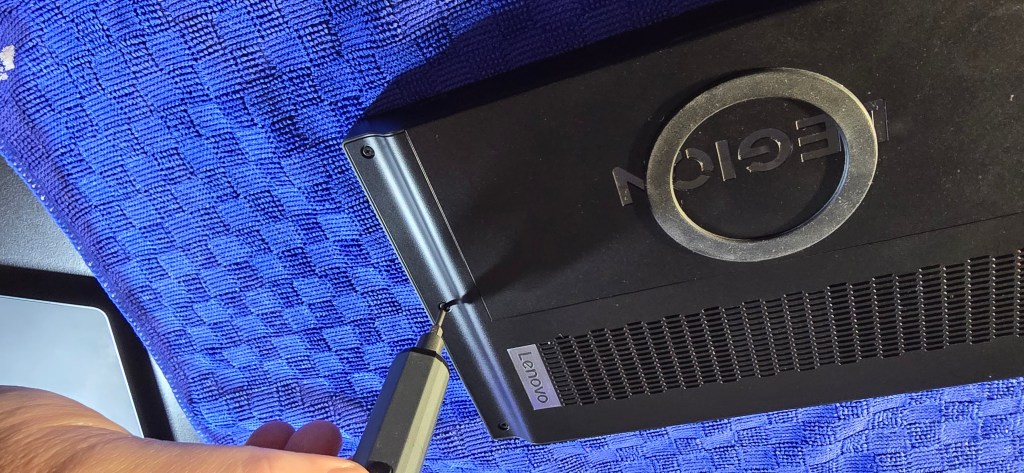
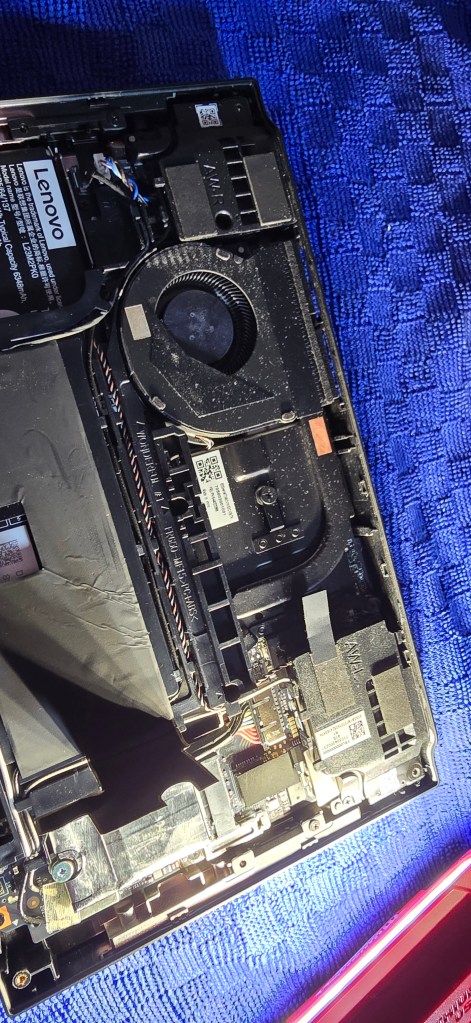
- Undo the six case screws on the back of the unit.
- You need a size 0 Phillips screwdriver for this.
- Use a guitar pic, or plastic spludger to pry the rear panel off the Go.
- It helps to insert your tool just to the right of the corners on each side.
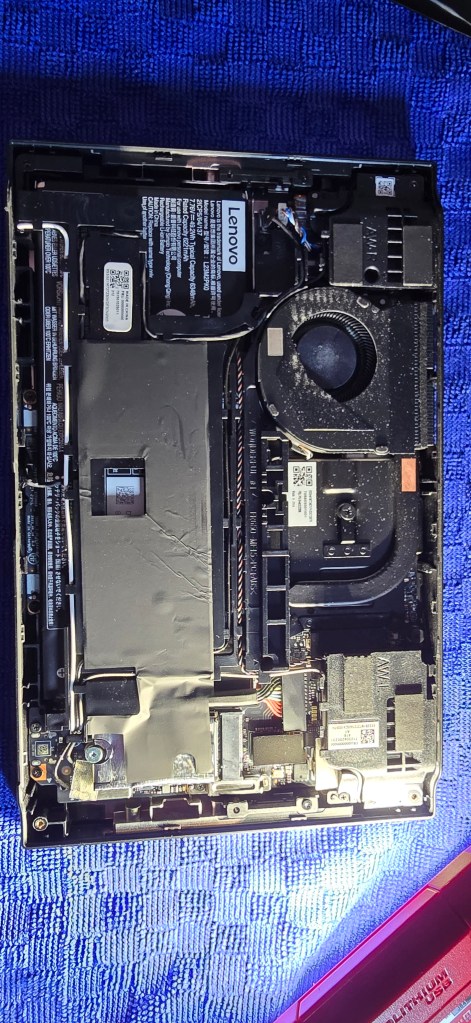
- Remove the sticker that covers the battery terminal.
- Do not discard or damage it.
- Peel back the sticker that covers the battery lead and the M.2 drive.
- Do not completely remove this sticker, just peel back the portion covering the SSD and fold it back.
- Verify that your Go didn’t get turned back on while you were removing the case. It’s easy to bump the power button. Shut down if it did.
- Unscrew the silver M.2 screw.
- Size 1 Phillips screwdriver bit.
- Unplug the battery lead from the terminal.
- It pulls out easily. If you need to apply force to get the cable loose, you probably missed step 3. I did 😀.
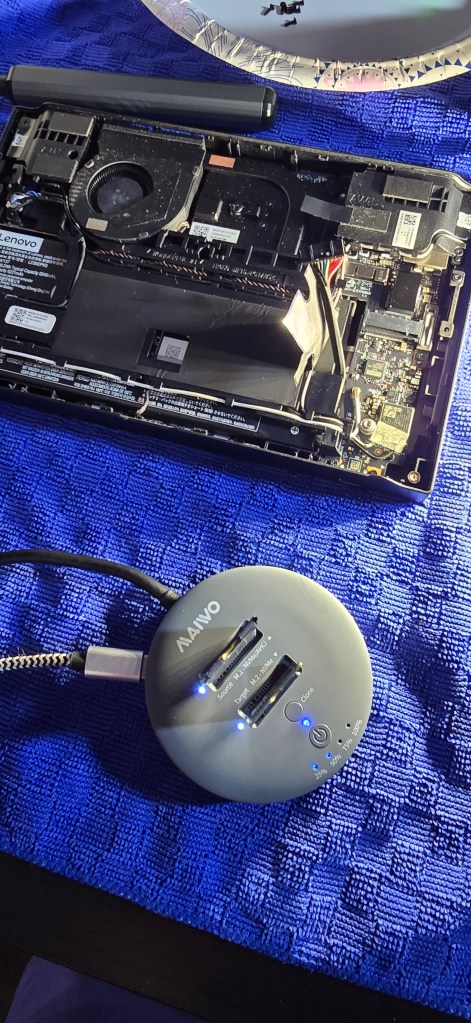
- Remove the SSD.
- Clone the factory SSD to the new one (or activate Lenovo’s Digital Download Recovery Service to re-install the OS from scratch)
- If you want a contiguous C partition after cloning, you’ll also need to extend the 512 GB C volume. There are multiple options for doing this. Partition management software like AOMEI’s partition assistant is a free and easy option.
- Peel the Mylar sleeve off of the factory SSD without damaging the wrap.
- It is very fragile. I suggest using fine tweezers and a lot of patience.
- Wrap your new M.2 SSD with the Mylar.
- You can run without the Mylar, but your new drive will wear out faster.
- Install your new M.2.
- Reconnect the battery lead.
- Replace both the battery terminal and SSD stickers.
- Replace the rear panel. Press down firmly along the edges to click it back into place.
- Replace the six case screws.
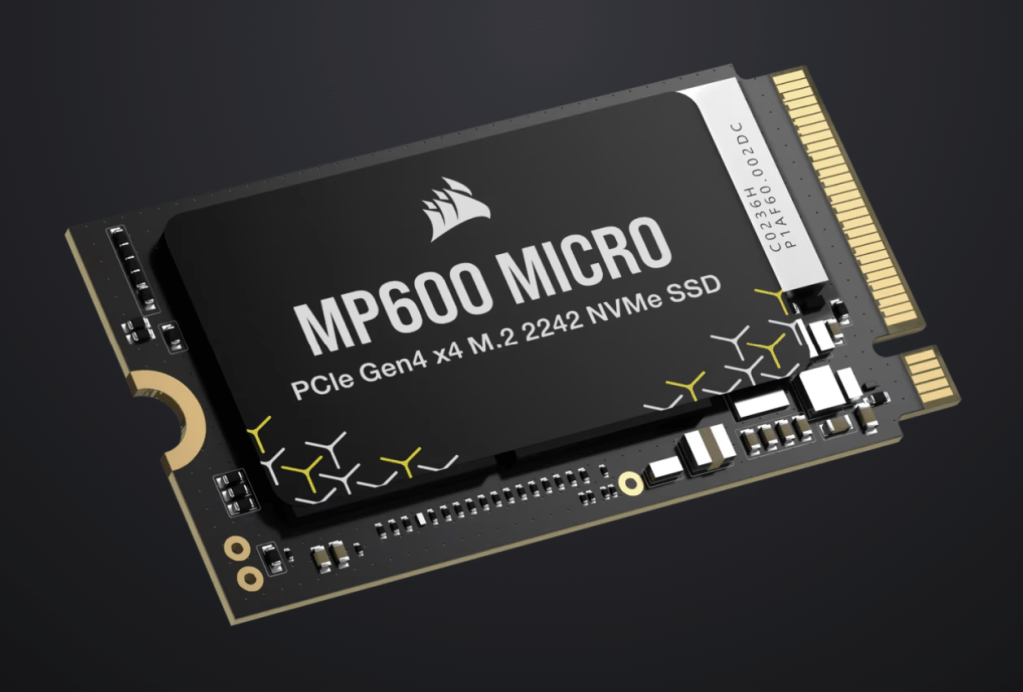
I went with a Corsair MP 600 Micro 2 TB NVMe M.2, size 2242 for my new storage. It is a much faster drive than the original. It hits 7,000 MB/s while reading and 6,200 MB/s while writing.
The new disk has boosted the Go’s overall performance more than I expected. I did not realize the factory disk was slow enough to have been affecting the entire machine.
Using the Go as a computer is an improved experience. Downloading and installing games, updating software, rebooting, they’re all noticeably faster after the upgrade. The Windows OS feels snappier. There are benefits in many areas besides just fitting in more games.
Many aspects of game performance are also improved. Shader caches are processed faster. Games load in half the time. Matches start faster since the maps load quicker. Patching and updating all of my titles is a breeze now too.
I have been happy with the results of the upgrade. It took me about forty-five minutes to complete from start to finish. If you are considering the mod yourself, I suggest spending a little more on a fast drive. You’ll get both a snappier computer and the ability to keep more of your library on hand.

One thought on “I SSD Swapped My Lenovo Legion Go. It Was Worth It.”