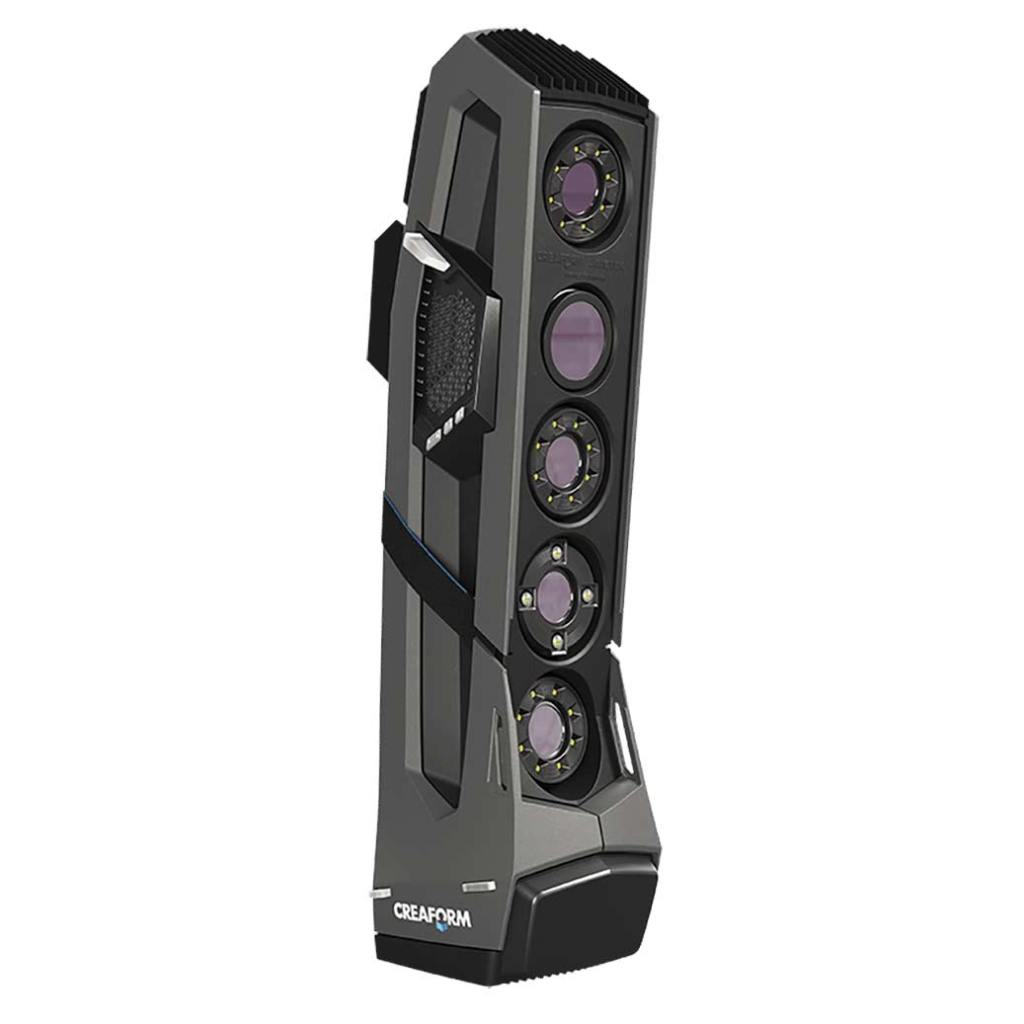
If you have a 3D printer, an interest in augmented reality, are a film maker, or game developer, chances are that at some point you have wanted to scan a real world object into your work. There are many systems and tools on the market to do exactly that. Solutions like the Go!Scan range in price from a few hundred, to thousands of dollars.
These uber-tech devices are so close to Star Trek that you can almost hear the warp core humming in the background when you pick one up. Point it at any person or thing, pull the trigger, move around for even coverage, and your target will be transported into your CAD package as a fully detailed mesh. No dilutetium chamber required.
Even if I had enough funds to purchase a 3D scanner, I couldn’t justify the expense. I wouldn’t get enough use out of it. I am sure that somebody rents them, but I didn’t come up with an option close enough to my location. So how is an enterprising tech head supposed to get his hands on one?
To continue our Star-Trek themed post, just use your tricorder. Most newer smart-phones are able to act as an object scanner through a process known as photogrammetry. Software helps you take multiple photographs of an object while tracking the angle and exact position of the camera during each snap.
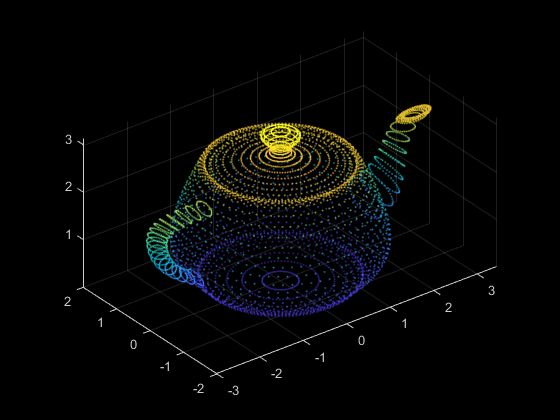
The app will stitch all of the photos together along their X, Y, and Z plot points. Presto, a three dimensional representation of your subject is rendered on your two dimensional screen. You’ll be able to rotate and twist it to see every nook and cranny. Many of the apps support drawing lines between each point in the cloud, which results in a wireframe mesh.
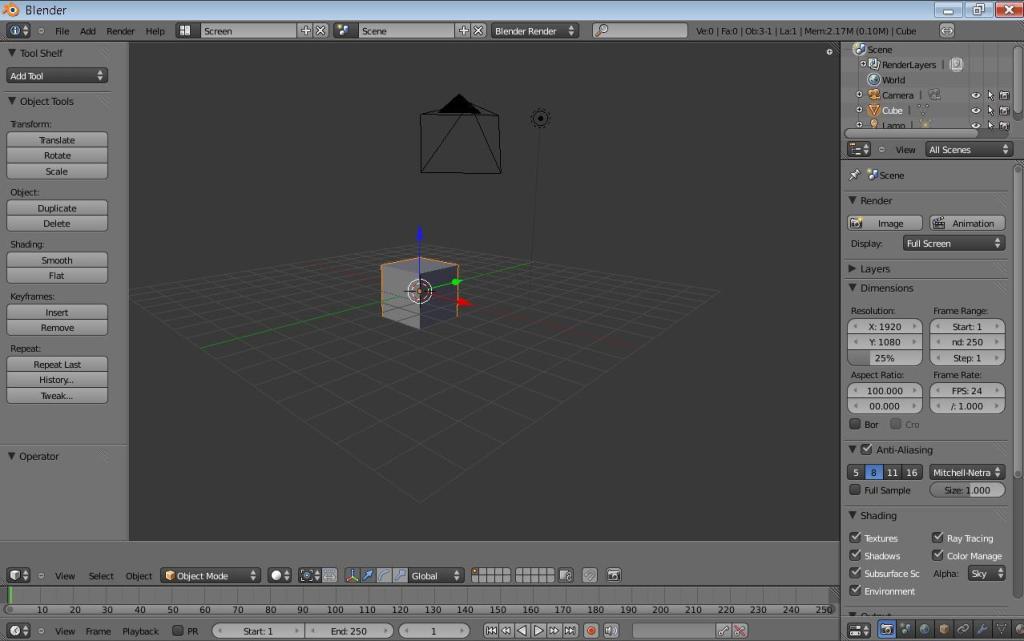
The best apps like Display.Land will allow you to export that mesh to a file that can be imported into your favorite CAD package. I use the open source Blender software and Display.Land has published an end-to-end instructional video for it and several other solutions. Once you’ve imported your object’s scanned mesh into your CAD software, you’ll be able to manipulate it to your heart’s content.
Blender for all has published an excellent three part video series on using Blender with Cura to generate STL files for a 3D printer. I am attempting to use this process to create an adapter that will allow my friend’s gaming headset to fit over his hearing-aid. We’ll scan his headset and his head, then use both wireframes to design an adapter that fits between them. Keep an eye out for more posts on the project.
Just a few years ago 3D printers were expensive and required a high level of specialized knowledge to operate. Today, the fantastic machines have gone mainstream. They are both more affordable and easier to use, but there are still a few things you need to know before you jump in.
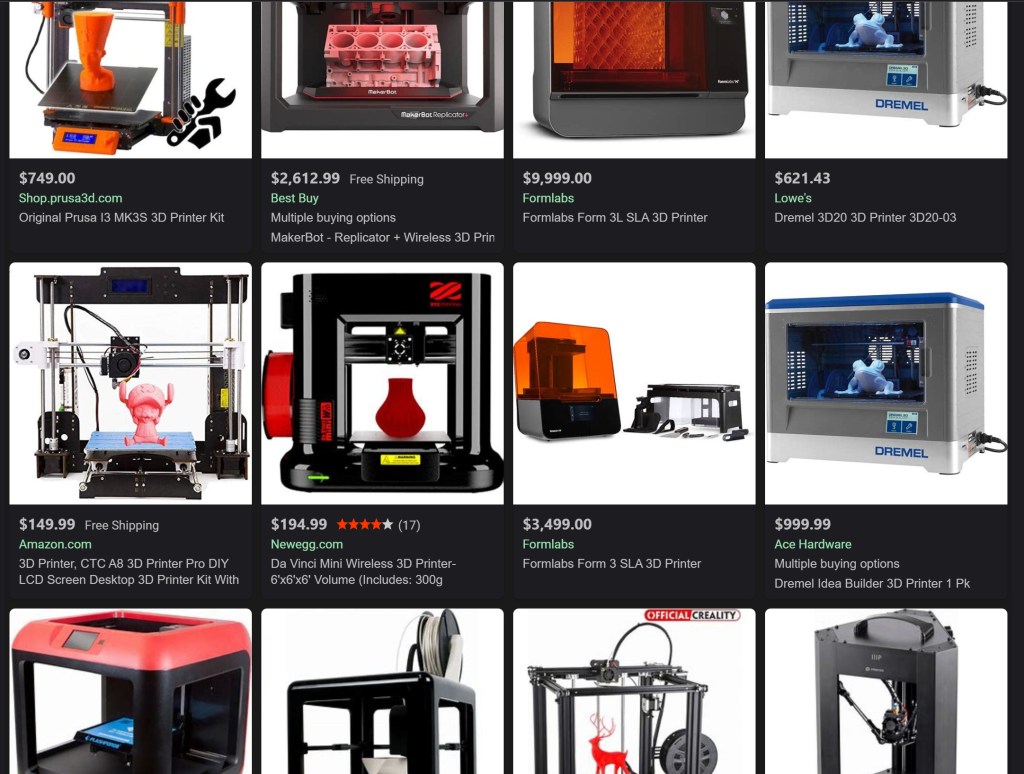
Like every other machine, 3D printers are available in numerous makes, models, and styles. Choosing one can be overwhelmingly difficult when you don’t know what to look for. There are actually only a few key differences to understand and the rest is creature comforts. You can get a 3D printer with a built-in Laser Engraver, or one that interfaces with your smart-home, but those features are personal choices.
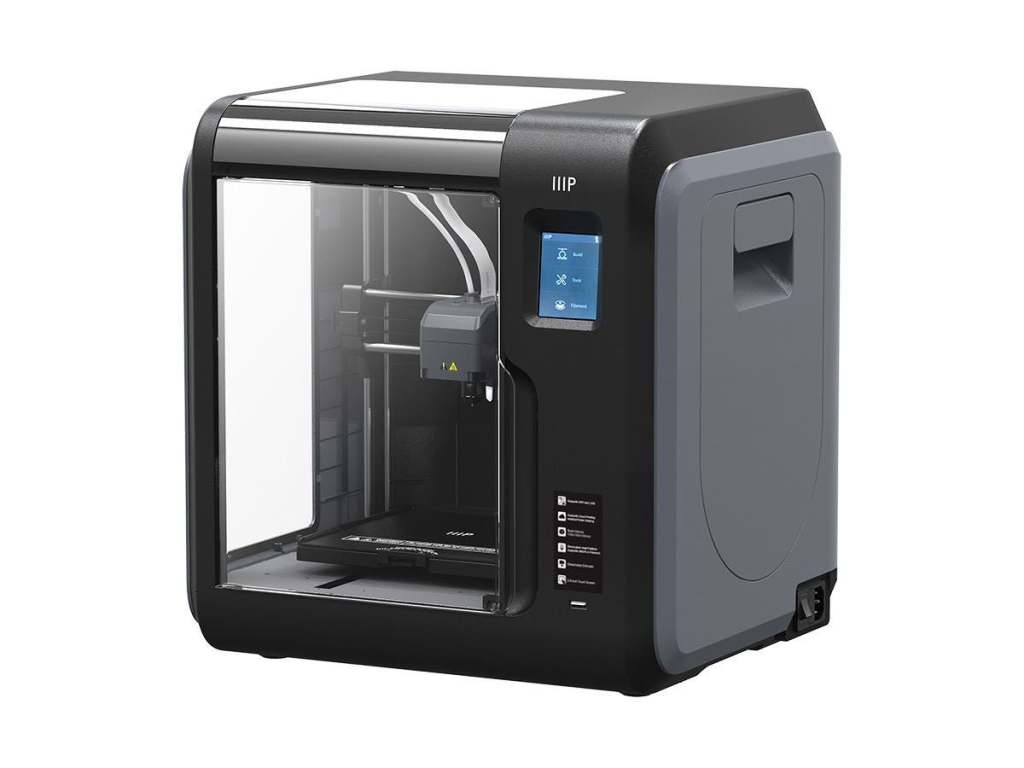
The first thing for consideration is what type of chasis you’ll need. More or less there are two choices, enclosed or open. 3D printing involves heating plastic to a liquid state and depositing thin layers on top of each other to build an object. Enclosed frames keep a more consistent temperature inside the unit which results in a higher degree of precision. If you’re planning on prototyping intricate machinery or printing extremely detailed models, the extra cost of an enclosed body may be justified. If 3D printing is a curiosity, open designs are much less expensive and still achieve impressive results.
The Monoprice MP Voxel is fully enclosed
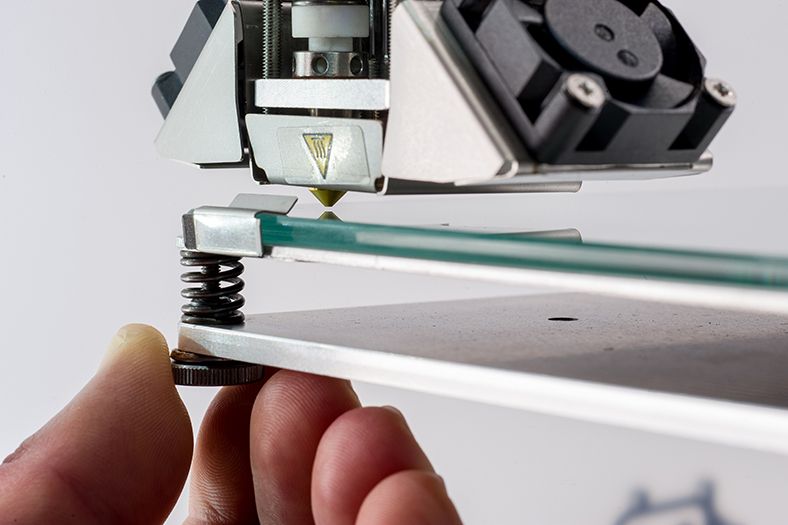
The layers of plastic, called slices, are stacked on your printer’s bed, or deck. Some printers are equipped with Self-Leveling beds. Imagine layers of warm gooey plastic precisely stacked on each other and waiting to dry and you will understand why the surface must be perfectly level in all directions. If you intend to move your printer from place to place, a self leveling unit will be a necessity.
Manually leveling a bed is tedious and can be frustrating. You must adjust each corner independently to achieve a perfectly flat surface. Moving one post, effects the others. Each time the printer is moved, or jostled the leveling has to be redone. However, if your printer will live on a dedicated stand, or table, the manual option can save considerable cost.
Manually leveling each corner is time consuming
Some printers have multiple nozzles and allow you to print with mixed materials. For example, two or more colors of plastic, or soft and hard formulas. Switching spools in the middle of a print can be problematic, but unless you have specific requirements for multiple materials you probably don’t need this option. I tend to print everything in white and paint it to get the refined look I am after.
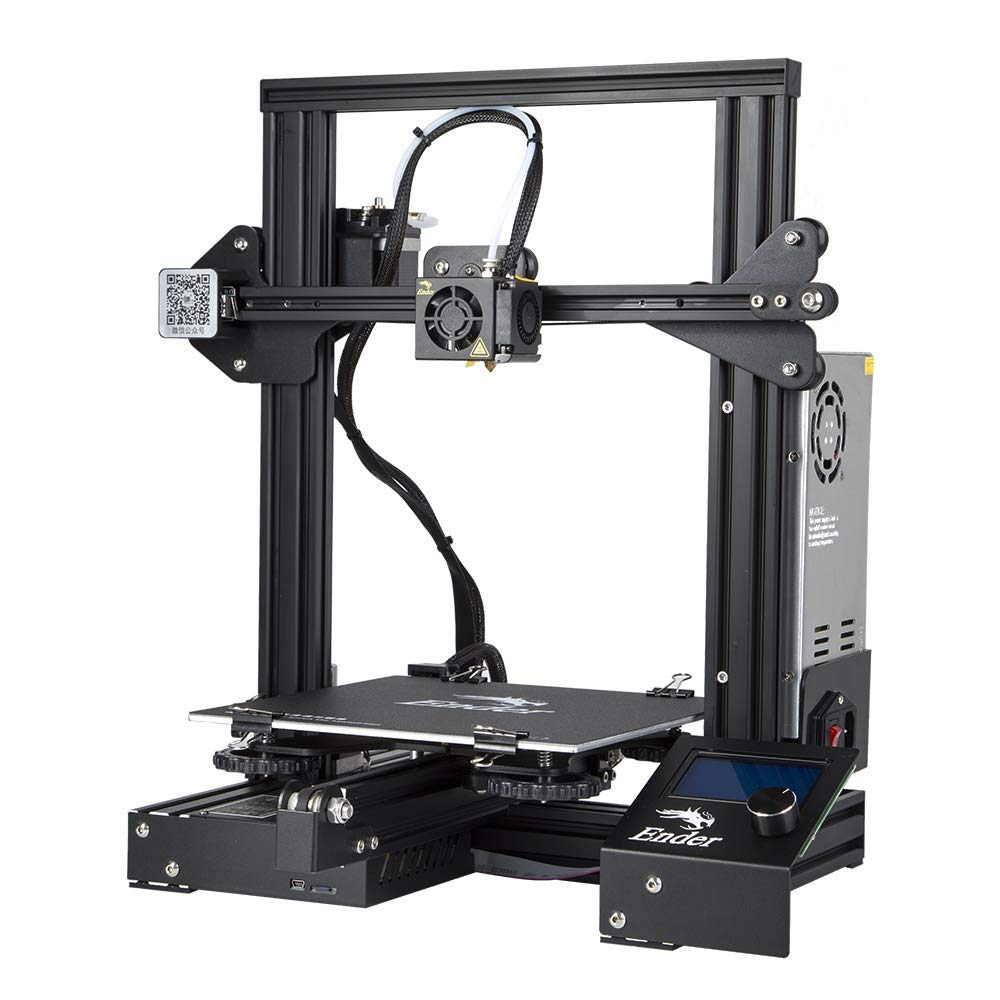
My family uses an open framed Creality Ender 3 Pro. It is a great middle of the road printer that can be found for around $250.00. There are plenty of upgrades available, ours has an upgraded power-supply (gets hotter) and a larger spring assisted leveling bed. We’ve printed sculptures, parts for home machines, toys, and cases just to name a few items. It has handled everything beautifully.
The Ender-3D-Pro is an affordable open chassis printer
Once you’ve chosen your printer, you will need to decide on software. There are two different major pieces of software you will need to be successful. First up is a slicer app. The slicer software functions much like a printer driver for your run of the mill office printer. It converts your 3D object to instructions your printer will use to lay each sliced layer down in the correct location and order.
Cura slicing a 3D boat, the black lines are the layers that will be printed
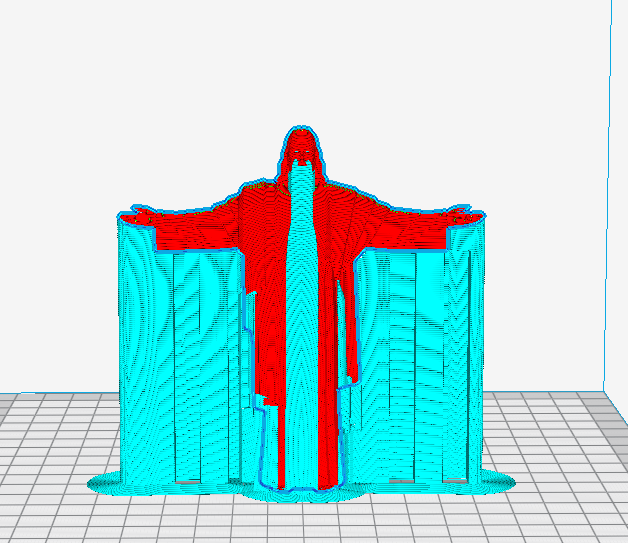
Good slicer software will also take care of things like building supports for overhangs in your piece. Think about a statue with an outstretched gooey plastic arm and gravity to understand why supports are important. Rarely will you want to print truly solid works (geek humor). Slicer software packages can be told to automatically honeycomb the internal structure of solid objects to save plastic, energy, weight, and time.
Notice the blue supports to keep the statue from drooping or breaking while drying
A quick on-line search will show you there are quite a few different slicer programs available. Many are free, some are extremely expensive. I’ve tested quite a few of these applications, Cura’s Utilimaker is the one I stick with. It is relatively easy to use and there’s a large community of people using it. Finding video help and instruction is a cinch. It is completely free for personal use and supports more brands and models of printers that some of the others.
To create and manipulate three-dimensional objects on a computer you will need some type of CAD software. It stands for Computer Aided Drafting, Computer Aided Drawing, or Computer Aided Design, depending on who you ask. Haven’t acronyms outlived their usefulness yet? Whatever it stands for, one of the most famous CAD applications is AutoCAD.
Blender is Open-source CAD software used by many 3D printing hobbyists
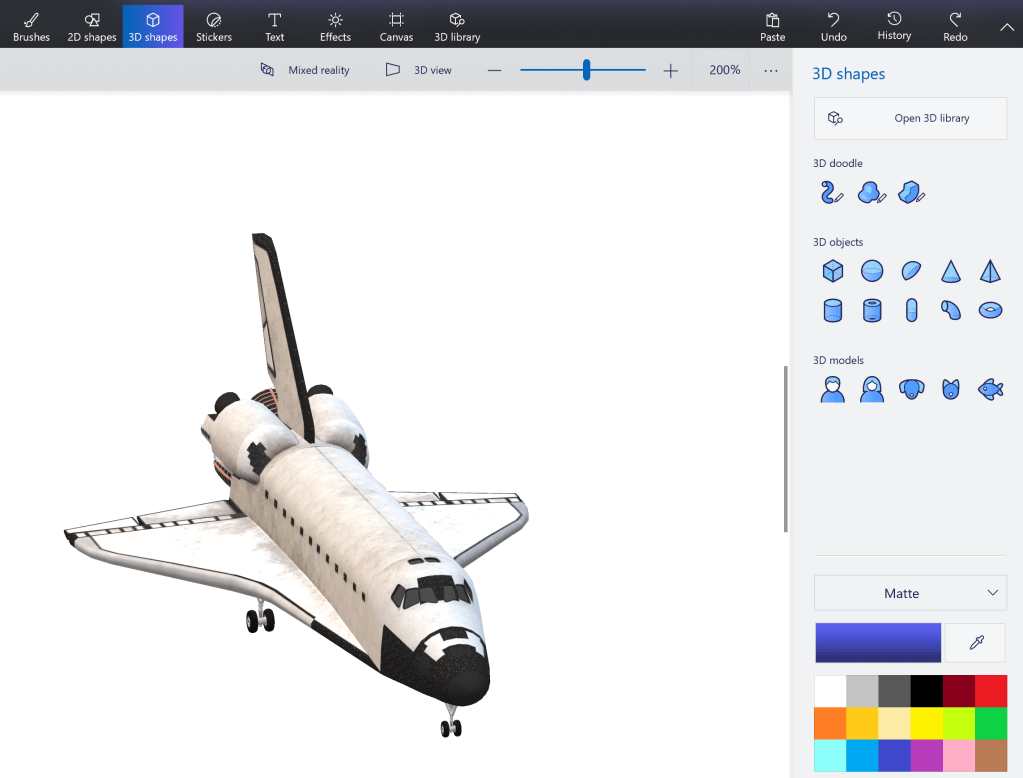
AutoCAD is the eight-hundred pound gorilla of CAD software, but at $1600.00 per year, is cost prohibitive unless you are a student or work for a non-profit. Microsoft includes 3D Paint with Windows 10 and it is a great way to get started using CAD software. Eventfully you will outgrow it and need something else. I like Blender, it is opensource (aka free for personal use) and very advanced. Blender is popular with the 3D printing community, so getting help is just a YouTube search away. It also detects if you’re a new user and will run you through a tutorial to learn the basics.
Microsoft 3D Print is included with Windows 10
Great, you’ve got your printer and your software so you are ready to go right? Technically you are ready to print but getting your newly minted thing off the printer and finishing it to match the idea in your head is another matter. There are some miscellaneous things you’ll want to pick up to have a good outcome.
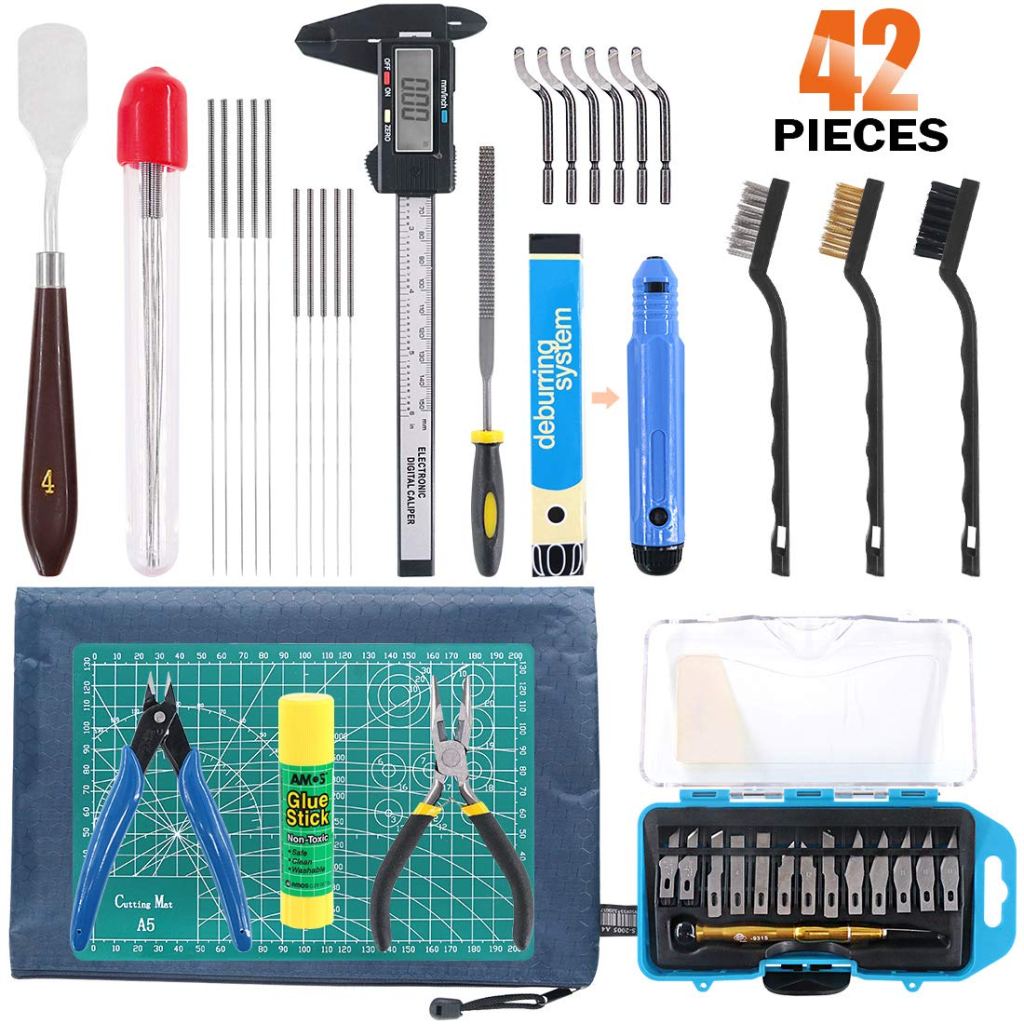
There are tool sets specifically made for 3D printers and they are great, but you can also purchase or use some generic tools you may already have. You’ll want a nice sharp knife to trim your pieces and free them from the supports, I like exacto-knives. Varying grits of sandpaper are also a must-have. A sheet-rock spatula is a great tool to separate your creations from the printer deck, they occasionally get stuck.
A purpose made 3D printing tool kit
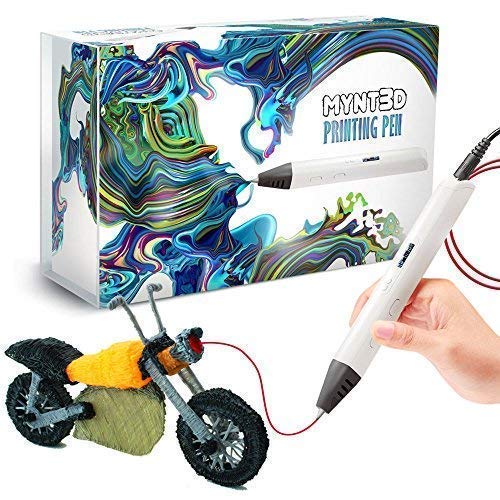
3D printing without a Dremel is like painting your house with a tooth-brush. Sure, you can make it work but, do you really want to? A few years ago my mother got my kids those 3D pens that you’ve seen on TV. They spit out hot plastic much like your printer does. The idea is that you can hold your hand steady enough to build 3D objects, good luck with that. The funny thing is, they are a great tool for 3D printing. I use them to weld sections together. If you don’t have one, you’ll need some plastic glue.
That leaves paint, paint-brushes, paint thinner, a pallet, and lots of painters tape. Spray-Paint and Airbrushing are also excellent ways to add flair to your pieces. Visit your local art store, they’ll have stencils, stickers, and everything else you need to get the final look you’re after.
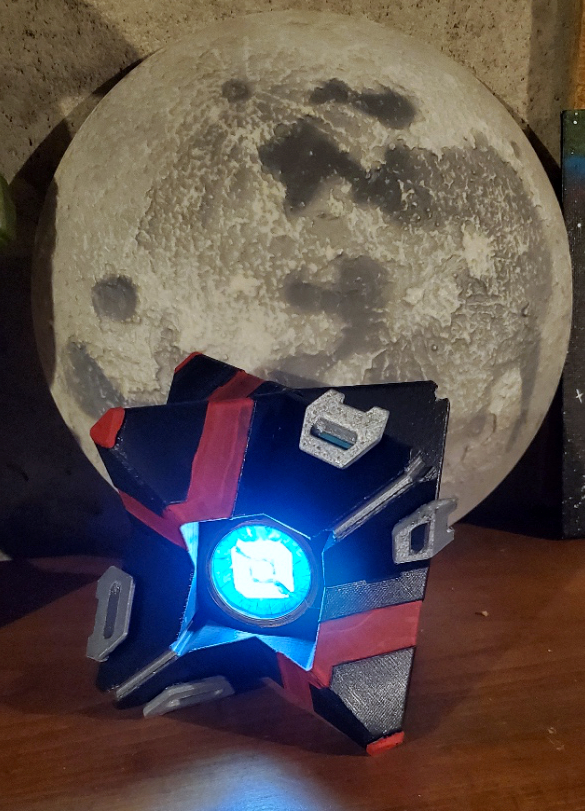
A Battle Hardened Ghost Shell from the game Destiny