Often, the most difficult aspect of managing a team of employees is keeping on top of all the work. Making sure that nothing is being neglected while ensuring the load is properly distributed, is challenging. When you have a good system all worked out it is difficult. Without one, you’re toast.
There are literally thousands of work management systems on the market. How are you supposed to figure out which one you should be using? Like any project, start with a list of requirements. What do you need to track? Do you want notifications? Do you need access from mobile devices? Chief among your concerns should be user adoption. You can have the most expensive software in the world or the cheapest, both have the same value if your employees won’t use it.
The Outlook task list has been highly efficient people’s secret for years. I know because I am one. Drag an email to the task icon, toss in some categories, set a due date, and boom you’re organized. It’s one of the first things that I setup at a new gig. Being able to insert pics, videos, files, and notes, along with tracking dates, progress, and importance make it an invaluable tool. If you have an on-premises Exchange server, or Office 365 you can even sync your task list with your favorite mobile devices.
If only we could make this tool work for a whole team? Chances are, if your employer has an Exchange sever, they probably have SharePoint too. With a little know how, we can use these products together to manage our team’s work load. Outlook is a ubiquitous communications application, so adoption should not be an issue.
You’ll need a few things before you start creating the group task list.
- You will need a SharePoint Team site and enough permissions to add an app to it or, you SharePoint site admin’s help.
- A list of the categories your team will assign their work to. Project, Maintenance, Automation, Planning, Presentation, are some examples of categories.
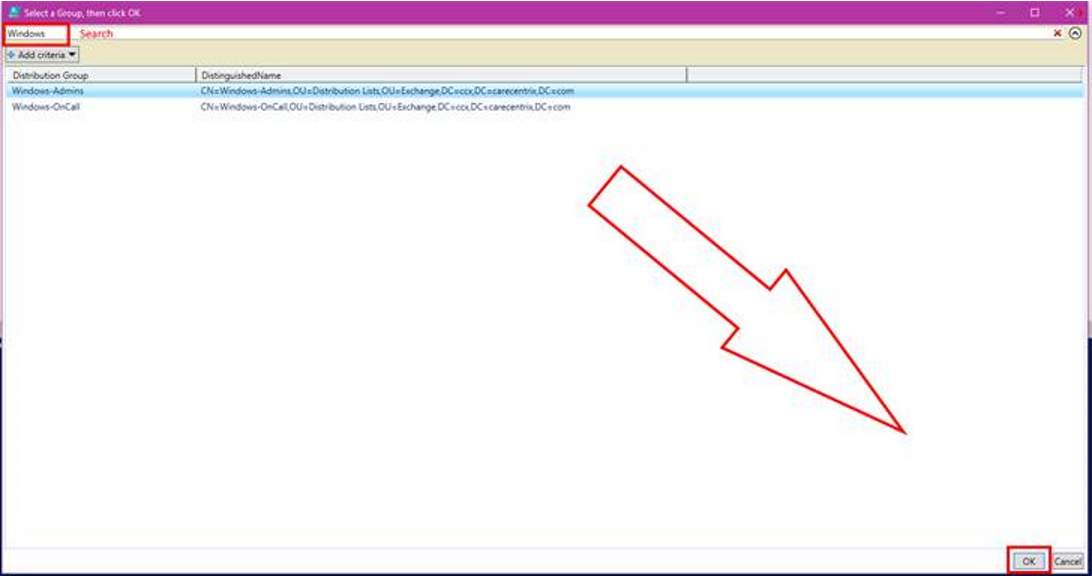
- A list of your team’s user names or a group that they all belong to.
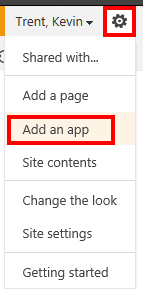
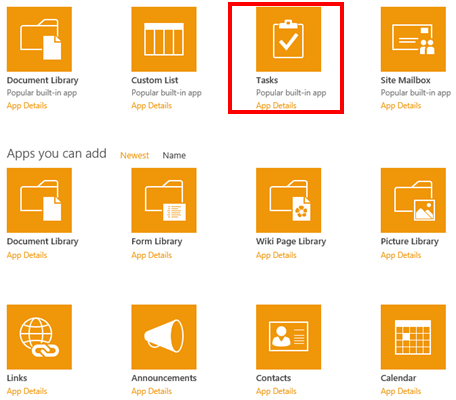
Once you have all of your lists, the first thing is to add the Task App to your SharePoint team site. Logon with an account that has enough permissions to add an app. In the upper right of the browser will be a gear icon, click it and choose “Add an app”. Then click the icon for tasks and enter a name. This is the name your team will see in Outlook so choose carefully.
If you check the properties of your new task list (use the SharePoint ribbon), you should see that the column names match the field names of the Outlook task list. Look closely and you may notice an important one that is missing; SharePoint does not have a “categories” column. Most teams and managers will probably want to organize their work by categories; fear not, we just need to add the missing column.
Select the List tab in the ribbon and then click the list settings button.

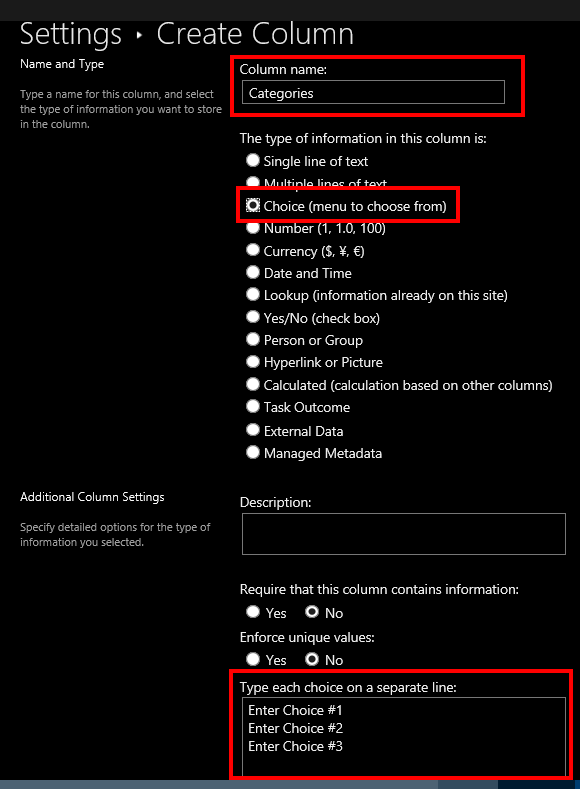
About half way down the page select the Create Column link. Name the new column Categories, set the type to choice, and enter you desired categories into the choice list’s box. Copy the categories you’ve create when you are finished and send them to your team. They will need to create the same categories in their Outlook tasks list in order for the syncronization to work.
Now go back to the list settings page and under Permissions and Management, click on the “Permissions for this list” link. Make sure that each memeber of your team has at least “Edit” permissions. That’s it for setting up the SharePoint side. Email your team a list of the categories you created and a link to the task list.
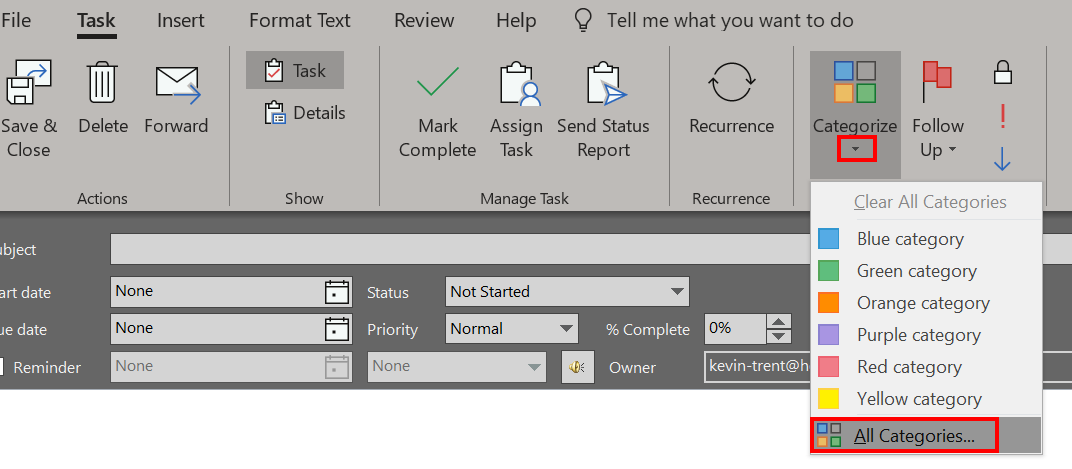
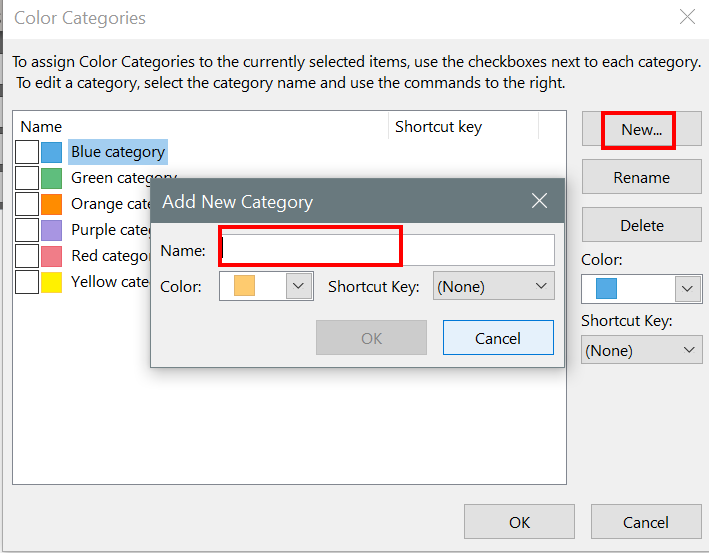
Once they get their email, they will need to open Outlook and create matching categories. The process varies a little in all of the different versions of Outlook, but in general, you create a new task and click the drop down under the categories button in the ribbon. Followed by clicking All Categories.
Now each team member needs to link the SharePoint task list to their Outlook. If your organization blocks the creation of PST files you may need to talk to your IT department and ask them to adjust the GPO to allow Shareing PST files, this can be done through an ADMX template or through the registry.
Once you get the PST situation squared away, each memeber on your team will need to visit the task list in their browser and then use the “Connect to Outlook” button in the list’s ribbon. If this button is greyed out, there are several SharePoint settings that could be the cause. Ask your SharePoint administrator to give you a hand. If you are the SharePoint administrator, try reverting to classic Exchange integration (google it), or enabling data export for the site/list.

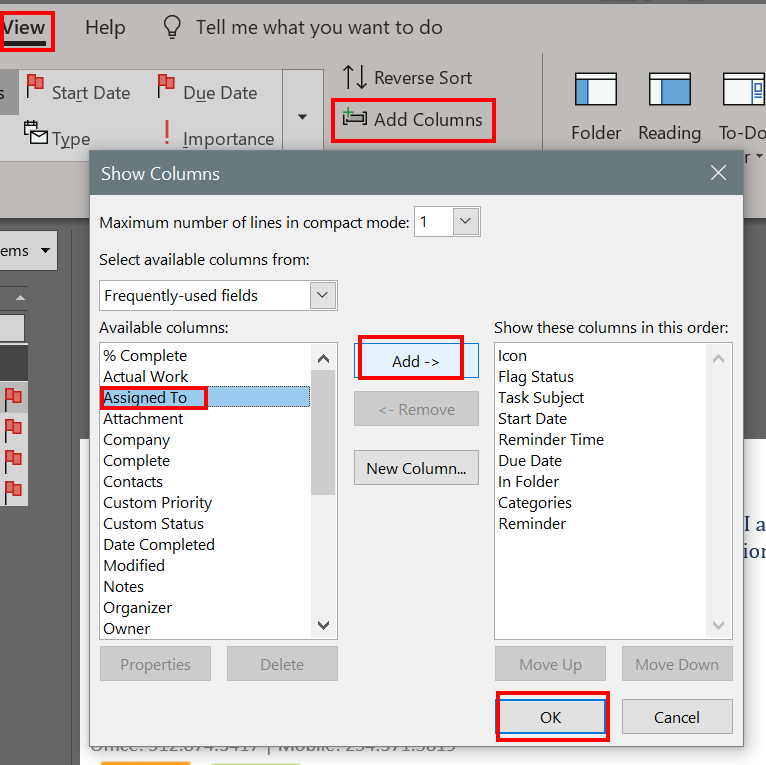
After you have everybody setup, you and your employees can manage team tasks from either the SharePoint site or from their Outlook tasks. All of the features will work as they always have including reminders. Be sure to “Assign” tasks to the appropriate team member so that you can tell who is working on what. You will find that sorting by category and the assigned to colums are very useful.
Add colums to your Outlook tasks to adjust the information you see, for example the afore mentioned “assigned to” column is not displayed in Outlook by default.
Both Outlook and SharePoint have numerous views, filters, and rule capabilites. You will undoubtadley be surprised with how effective a solution this setup can be. Especially given that it probably didn’t cost you anything to implemeant. If your team wants to sync their tasks with their mobile devices they can either run the SharePoint client for their particular device or use Activesync. Using activesync will require that they copy their team tasks to their personal mailbox task list.