One Week In with the Nintendo Switch Lite; A Great Second System

Somebody please tell me why they didn’t call it the Lite Switch. It seems like such a lost opportunity. I’ve had my Switch Lite since launch day. It is smaller, lighter, and tougher than the original. It’s controllers do not detach and it cannot hook up to an external display in any way.

Why would I get one when I already own a Switch? I carry my console everyday. My bag is pretty full of gear these days, so saving space and weight is a big plus for me. If you don’t need your original, you can almost break even by trading it for a Lite at Vintage Stock or Gamestop. My spouse took this route, she only plays in handheld mode.

Personally, I purchased the Lite with the intent of keeping it in my bag and leaving the original system at home. If you plan to do the same, review Nintendo’s documentation on linking multiple systems to a single account. There are specific requirements and limitations that may change your mind. You will need a Nintendo On-line subscription.

Essentially, you will want to make the Switch-Lite your primary device to ensure that it will work anywhere. Your original switch will be a secondary device linked to your account and will only allow downloaded content to play when there is an Internet connection available.

I’ve played games on my Switch Lite while out and about and then resumed playing on my original, hooked up to the TV, without issue. The only catch is that you need to exit the game on the Lite so that its saved games will upload to the cloud. There’s a slight delay before the cloud saves download to your secondary device but you can speed it up by going into the Data Management menu.

If you’re going on vacation or need your original unit to travel with you for some reason, chaining which unit is primary is easy. Open the eShop app, click on your avatar in the upper right hand corner and scroll down, you’ll see a deregister device button. Click it, then which ever device you sign in with first will be registered as the primary.

The Switch Lite is more comfortable to play on than the original is in handheld mode. The reduction in weight and the location of the thumb sticks reduces fatigue on my wrists and fingers. The case’s texture makes the device less likely to slip. With the controls being part of the chassis, the Lite feels sturdier than having the Joycons attached to the original did.

Overall I am very happy with the Switch Lite. It is an improvement in portability without compromising the performance of the games. Deciding between the two will be a tough choice for new players.

Windows 10 OEM Images with Secure Boot and Office 365, Part 1

One of my employer’s customers is upgrading their entire network. The job includes replacing all the company’s workstations with brand new Windows 10 units. They have a lot of software which requires a lot of configuration. While discussing the project, my teammate and I decided that a golden image was the way to go. We wanted each system to be exactly the same to cutdown on errors and enable identical user experiences across the organization.

The first hurdle on the track to golden image nirvana is licensing. Microsoft has changed things up since the last time I tried cloning. I’m not a lawyer or a licensing expert and you should not take my writing as advice. The research I did and my interpretation of Microsoft’s imaging rights documentation , led me to believe that you cannot use a pre-installed OEM edition of Windows 10 in any type of golden image project. The process requires at least one Volume License.

Once you’ve gotten the licensing straightened out, the next hurdle is the sheer number of techniques and software available. There are two main types of image deployment. The first and most popular are dumb clones like those made by Norton Ghost and Achronis. The other types use a workflow to assemble the components of your deployment on demand. Microsoft’s own MDT solution falls into this camp.

For our project, clones would suffice. We were deploying desktops that were comprised of identical hardware and each needed the same software as they would all be used for the same tasks. There are quite a few choices for cloning applications, including the afore mentioned Achronis, Windows Backup, and AOEMI Backupper. We settled on CloneZilla because it is open source and works well with Windows 10.

We booted up our bench PC and spent a lot of time installing all the software and configuring everything just right. Then we launched sysprep (C:\Windows\System32\Sysprep\) and selected the generalize and OOB settings. The sysprep utility tells Windows to create new unique identifier, called a SID. It also configures Windows to run the out of box setup experience the next time it is booted. Contrary to popular belief, this step is not optional. Duplicate SIDs cause all kinds of issues on a network.

We created a Clonezilla live disk and booted the system from it. Within a few minutes we had captured our image. I won’t bore you to tears by making you read these steps. They are well documented on the clonezilla.org web site. I used the Rufus method of creating a live boot disk because I was already familiar with the process. Once we had our image, we used the same live disk to deploy it onto one of the workstations for a test.

We prepared to celebrate our success and hit the power button on our test rig as soon as the imaging process was complete. Well @!#*, blue screen. Not only did the test system show a BSOD, so did the source machine when we powered it back on to diagnose the issue! To make a long story and several hours of analysis short, we traced the problem to a security feature named secure boot.

Secure boot is a security standard created by the PC industry to ensure that a system is starting up with OEM certified software. Essentially the protocol was built to thwart root kits and it works, a little too well in our case. There are several posts on-line that indicate the fix for this issue is to run some commands that delete and then recreate the secure boot keys database for each machine. Who wants to do that? Having to do this on each computer would largely negate the benefits of making the image in the first place.

With some research and experimentation, we were able to come up with a work around. Disable secure boot in the source system’s BIOS. Then install a fresh copy of Windows. Be sure to delete all of the existing disk partitions and create new ones during the installation wizard.

We found that using the standard Windows 10 ISO from Microsoft’s download site allowed the systems to activate using their OEM keys, stored in the UEFI BIOS. If yours don’t activate, you can run the following command in an elevated PowerShell session to retrieve the key and enter it manually: ((Get-WmiObject -query `select * from SoftwareLicensingService’).OA3xOriginalProductKey) .

The process to turn off the secure boot function is a little different for each manufacturer. On the HP systems that we were working with, it shows up in the security menu. Other systems place the option in the boot menu. Turning it off will probably generate a warning message of some kind. Don’t worry, we’ll be turning it back on after the image is captured.

Once Windows is up, download and install all of the manufacturer’s drivers and software. Install any of the applications that you want to include on your image. Get all the configurations set just right, and sysprep the system. Now capture your image with your chosen imaging solution.

You will be able to enable Secure Boot on the source system after the image capture process is complete. You will also be able to deploy your image to the other machines, without disabling secure boot first. Secure Boot will function normally on all the systems after the image has been applied. If you need to understand the technical details around why this method works, read Microsoft’s documentation on the subject. Step 3 of the boot sequence is the key to our success, we haven’t introduced any foreign boot agents or drivers.

In part two of this series we’ll discuss how to pre-install the Office 365 edition of Microsoft Office on to an image and a few tweaks that you might find useful.

Is that a Projector in Your Pocket? Are Portable Big Screens a Reality Yet?

You know me, I’m a gadget geek. You only have to read my blog’s “Gear I Own” section to see how bad my addiction is. It’s not something new, I’ve been this way since I was a kid. The devices I write about are not review units on-loan from their manufacturers, they’re mine forever, or at least until I sell them on.

One piece of tech gear that has always intrigued me is a portable mini projector. What could be better than a big-screen you could take and use anywhere? I first remember seeing one in a Brookstone store at my local mall several years ago and almost reflex bought it. My wife pointed out that I didn’t have an actual use-case for one. Her logic stopped me cold. Beyond playing with it for a few hours, what purpose would having one serve?

After gazing at them longingly in the stores and messing around with the display units, I discovered they had some severe weaknesses. First and foremost, they weren’t bright enough to use anywhere but in a very darkened room. The first-generation devices also required some complicated cables and accessories to hook up your source device up with. Still though, a big-screen that fit in your pocket was an extremely alluring thought that would not go away.

I kept dreaming of having an extra screen with me everywhere I went, being able to hook up my laptop, phone, or gaming consoles at home or on the road. Fast forward a few years, I had gotten back into computer consulting and ran into a situation where I was trying to explain a complex distributed computing environment to a customer. I wanted to show some examples, but there wasn’t a shared screen in sight. We ended up hunching over my laptop, but the experience wasn’t ideal. Ha, take that wife! I have a reason to get one!

Now that I have my excuse, err reason, I had to brush up on the latest options. A quick search of Amazon returns an unbelievable number of devices. I can’t believe the market is big enough to support this level of manufacturing, I don’t know anyone that has one of these things, but judging by the number available, they sell like smart phones. How do I decide? They range in price from fifty bucks to over a thousand.

The tech is all over the place on specs, options, sizes, and functionality. I spend a fair amount of time breaking it all down to filter out the fluff. The features that matter are: Brightness (measured in ANSI Lumens), the native resolution (this one is tricky), connection options (wireless is nice), the size, battery’s runtime, and the operating system. These specs vary widely and are confused by all kinds of useless marketing terms so pay attention to the details.

Most of the devices under two-hundred dollars are rated for fifty lumens. They aren’t bright enough to compete with a standard light bulb. If you’re not going to use your projector in a nearly dark environment, then you need to shoot for at least one-hundred, and more is better. The claimed resolution is obscured in the marketing materials by the mis-leading term “supported resolution”. The supported resolution means essentially nothing. The native resolution gives you an idea of how sharp the text and graphics you project will be. Higher is better, I would shoot for 720P as a minimum. Most of the inexpensive devices, even those marketed as HD, are only 480P (technically the lowest end of HD).

The more connection options a projector has, the more useful it will be. At a minimum you are going to want one that has an HDMI port. Most modern video sources: laptops, gaming consoles, tablets and phones, can support HDMI. Some (Tablets, Phones) will require and adapter. Wireless options are the a great feature. There are two basic types of wireless, Miracast works with most Windows 8 and newer devices as well as, most Android tablets and phones. AirPlay is the Apple flavor of wireless. Personally, I needed both.

The size and battery are personal choices, go for the options that best fit your requirements. Some of these devices can also act as a portable battery pack to charge your other gear. As for the operating system, I wanted one that ran full Android. An OS that includes an App store, the ability to view documents off an SD card, run Netflix and Amazon Video, and be easily upgradable were important to me.

After hours of research, I ended up with a Vivitek QUMI Q38-BK. It’s rated for 600 ANSI Lumens, has a native resolution of 1900 x 1200, runs full Android, and has a battery rated for 2.5 hours. The projector has HDMI, supports both Miracast and Airplay, and will join a Wi-Fi network. It also has a micro SD card slot, two USB ports, and a 3.5mm audio jack. I especially like the built-in lens cover. It’s not pocket-sized but it easily fits in the front pocket of my laptop bag and only weighs a couple of pounds.

After reading all of this you are probably left wondering, does it live up to the expectation of having a big screen everywhere that I go? The anwser is, yes. The experience and usability are better than I thought they would be. The unit I purchased is bright enough to use in a normally lit office space and will connect to almost anything. I find myself using it several times per week.

I’ve used it for impromptu team-meetings, tossing my screen up on the wall behind our cubes. Gotten it out at people’s houses to show them pictures and vids. Used it as a big-screen monitor for my laptop while working at a customer’s location. Hooked it up to my Switch so a group of friends could play Mario Kart at happy hour. I even projected the Star Tracker app from my mobile phone onto the side of the house during a family telescoping session.

Now that I’ve had it for a few months and found that I use it often, I will probably always have a similar device in my kit. I can’t imagine how I got along without one all this time.

One Week in with the Galaxy Note 10

I got my Galaxy Note 10+ on launch day. I am coming from my beloved Galaxy Note 8, aka my favorite portable device ever. The 8 had no issues and still did everything I asked of it well. To be honest, before I saw the 10 in person, I had already decided to skip it.

I happened to be in Best Buy on launch-day and fell in love with the massive screen on the 10+. I gave in and picked one up. In a word, this thing is awesome. Every time that I pull it out of my pocket, I feel like pulling a He-Man and shouting “I have the power,” at the top of my lungs while pointing the S-Pen to the sky. Samsung should make that the default sound for removing the pen from its slot.

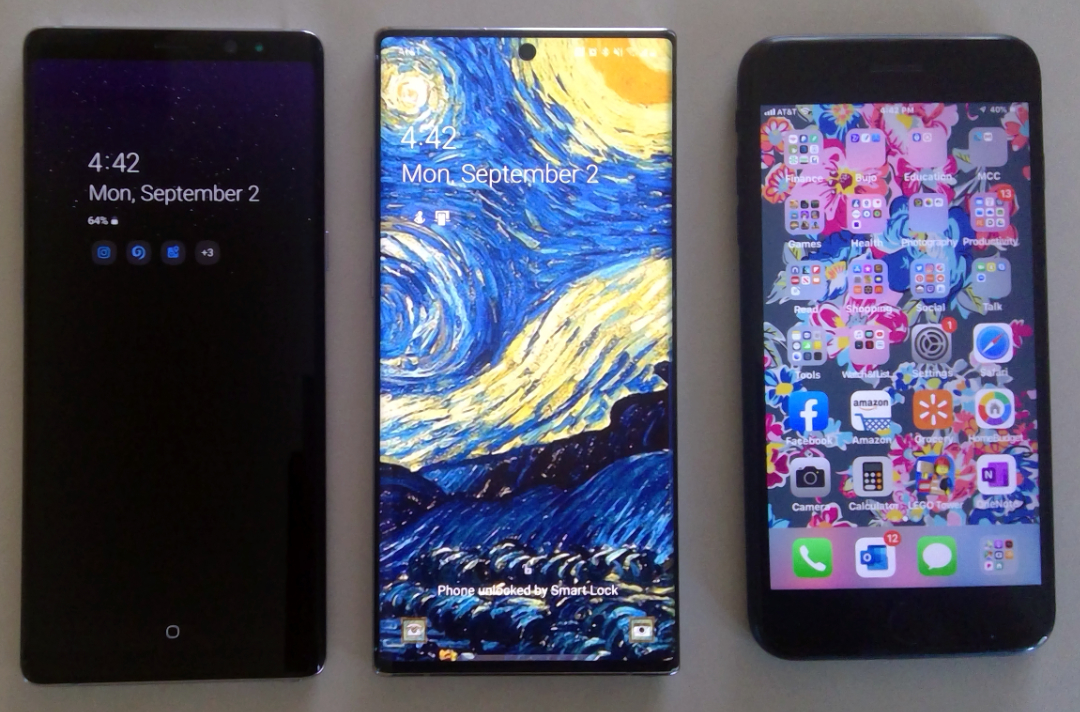
The screen is noticeably larger than the previous Note, or my wife’s iPhone+, but the footprint of the chassis is barley larger than either and it isn’t noticeably heavier. The display stretches from edge to edge and thanks to the punch-hole camera, from top to bottom. Various reviews either praise or hate the punch hole personally, I like it. It gets rid of the notch and is less likely to break than a pop-up.


Note8_Note10_iPhone7Plus

The in-display fingerprint reader has been another point of contention amongst reviewers. Again, I personally love this change. I’ve had zero issues with it scanning my fingers so far but, maybe my fingerprints are somehow easier to detect than other peoples’? In any case, not having to reach around to the back of the device is a huge improvement from my point of view.

Speaking of the back of the device. Samsung chose to remove the heart-rate and blood-oxygen sensors. I will miss them, but not enough to switch back to my old phone. To be honest, my smart-watch does this job and I rarely used the phone’s sensors anyway. I’m guessing Samsung assumed this was the case for most of us by now.  

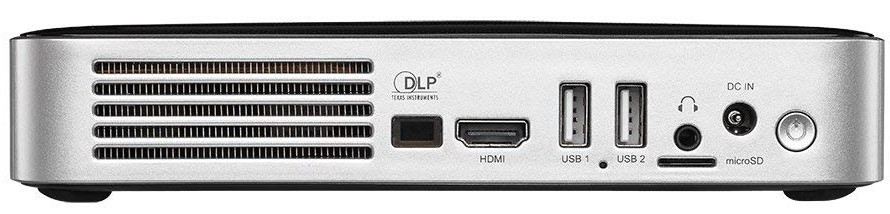
On the subject of removals, the headphone jack has also met it’s demise. I think the media in general, is alwasy looking for an emotional reaction and has settled on the headphone jack as their issue de’jour. I switched to bluetooth headphones long ago and hadn’t used my 3.5mm jack in years. If you still need wired headphones, the adapters are everywhere, get one and be happy. 

Note10_Back

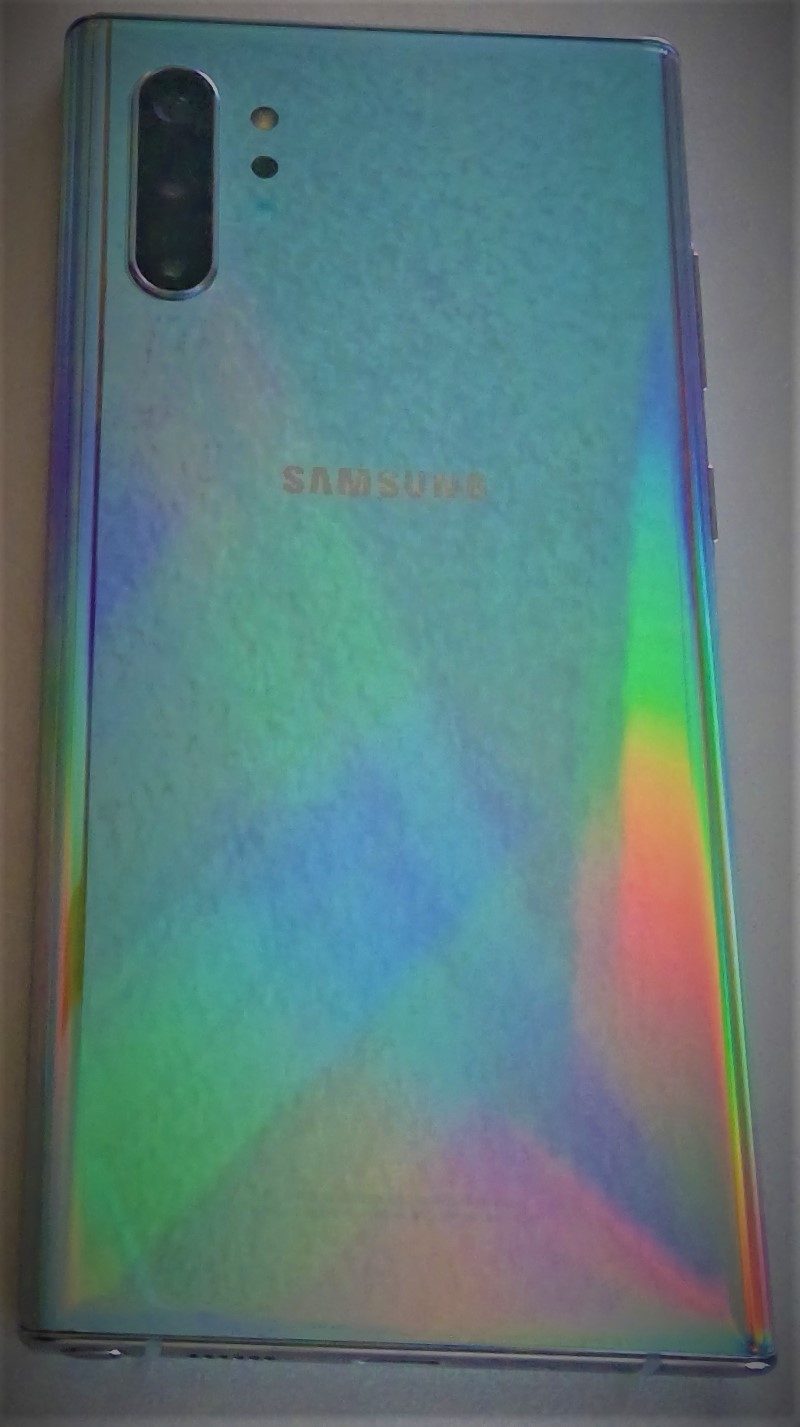
The cameras (there are five) are fantastic. I know that the big publications have requirements to find the flaws in everything, but they’re reaching on the negative points of this camera system. The pictures are just awesome. The ability to edit them in real-time with precision is ridiculously futuristic. I especially appreciate the Pro mode, it gives you DSLR-ish controls like ISO, manual focus, and adjustable exposure times. 

The wide angle can capture an entire room. Two true telephoto lenses are something I never thought that we would see in a phone with a flat back. I’ve had all the gimmick camera phones like the Lumia 1020, trying to get a camera that could replace my point and shoot. They worked but putting up with the big bump on the back was a high price to pay. The multi-camera setups are a much better solution. I’ve taken quite a few pics but haven’t put the cameras through the ringer yet so check back for more on this subject.

Wide_Angle

In my day job, as a consultant, I am constantly using my Galaxy Note. Whether it be to jot down meeting notes or reply to emails when I’m out in the field; I need a battery that can last through a full day of use. The Note 8 could struggle in this regard. I always kept a battery pack in my bag and had to resort to it on several occasions.

Just a few days ago I used my Note 10+ to document (notes, diagrams, video, and pictures) an entire multi-building network and computer infrastructure. When I got in my vehicle to head back to the office, I was shocked to see my battery still had 54% left. I had been at it for more than 4 hours, the 8 would have been in dire need of a recharge.

OneNote_ScreenShot

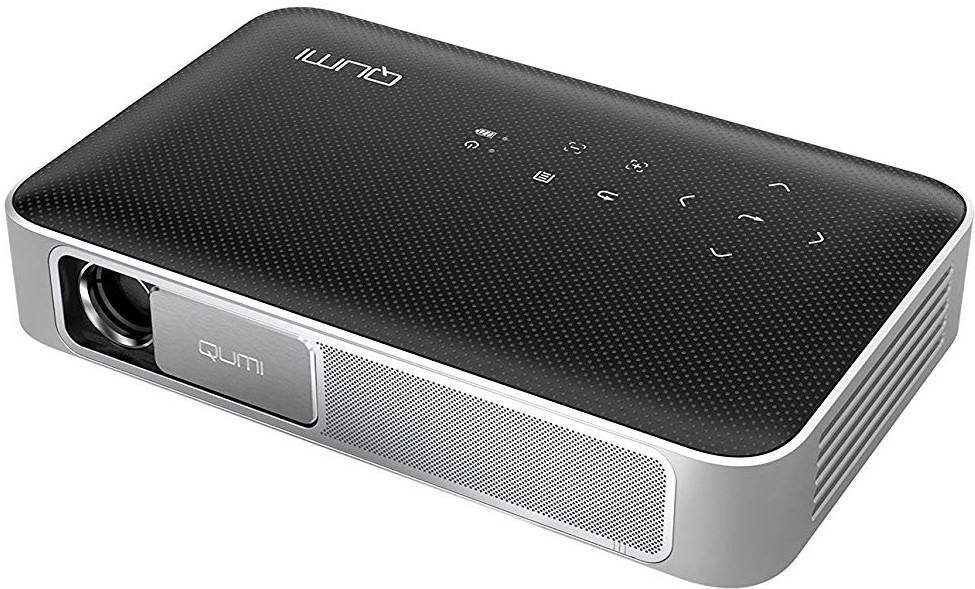
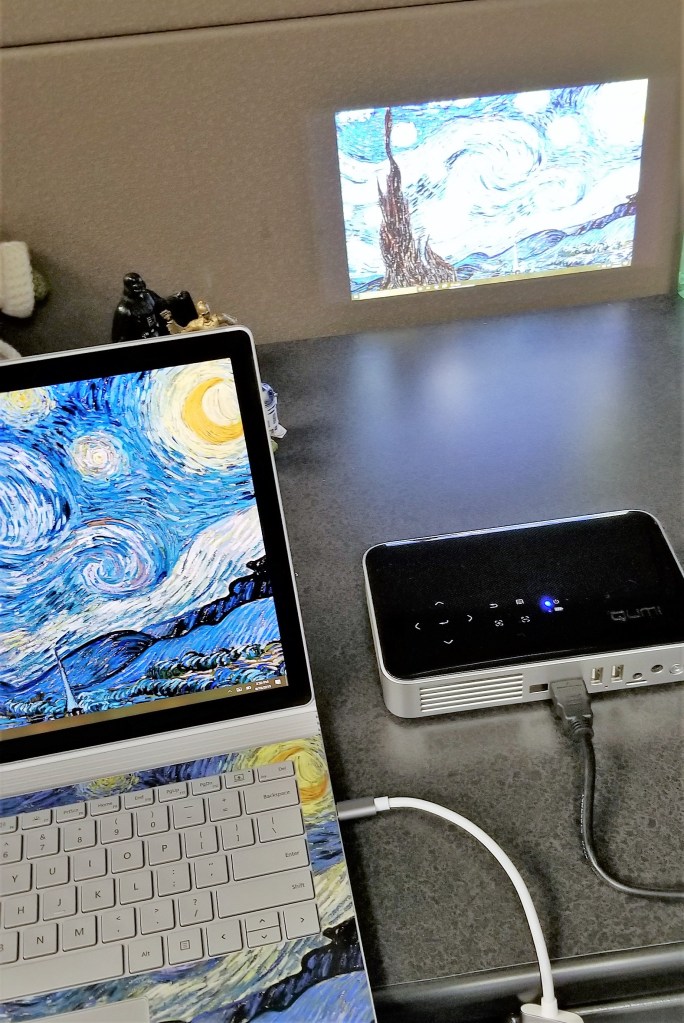
I’ve always been a fan of Dex mode on the Samsung devices. It has enabled me to travel without lugging a laptop on the plane many times. It also allows my phone to act as an extra computer when my main system is engaged in other tasks. For example, if my main computer is processing video, I check my email, update documents, and chat with my co-workers from Dex mode. You just need a Dex compatible dock, keyboard, mouse, and monitor.

Dex_Mode

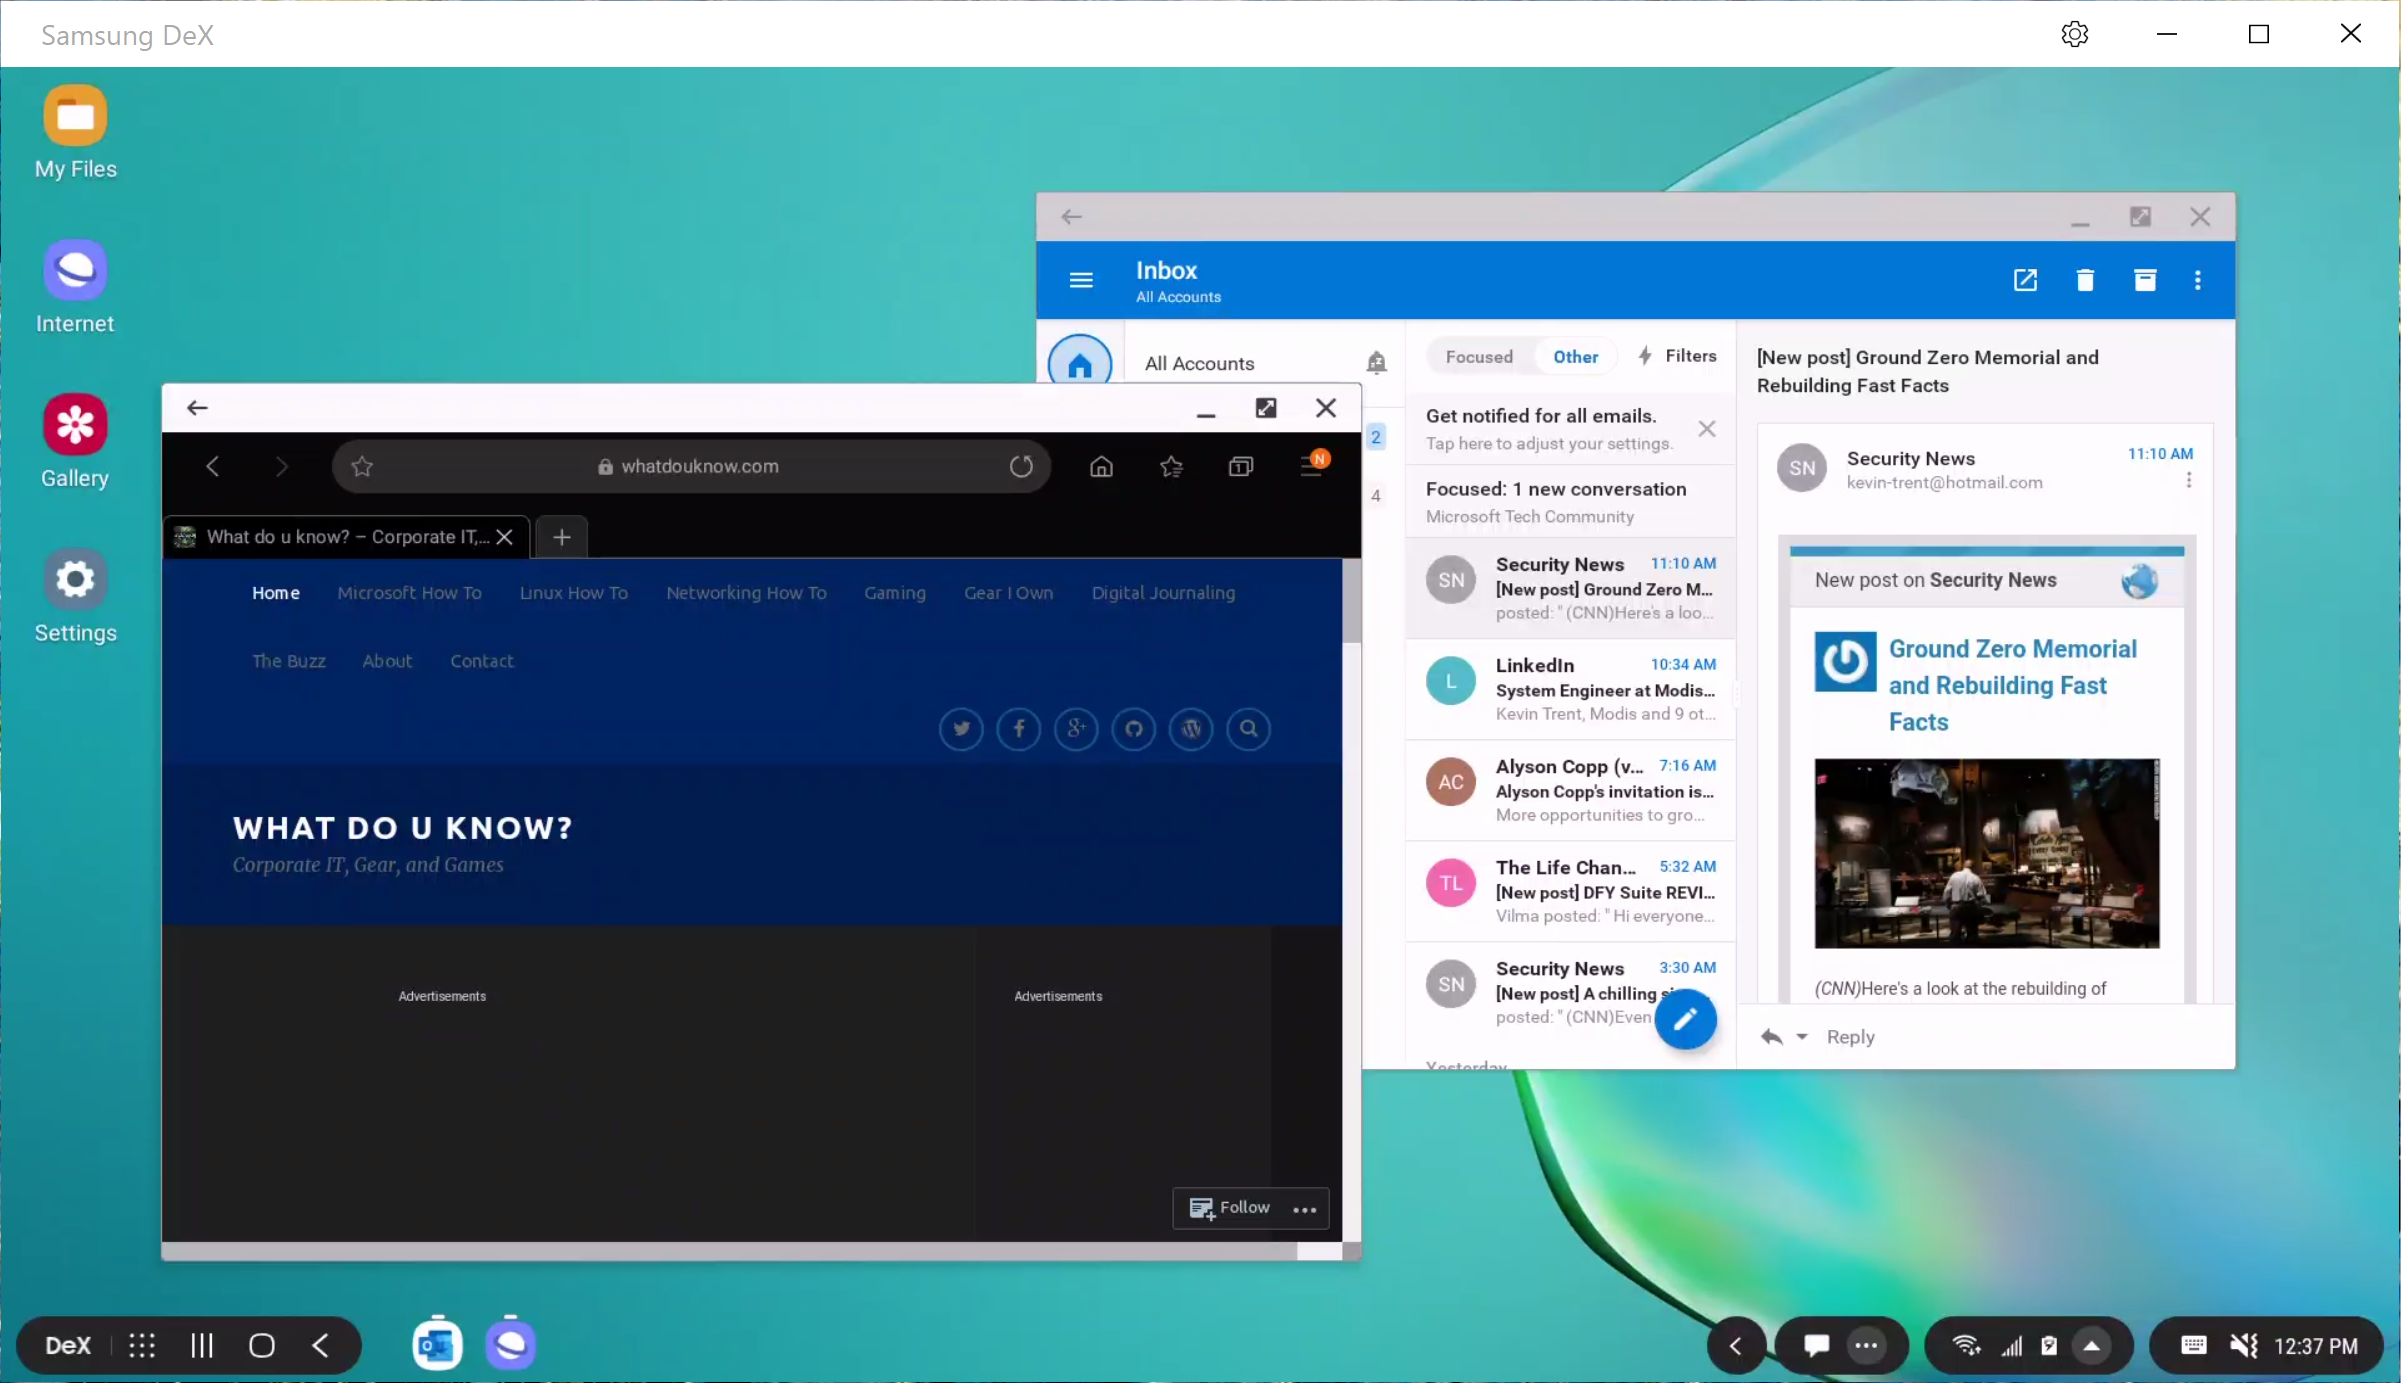
The Note 10 has a new Dex mode trick. You can link your phone to your Windows or Mac computer via a USB-C cable (one in box) and use Dex mode with your PC or Laptop’s screen and input devices. This still works in the example I gave above. You are only remotley controlling Dex, so your main computer’s resrouces (CPU, Memory, etc.) are free for other tasks.

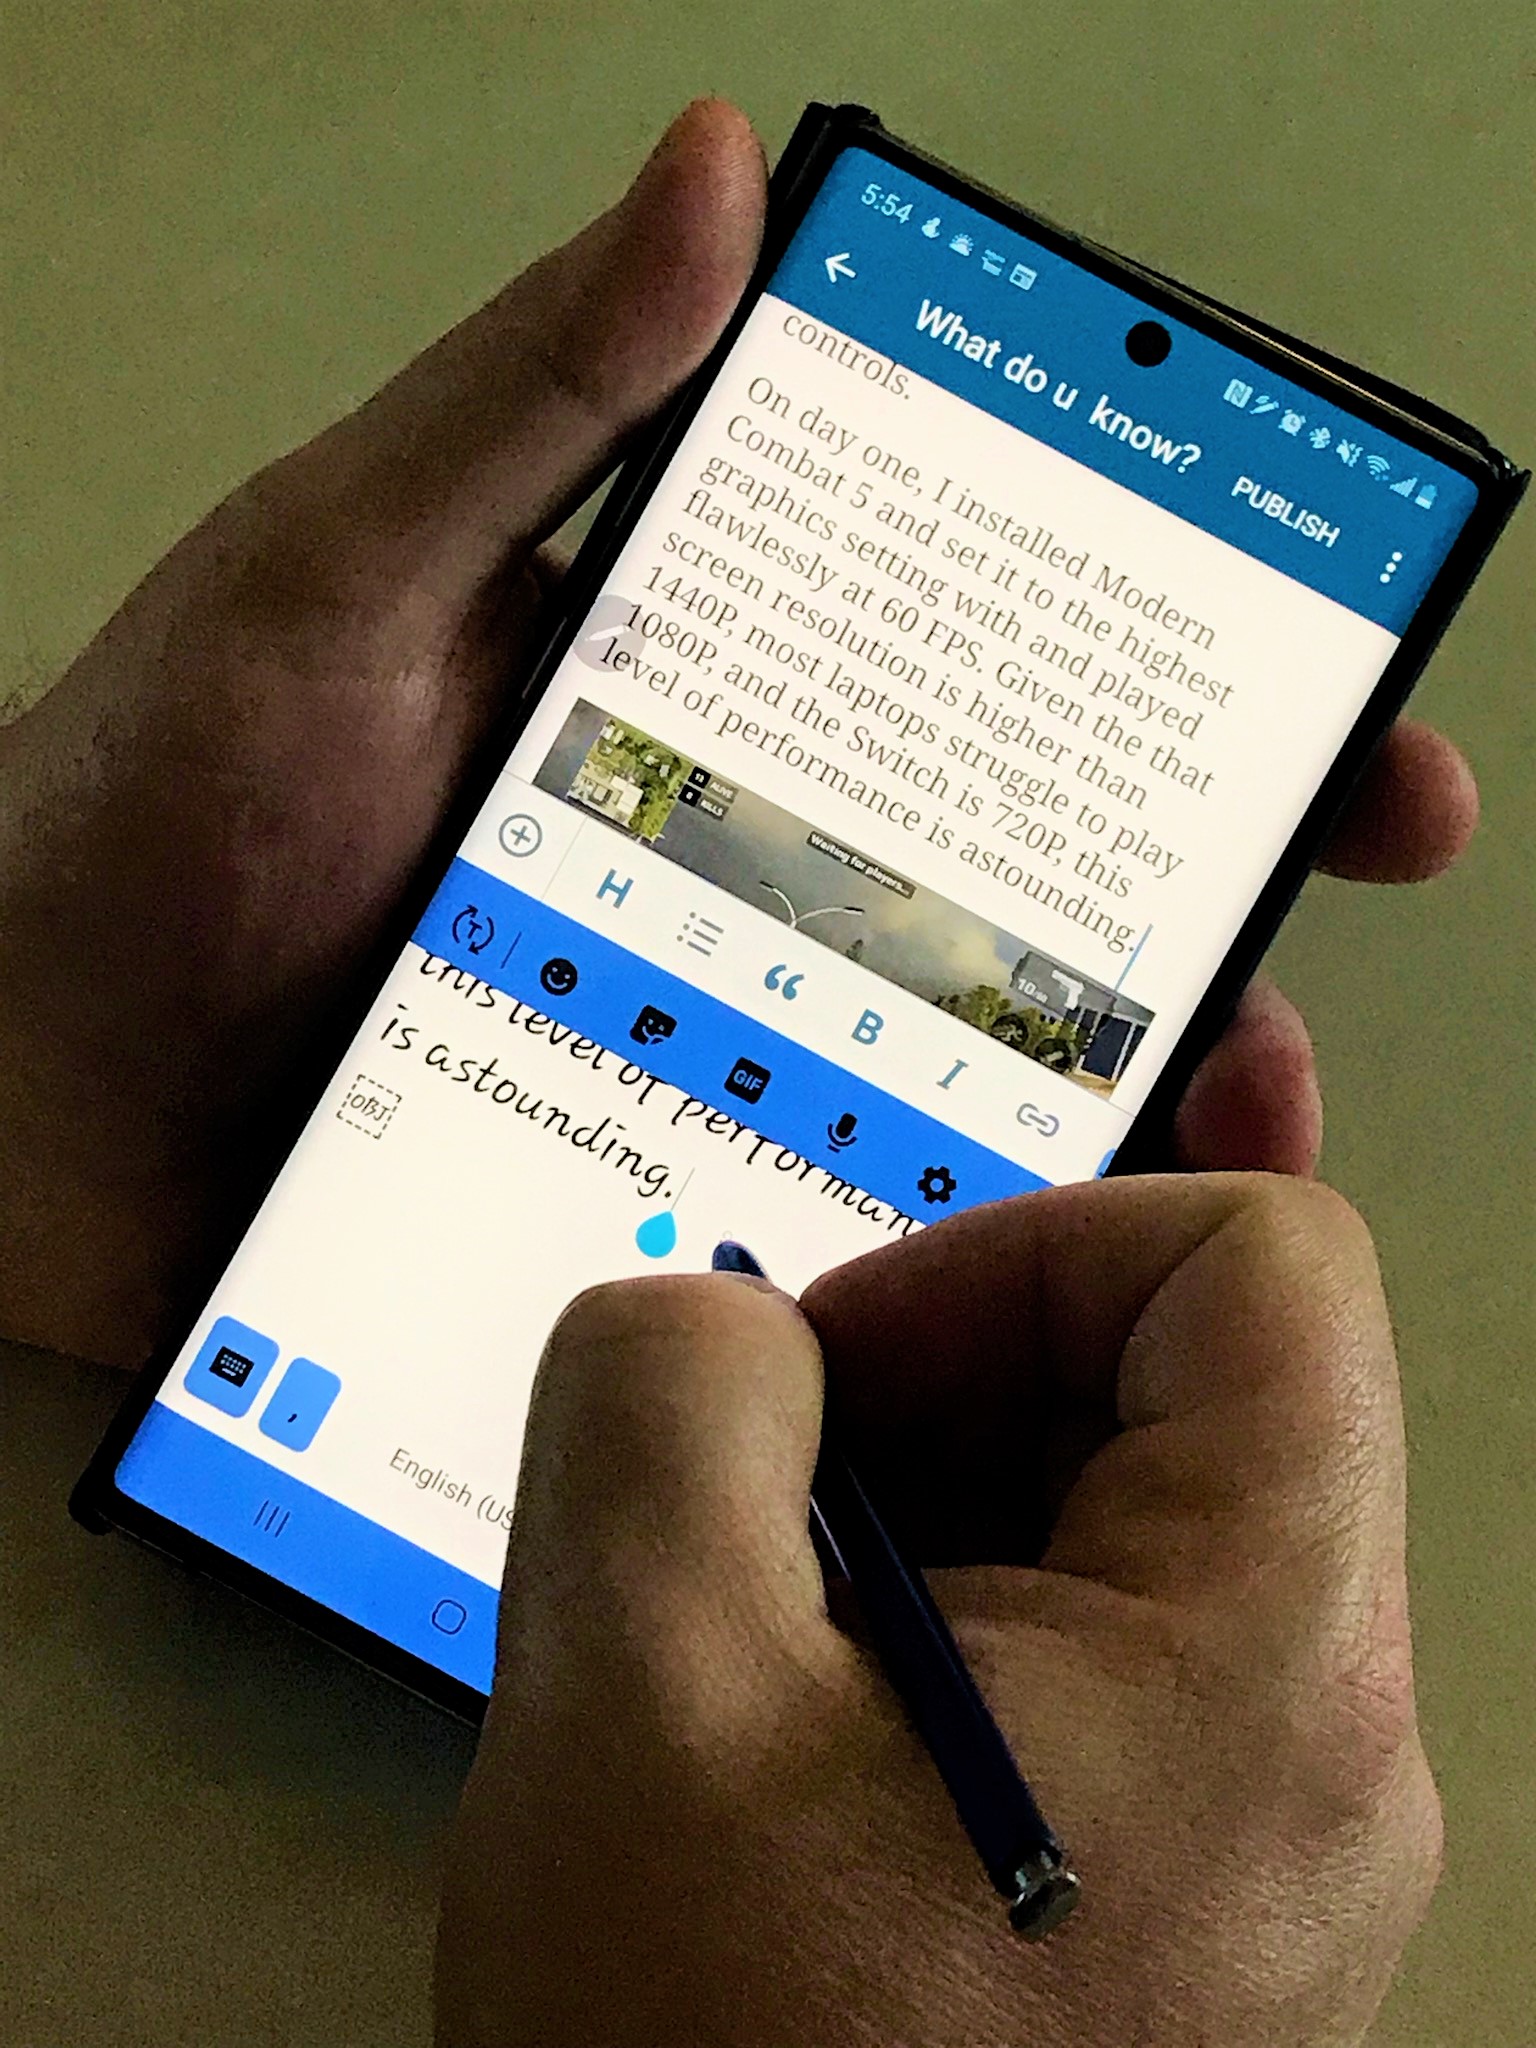
Finally we can talk about my favorite part of the phone. The S-Pen is stellar, as usual. I’ve written pages and pages of text with it already, including this post. I’ve edited photos and videos, and used it as a mouse when remote controlling systems. The new gesture features turn the S-Pen into a Wii-Mote and aren’t overly impressive to me yet, but I can see developers taking advantage of the option in games. 

Writing

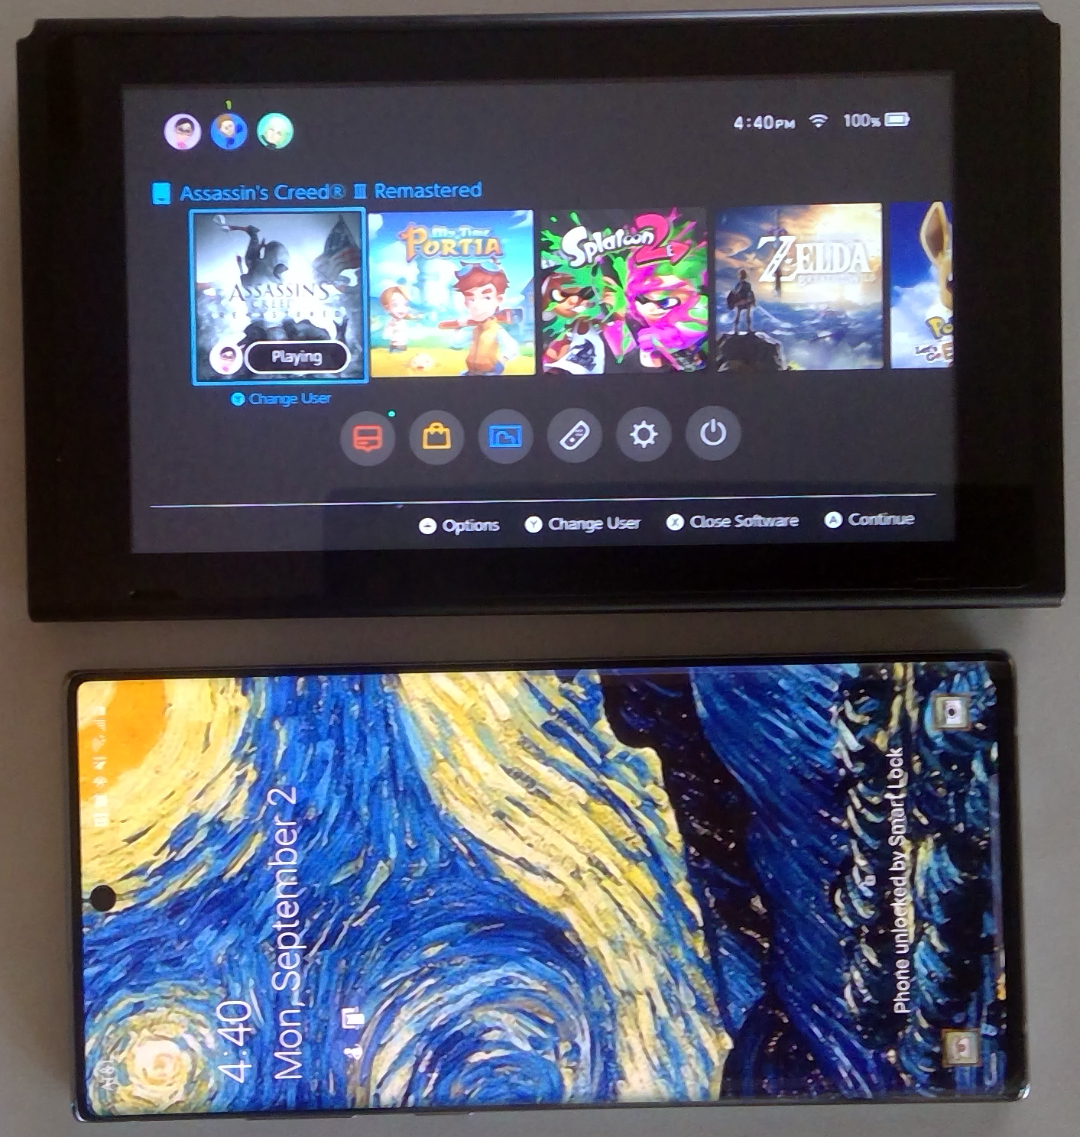
Phones can’t be all work and no play. The Note 10+ is a gaming monster. With twelve gigabytes of RAM and a vapor-chamber cooled processor it has power to spare. The phone’s screen size rivals the one on the Nintendo Switch which really helps with immersion and makes it more comfortable to hold for dual thumb controls. 

Note_VS_Switch

On day one, I installed Modern Combat 5 and set it to the highest graphics setting with and played flawlessly at 60 FPS. Given the that screen resolution is higher than 1440P, most laptops struggle to play 1080P, and the Switch is 720P, this level of performance is astounding.  

MC5_ScreenShot

I look forward to spending the next couple of years with this phone in my pocket. I’m sure it will serve me well.