
One of my employer’s customers is upgrading their entire network. The job includes replacing all the company’s workstations with brand new Windows 10 units. They have a lot of software which requires a lot of configuration. While discussing the project, my teammate and I decided that a golden image was the way to go. We wanted each system to be exactly the same to cutdown on errors and enable identical user experiences across the organization.
The first hurdle on the track to golden image nirvana is licensing. Microsoft has changed things up since the last time I tried cloning. I’m not a lawyer or a licensing expert and you should not take my writing as advice. The research I did and my interpretation of Microsoft’s imaging rights documentation , led me to believe that you cannot use a pre-installed OEM edition of Windows 10 in any type of golden image project. The process requires at least one Volume License.
Once you’ve gotten the licensing straightened out, the next hurdle is the sheer number of techniques and software available. There are two main types of image deployment. The first and most popular are dumb clones like those made by Norton Ghost and Achronis. The other types use a workflow to assemble the components of your deployment on demand. Microsoft’s own MDT solution falls into this camp.
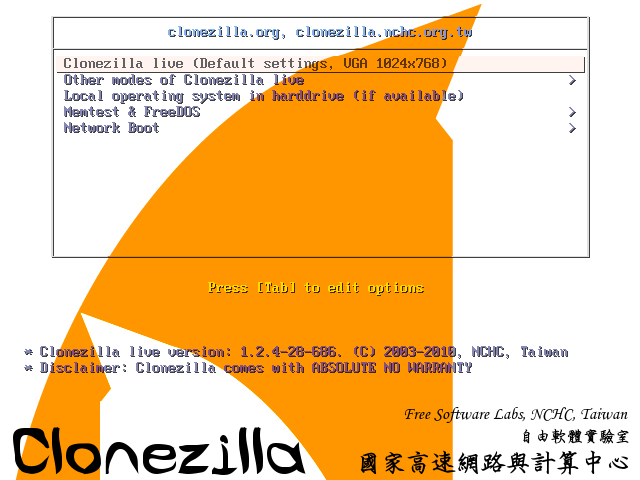
For our project, clones would suffice. We were deploying desktops that were comprised of identical hardware and each needed the same software as they would all be used for the same tasks. There are quite a few choices for cloning applications, including the afore mentioned Achronis, Windows Backup, and AOEMI Backupper. We settled on CloneZilla because it is open source and works well with Windows 10.
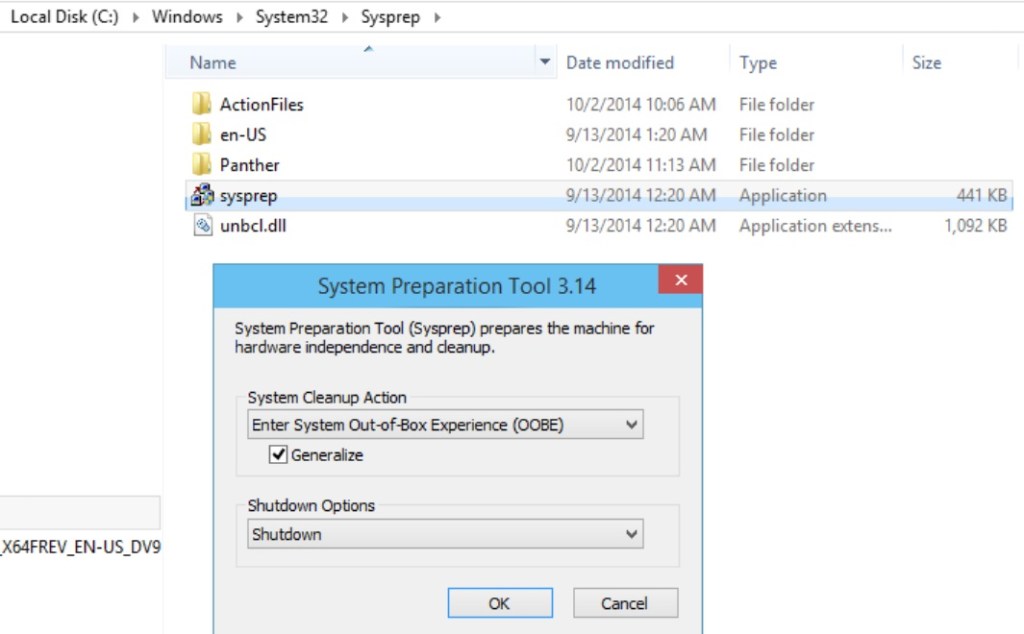
We booted up our bench PC and spent a lot of time installing all the software and configuring everything just right. Then we launched sysprep (C:\Windows\System32\Sysprep\) and selected the generalize and OOB settings. The sysprep utility tells Windows to create new unique identifier, called a SID. It also configures Windows to run the out of box setup experience the next time it is booted. Contrary to popular belief, this step is not optional. Duplicate SIDs cause all kinds of issues on a network.
We created a Clonezilla live disk and booted the system from it. Within a few minutes we had captured our image. I won’t bore you to tears by making you read these steps. They are well documented on the clonezilla.org web site. I used the Rufus method of creating a live boot disk because I was already familiar with the process. Once we had our image, we used the same live disk to deploy it onto one of the workstations for a test.
We prepared to celebrate our success and hit the power button on our test rig as soon as the imaging process was complete. Well @!#*, blue screen. Not only did the test system show a BSOD, so did the source machine when we powered it back on to diagnose the issue! To make a long story and several hours of analysis short, we traced the problem to a security feature named secure boot.
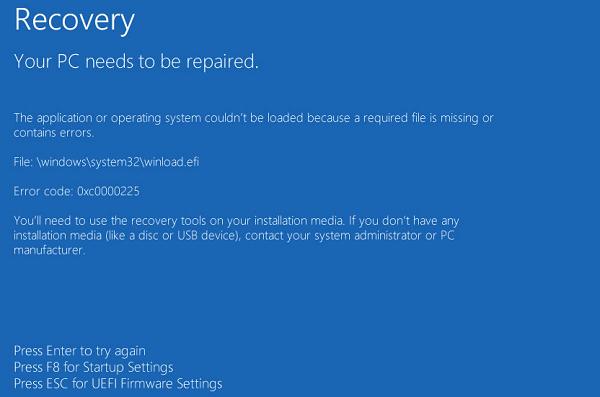
Secure boot is a security standard created by the PC industry to ensure that a system is starting up with OEM certified software. Essentially the protocol was built to thwart root kits and it works, a little too well in our case. There are several posts on-line that indicate the fix for this issue is to run some commands that delete and then recreate the secure boot keys database for each machine. Who wants to do that? Having to do this on each computer would largely negate the benefits of making the image in the first place.
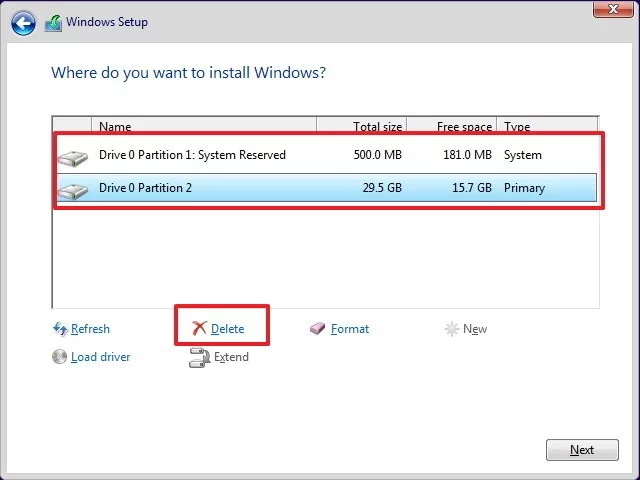
With some research and experimentation, we were able to come up with a work around. Disable secure boot in the source system’s BIOS. Then install a fresh copy of Windows. Be sure to delete all of the existing disk partitions and create new ones during the installation wizard.
We found that using the standard Windows 10 ISO from Microsoft’s download site allowed the systems to activate using their OEM keys, stored in the UEFI BIOS. If yours don’t activate, you can run the following command in an elevated PowerShell session to retrieve the key and enter it manually: ((Get-WmiObject -query `select * from SoftwareLicensingService’).OA3xOriginalProductKey) .
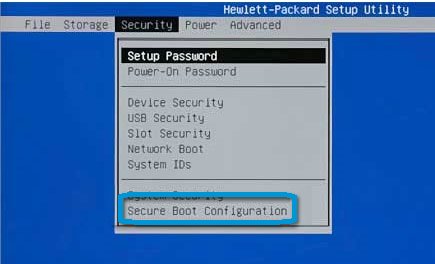
The process to turn off the secure boot function is a little different for each manufacturer. On the HP systems that we were working with, it shows up in the security menu. Other systems place the option in the boot menu. Turning it off will probably generate a warning message of some kind. Don’t worry, we’ll be turning it back on after the image is captured.
Once Windows is up, download and install all of the manufacturer’s drivers and software. Install any of the applications that you want to include on your image. Get all the configurations set just right, and sysprep the system. Now capture your image with your chosen imaging solution.
You will be able to enable Secure Boot on the source system after the image capture process is complete. You will also be able to deploy your image to the other machines, without disabling secure boot first. Secure Boot will function normally on all the systems after the image has been applied. If you need to understand the technical details around why this method works, read Microsoft’s documentation on the subject. Step 3 of the boot sequence is the key to our success, we haven’t introduced any foreign boot agents or drivers.
In part two of this series we’ll discuss how to pre-install the Office 365 edition of Microsoft Office on to an image and a few tweaks that you might find useful.

One thought on “Windows 10 OEM Images with Secure Boot and Office 365, Part 1”