
I like my ROG Ally so much that I filled its 512GB SSD in a matter of days. Today’s games are huge, many titles are over the 100GB mark, some even pass 200 GB. Lucky for me ASUS fully supports the end user swapping out the disk, they even provide a step by step guide on their website. Of course as with any guide you see on-line you are proceeding at your own risk.
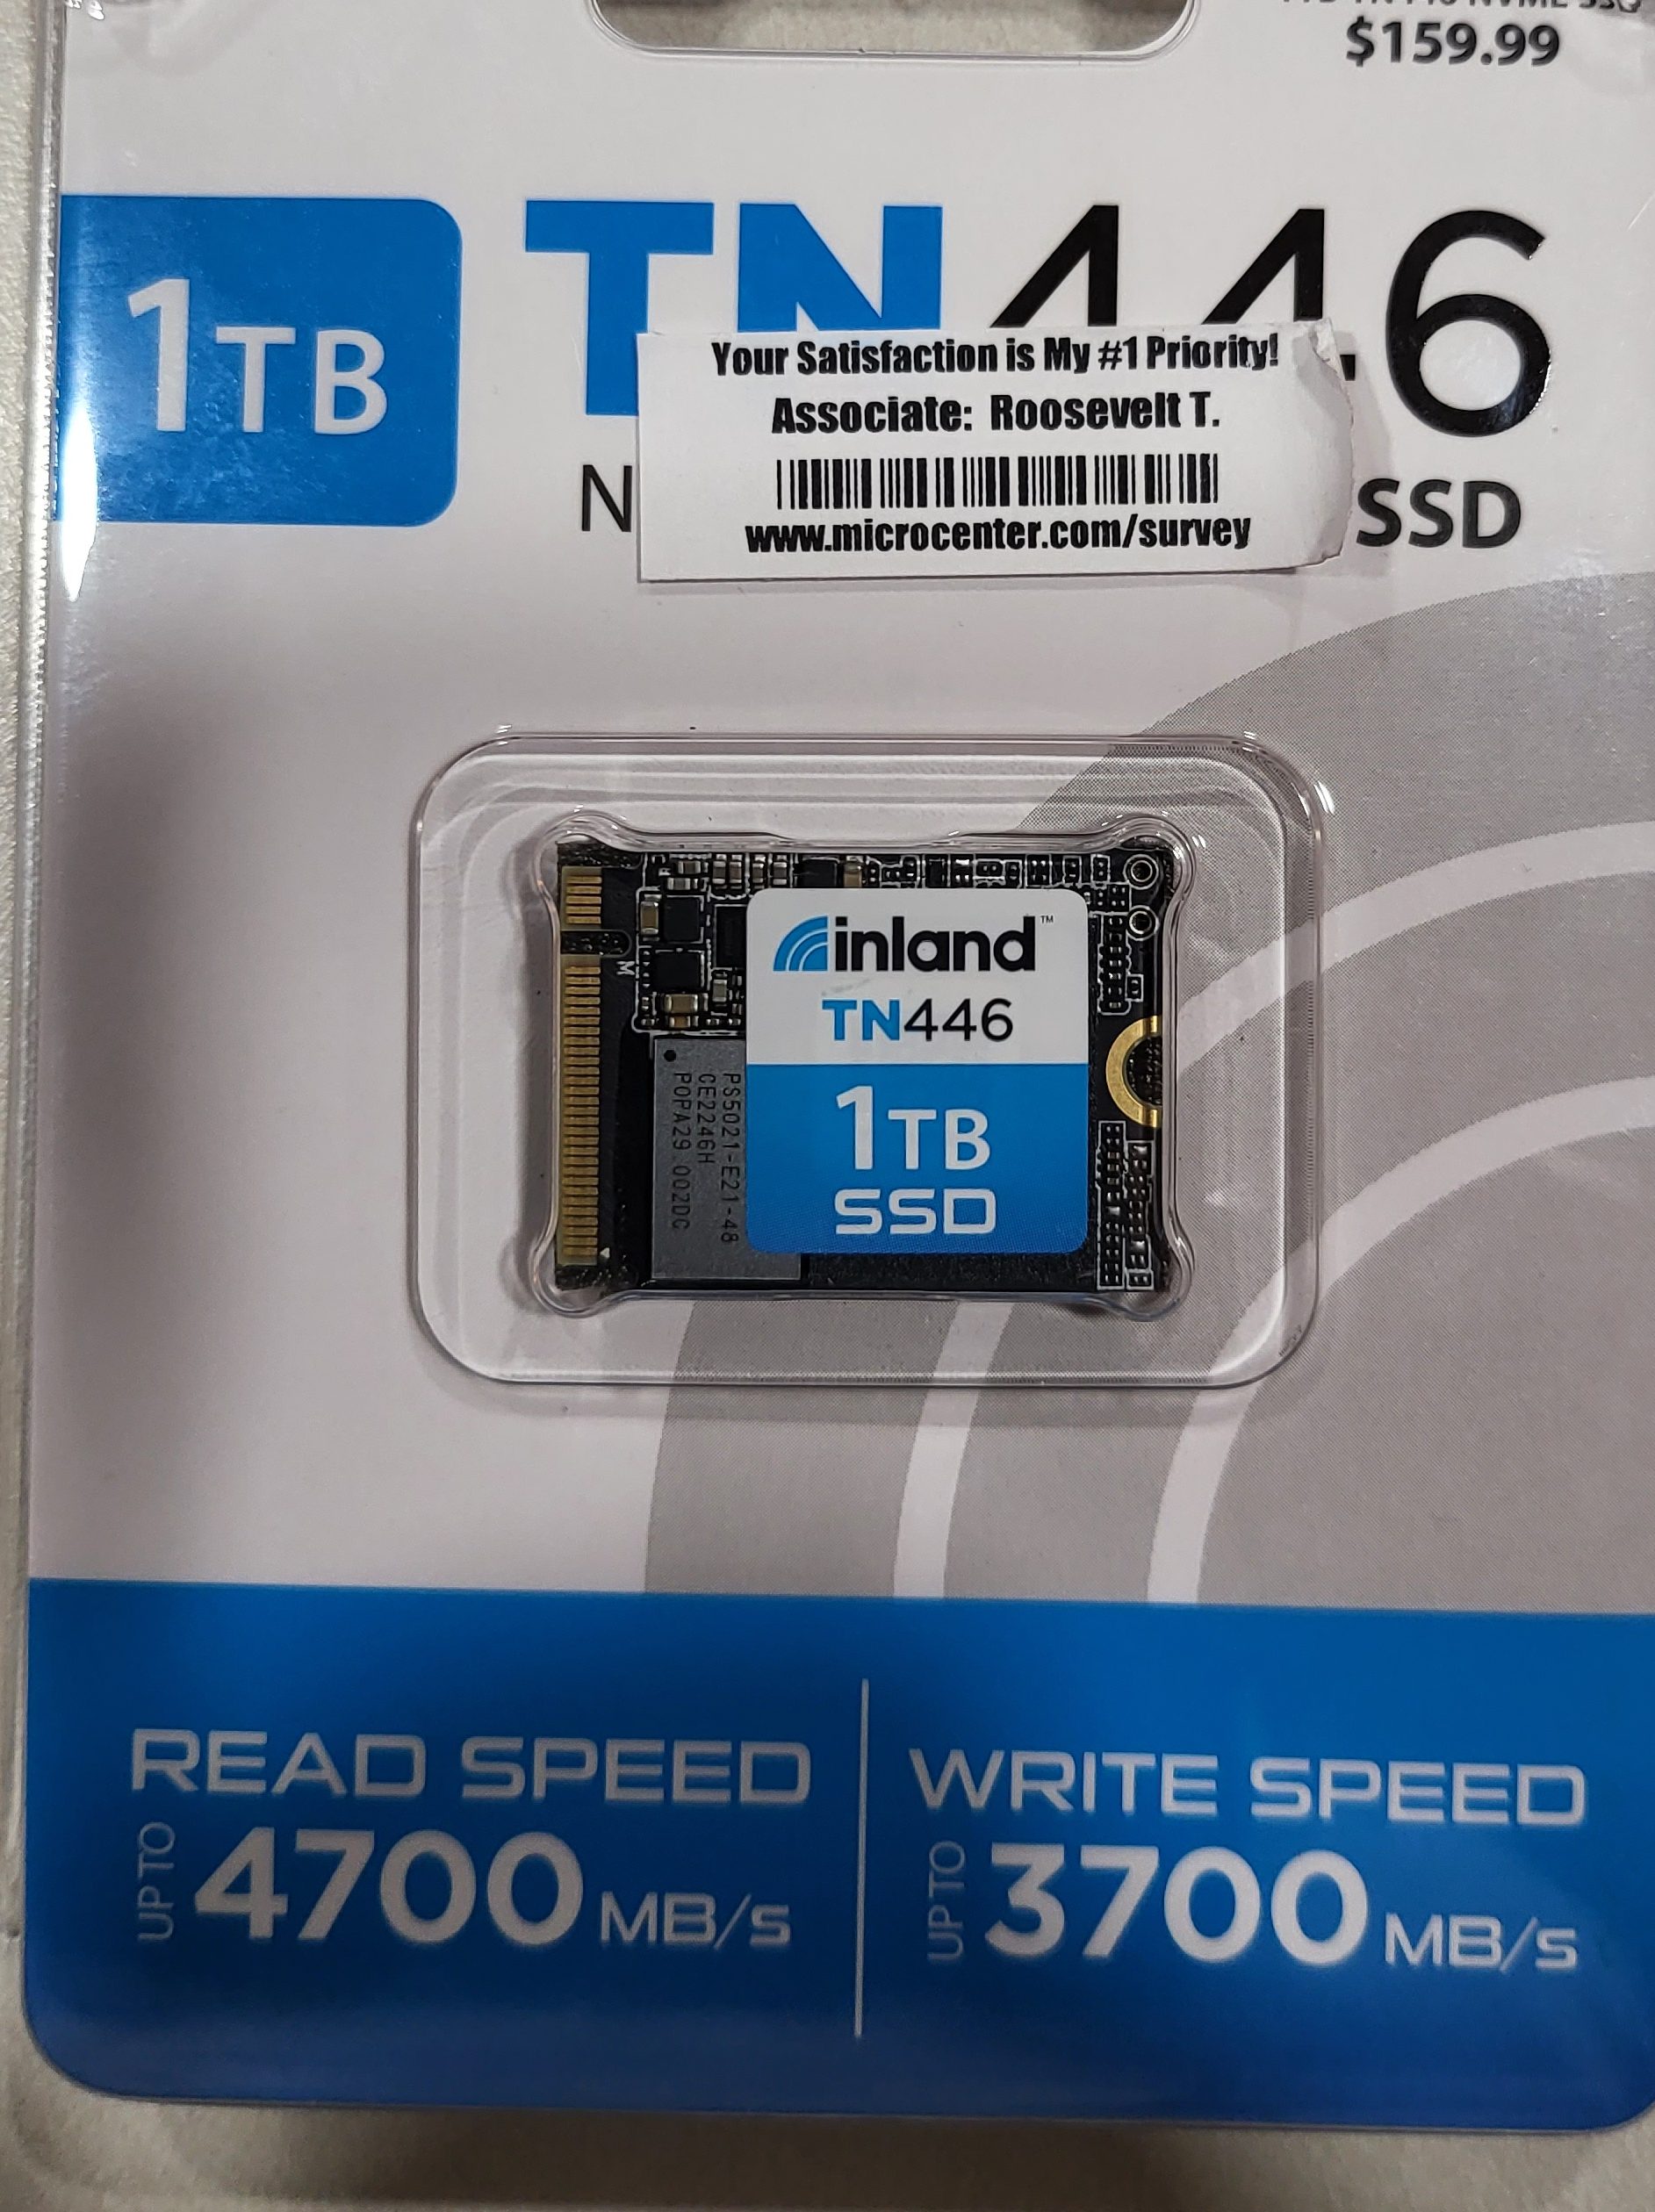
I picked up an Inland 1TB M.2 2230 SSD at my local Microcenter store for $109.00 on sale. I would have preferred to go with 2 TB but those are hard to find and I didn’t want to wait any longer. If you are not familiar, the 2230 designates the length (short in this case) of the disk. Make sure you are getting the compact size SSD, regular or long disks will not fit in the case.
I just followed the ASUS guide carefully. I suggest that you watch the embedded YouTube video. One of their technicians goes through the entire process step by step. With the Ally lying face down, top edge of the device (exhaust ports) away from your body, on a soft surface in front of you, the middle screw in the bottom row is captive. It will not fully unscrew from the case. Instead, it will make a clicking sound and assist in splitting the case halves apart when it is fully unscrewed. The other five screws are all fully removable.

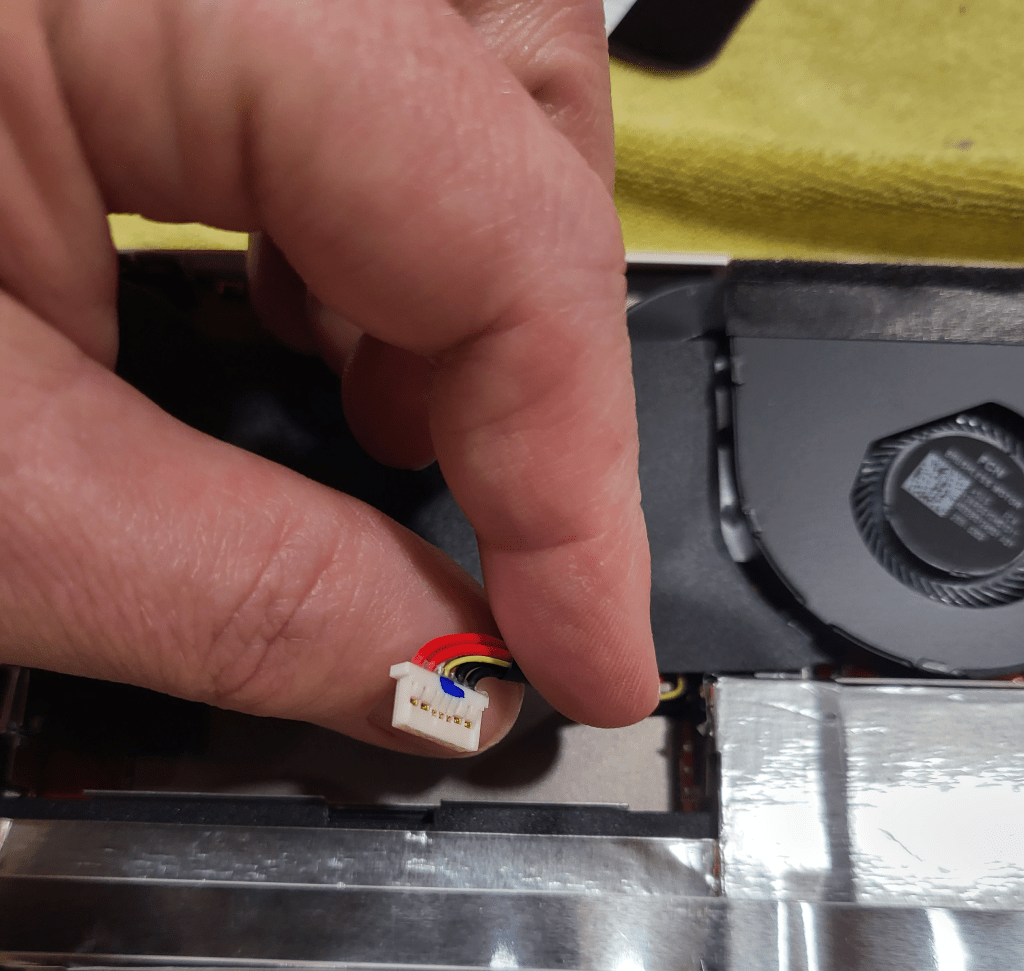
Once you have removed the screws and un-screwed the captive screw to its limit, use a guitar pick or other plastic pry tool (old credit card, old driver’s license) to slide between the halves of the shell and pop the clips. Go slow and undo one clip at a time to avoid breakage. Once the shell is open, disconnect the battery by removing its connector lead.
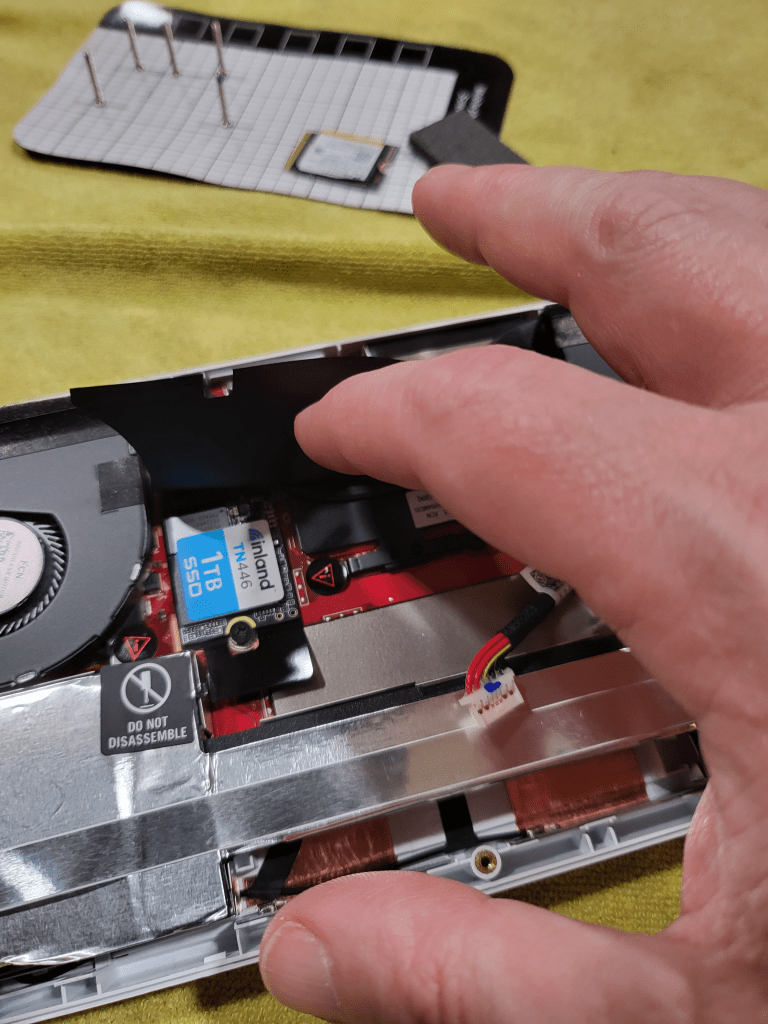
Carefully lift the large rectangular black plastic flap to reveal the SSD slot and drive. Remove the SSD retaining screw and gently slide the disk toward you. If you have trouble breaking the SSD loose, gently lift up on the plastic tab underneath the drive slot. Install the new disk, being careful to replace the screw and battery connector. Re-assemble the case by aligning the two halves and snapping them back together. Finally, screw everything back together by returning each screw to its original location.
Now comes the tricky part, booting into the BIOS. This isn’t tricky because the process is difficult, it’s actually very easy. Just press the volume down and power buttons at the same time. The tricky part is that there’s some mysterious timing required to get the BIOS to load and I can’t describe it. I think you need to let go of the Power button and keep the volume button down as soon as you see the screen light up, but I can’t promise that was it. In any case keep pressing these two buttons until you see the normal start up screen followed by the UEFI BIOS.
Once you get the BIOS to load, hit the Y button to enter advance mode and use the D-pad to navigate to advanced. Hit A to start the first option (ASUS Cloud Recovery). Read and agree to the EULAs for ASUS and Windows, then connect to your WiFi and download the files. I had to do this twice for the download to actually start.
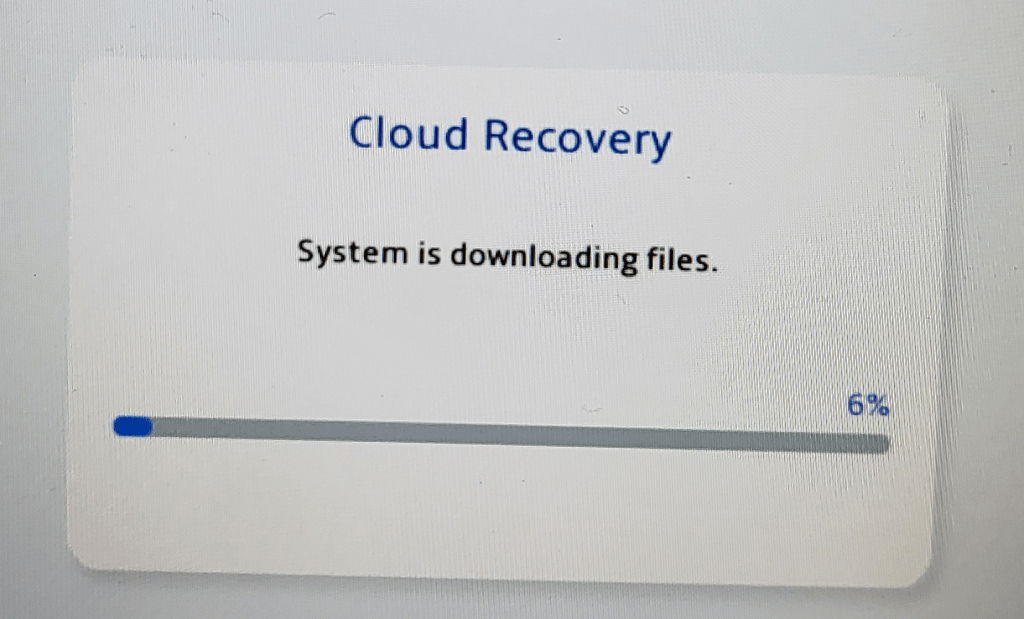
The system will now automatically download and install Windows 11, Armory Crate, and all the drivers and software that came on it out of the box. It will reboot several times. Mine took about 3.75 hours from the time I started until Windows was fully loaded and I had installed all the latest updates for everything.
I cannot stress how important it is that you update everything, not just Windows updates. Many of the tools and software like Armory Crate, My ASUS, the Microsoft Store, any of your game launchers, etc. will all have their own updates. Open the application and look in the help menu if it isn’t immediately obvious where to download updates. This system offers a much better playing experience when it is fully updated than it does when you first unpack it.
