Photoshop and Lightroom Too Expensive? Try Affinity Photo and Darktable Instead

I’ve been editing pictures on computers since the beginning of digital photography. I started with one of the first consumer grade digital cameras, the Casio QV-11 and never went back to film. I’ve used countless photo editing apps but nothing compared to Adobe’s Photoshop.

Adobe changed to their current subscription only model in 2013 and I signed up. I paid sixty dollars a month for access to all of Adobe’s software and one-hundred gigabytes of cloud storage. For a while the cost seemed justified. Eventually, I started thinking about its cost compared to how often I used it and decided I needed to find an alternative.

Photoshop

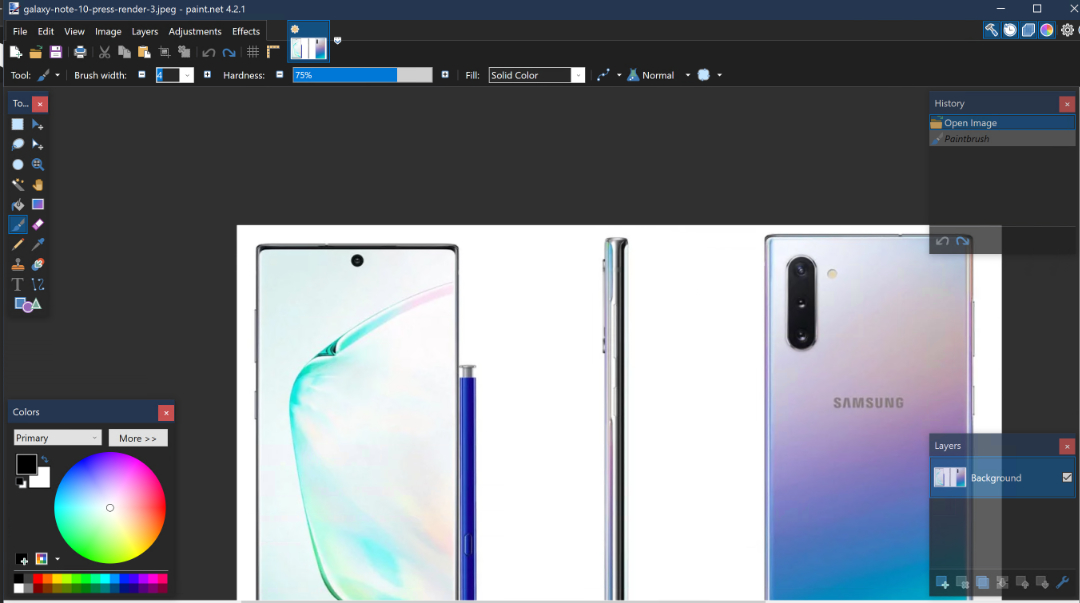
I began testing alternative applications to see if any had improved enough, or if there were any new offerings that could replace Photoshop for my needs. Paint.Net and GIMP are great, but they lack true digital pen support, advanced brushes, batch processing, and some of the other tools that I’ve come to rely on. My goal wasn’t to find free software, but if it was I would probably be using Paint.Net (can still download free from the web site).

Paint.Net

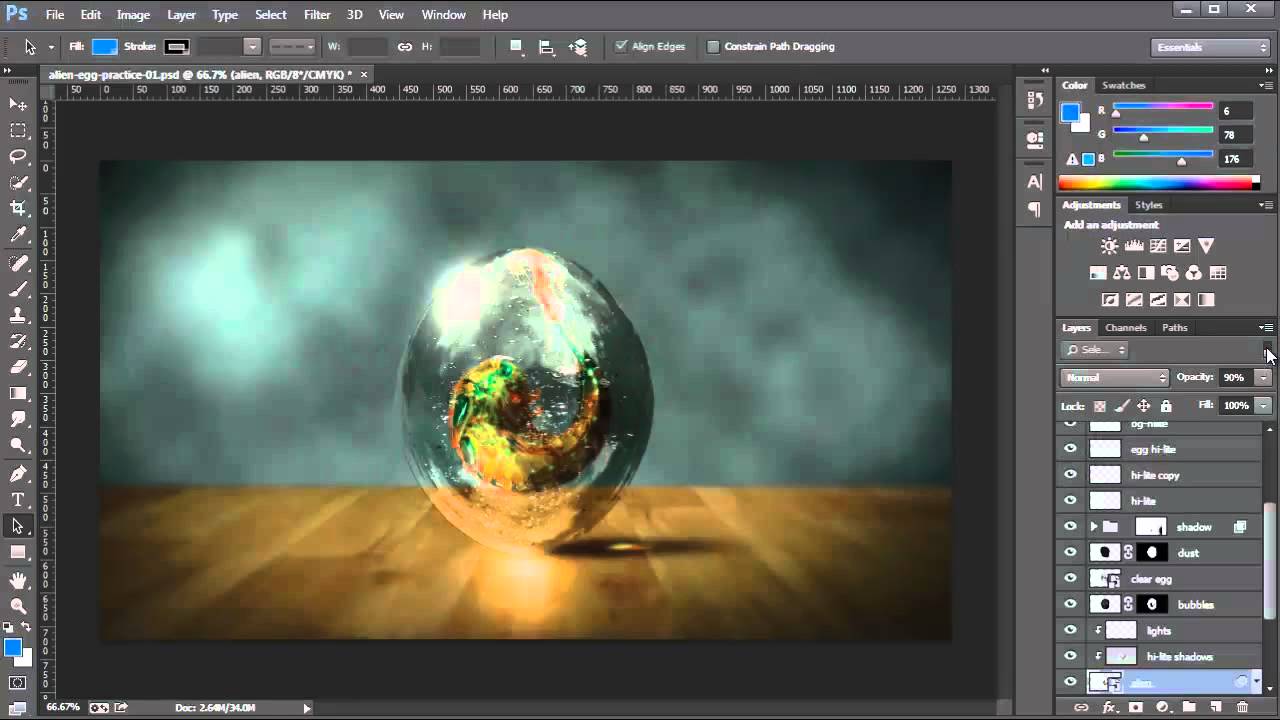
I had looked at Serif’s Affinity Photo in the Microsoft Store before. It was coincidentally on-sale so I purchased and installed it. I launched the new software with a skeptical mindset. How could a forty-dollar app compete with a powerhouse like Photoshop? The skepticism didn’t last long.

What sets Photoshop apart from other photo editing software is the number of options, customizations, plug-ins, brush packs, and the ecosystem around it. While Affinity is not on the same scale as Adobe, it does have many of these features. Places like Frankentoon make custom brush packs for Affinity. All of the tool panes can be customized to your liking. Lots of Photoshop plug-ins can be imported into Affinity.

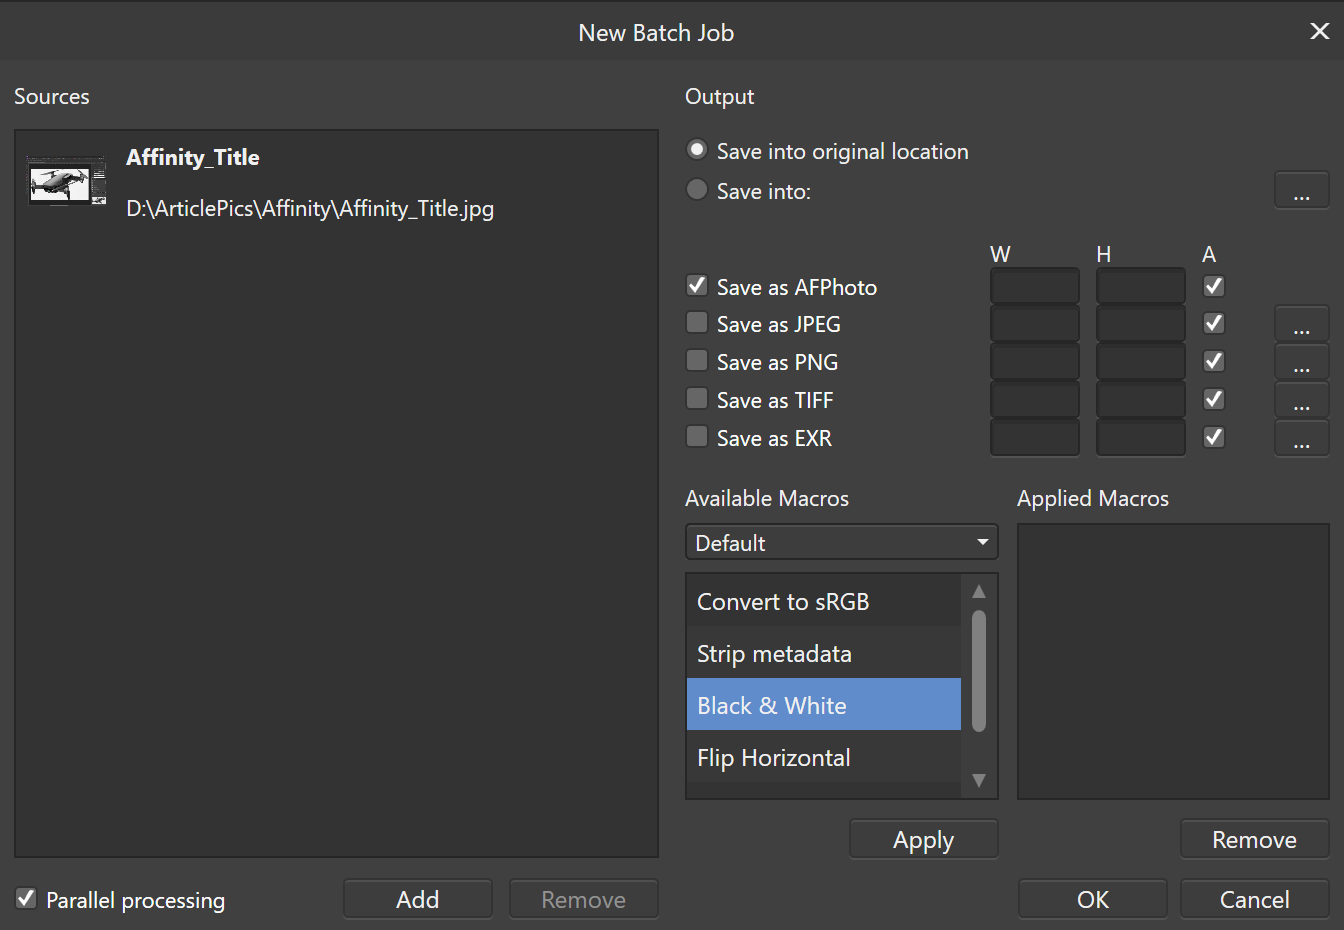
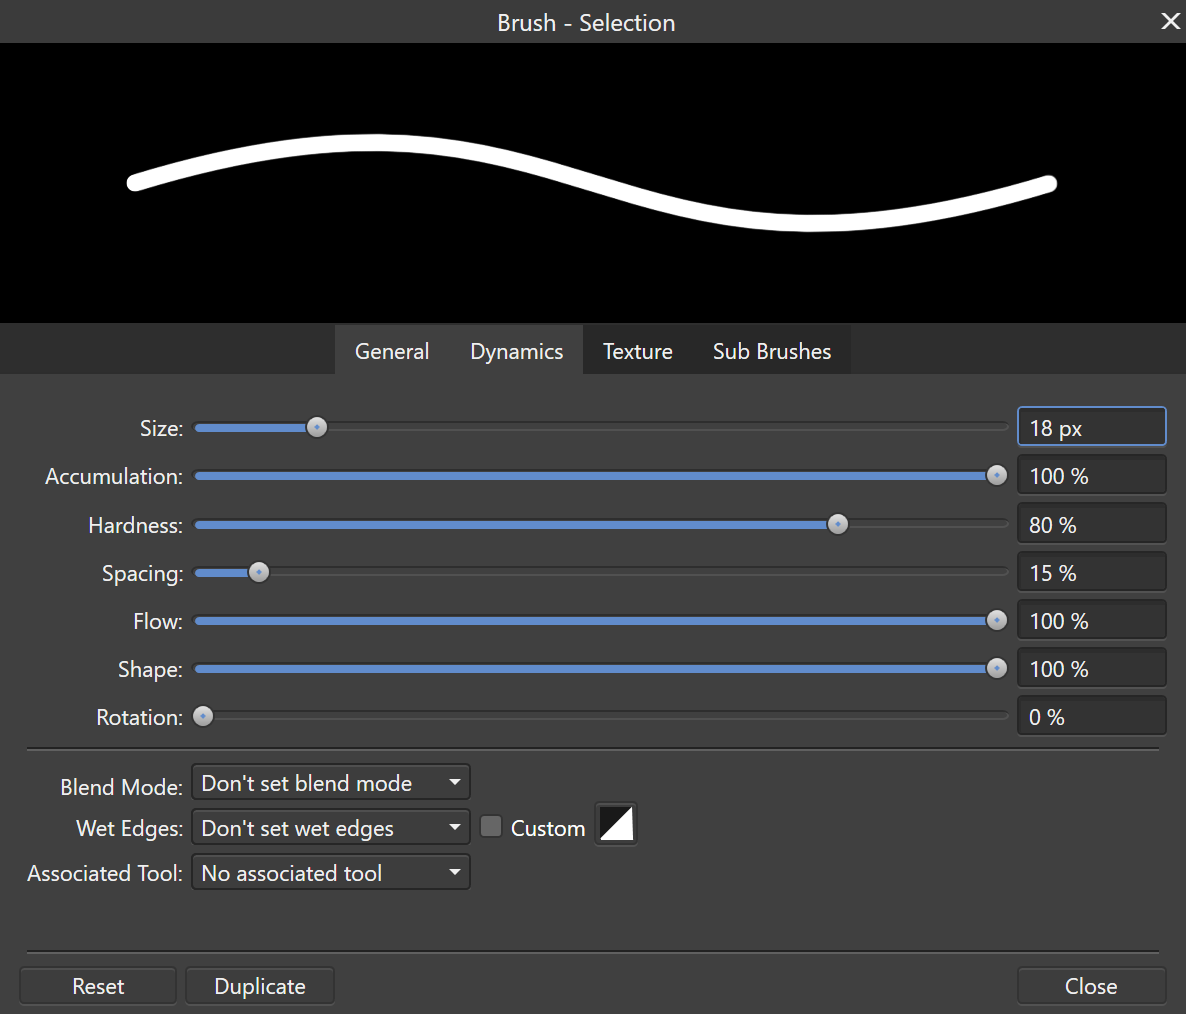
You can process jobs in batches, create your own custom brushes, export your work into almost any format you can think of, and more. Affinity Photo supports the Surface Dial and other digital tools, it even allows you to select from multiple GPUs. For me the only Photoshop feature I use on a regular basis that was missing from Affinity Photo was Lightroom.

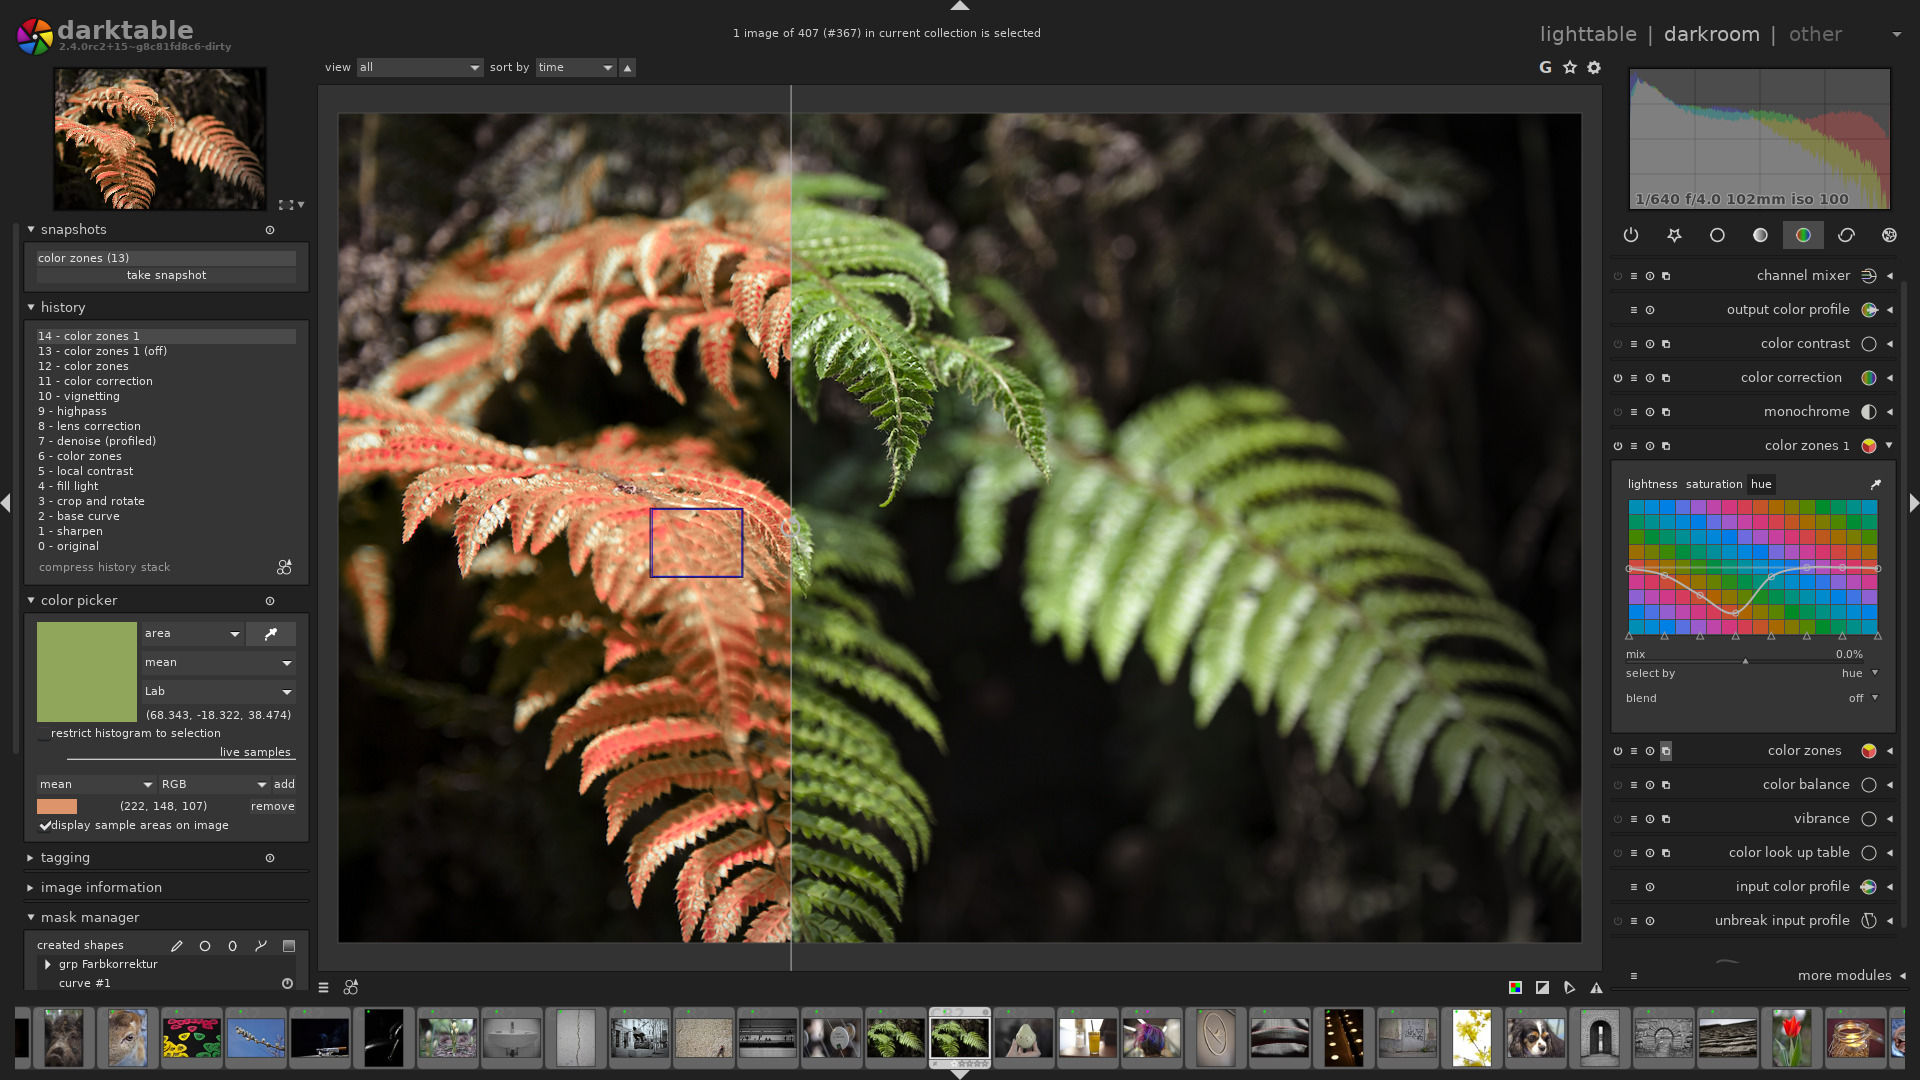
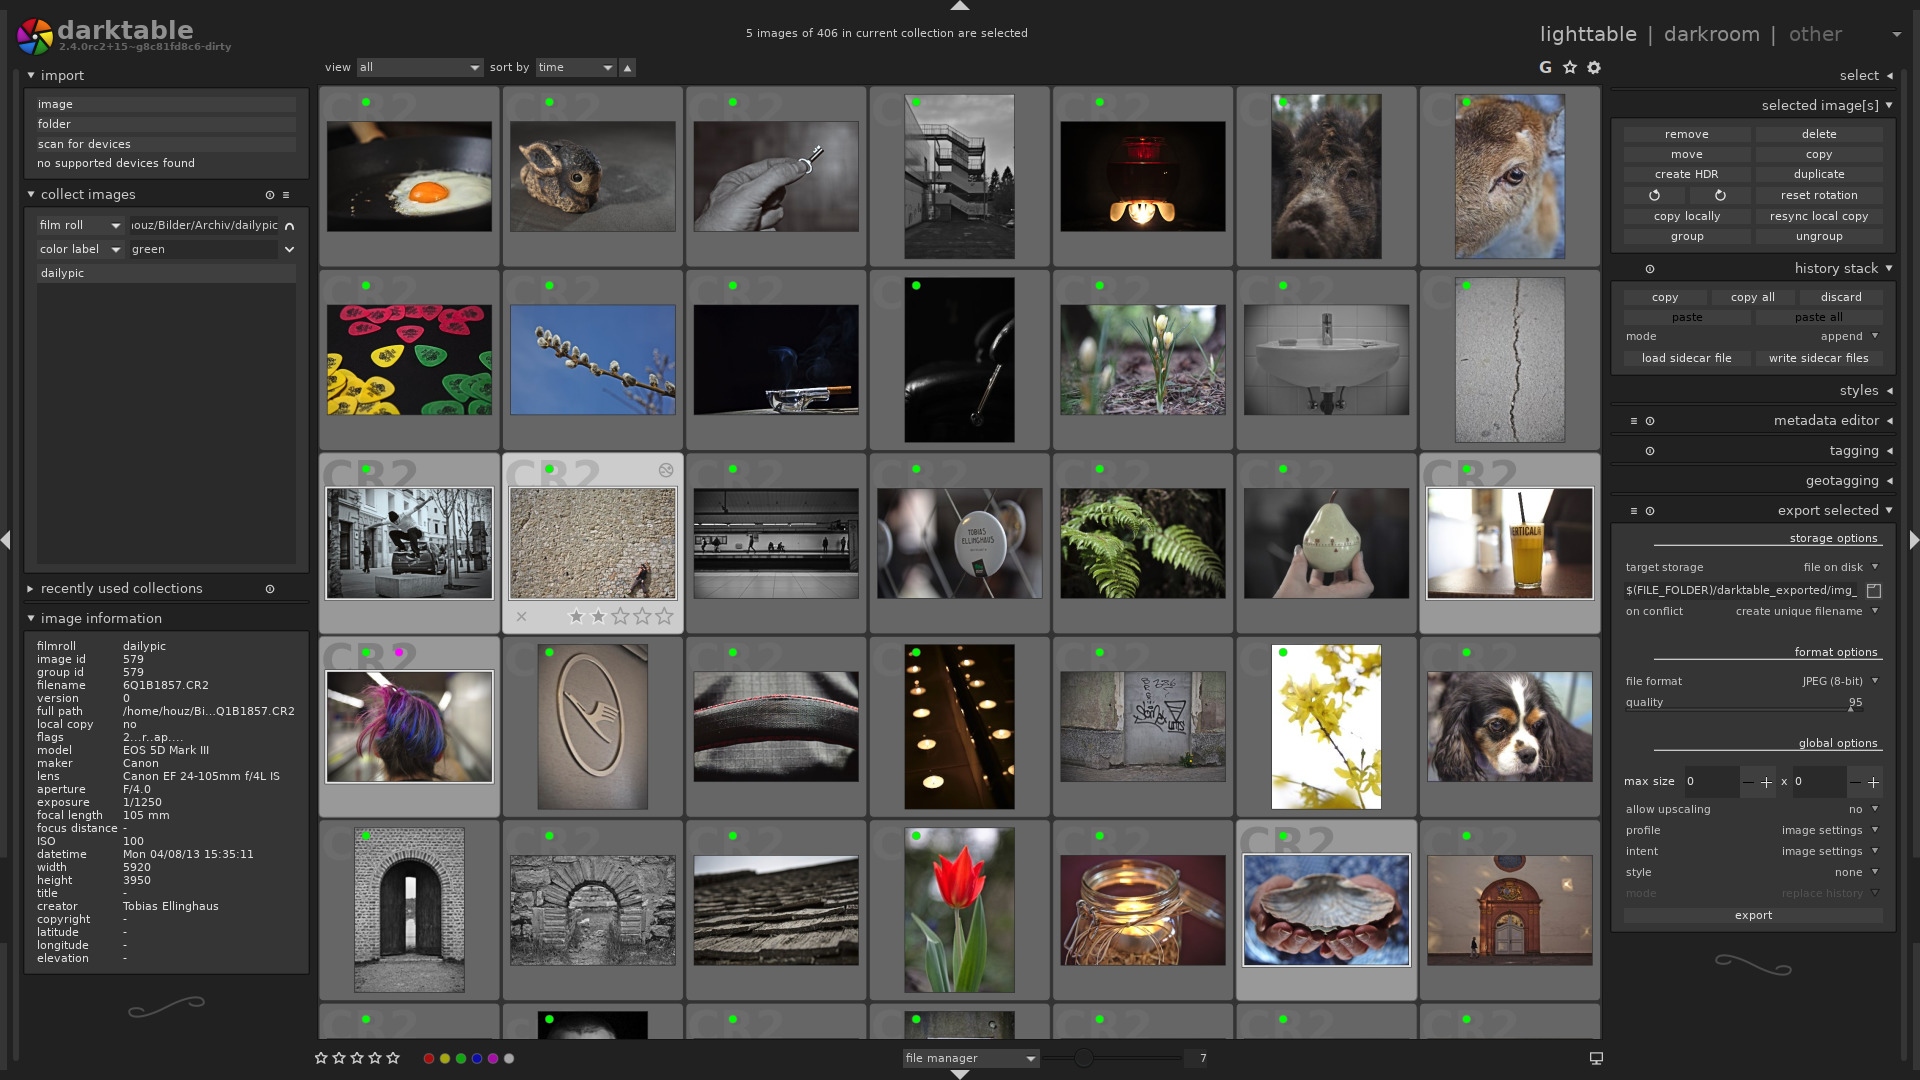
I was able to find the perfect open-source replacement. Darktable runs on Windows, Linux, and Mac OS. It costs nothing, and works great for my needs. There’s both a lightroom for pursuing your photo collections and a darkroom for adjusting images.

Photoshop is still the king of photo editing solutions. Its high-price can be prohibitive for average use cases. If you’re a power-user like myself, give Affinity Photo and Darktable a try (both have trial editions). I bet you’ll be shocked at how easily you can transition into these apps.

Simplified note taking with Plumbago

I spend hours working in Microsoft OneNote everyday.  It’s my go to tool for planning, documentation, and notes. I’ve been using it since the beginning and have evangelized its benefits far and wide. If OneNote has a weakness (not saying it does LOL) it probably lies in being too complicated for some jobs.

Enter Plumbago, from the Microsoft garage. Rather than act as a full digital note solution, Plumbago aims to replicate the paper notebook experience. Removing many of the complications you find in OneNote or Evernote makes the app much easier to use. There is a very small learning curve. A short video that plays the first time you open the program explains everything that you need to know.

Basically, you create a new notebook for each category of notes or sketches that you need. Each time that you make a notebook you can choose the type of pages that it will contain. Ruled, graphed, music, and more templates are available.

Notebooks

Input options are controlled via a simple wheel selector. Pick your tool, color, and stroke size with a few taps and start drawing or writing. The wheel remembers your previous choice for each tool. The sparse tool bar will let you insert pictures, see all of the pages in your notebook, or switch between draw and navigation modes. You can also export your pages to a PNG or PDF for easy sharing.

That’s all there is to it folks, which is the point of the application Keep it simple. If OneNote or Evernote seem overly complicated for your needs give Plumbago a try.

Notebook page

Use layers in Autodesk Sketchbook to draw anything on any device for free.

When I was little, my dad would sometimes entertain me by drawing my favorite cartoon characters. He would sketch them on napkins or scraps of paper while we were waiting for a table at a restaurant or sitting through some other equally boring event. I was always amazed that the Fred Flintstone, Mickey Mouse, or Donald Duck that he drew in a few minutes looked exactly like they did on the Saturday morning cartoon shows.

When I tried to draw them, my best efforts looked like stick figures that had suffered horrible head injuries. I was determined, and enjoyed the process, so I stuck with it. Art was always one of my favorite classes in school. Eventually, I had learned enough technique and developed enough motor control that I could draw nearly anything. It literally took years of practice before I could look at an object, or invent one in my head, and reproduce it on paper.

Digital Enterprise Painting
A freehand digital painting for my dad on Father’s day.

I would have given anything to be able to draw without all of the classes and practice. Many of my lessons involved tracing on a light board. It was a great way to learn how to make complex shapes, master scale, and understand the composition of objects or places. If you have a PC, tablet, or phone with a stylus you can use it in the same manner as a lightboard and I’m going to show you how easy it is.

You’re going to need a good drawing app. I like Autodesk’s Sketchbook. It’s free, powerful, and easy to use. It also runs on everything: iPhone, iPad, Mac, Android, and Windows all have a version. Check your device’s app store or the Autodesk web-site. You’ll need to create an Autodesk account after you install the software, but it doesn’t cost anything either.

After you have the app installed on your device, spend a few minutes on Bing or Google’s image search to locate and save a picture of something that you would like to draw. Just right click or tap and hold on the picture you like and choose the option to save a copy. You can also use a picture that you have taken with your camera.

Watch the short video below to see the details, but essentially we are going to create two layers. One to hold the picture we are going to trace and another to draw on. Once we’ve completed the sketch we’ll remove the picture layer and all that will be left is our drawing. Tracing is easy if you reduce the opacity of the picture layer. To save time I only do a quick outline with a single tool and color below. I suggest using multiple brush types and colors to get the best results.