
When I was little, my dad would sometimes entertain me by drawing my favorite cartoon characters. He would sketch them on napkins or scraps of paper while we were waiting for a table at a restaurant or sitting through some other equally boring event. I was always amazed that the Fred Flintstone, Mickey Mouse, or Donald Duck that he drew in a few minutes looked exactly like they did on the Saturday morning cartoon shows.
When I tried to draw them, my best efforts looked like stick figures that had suffered horrible head injuries. I was determined, and enjoyed the process, so I stuck with it. Art was always one of my favorite classes in school. Eventually, I had learned enough technique and developed enough motor control that I could draw nearly anything. It literally took years of practice before I could look at an object, or invent one in my head, and reproduce it on paper.
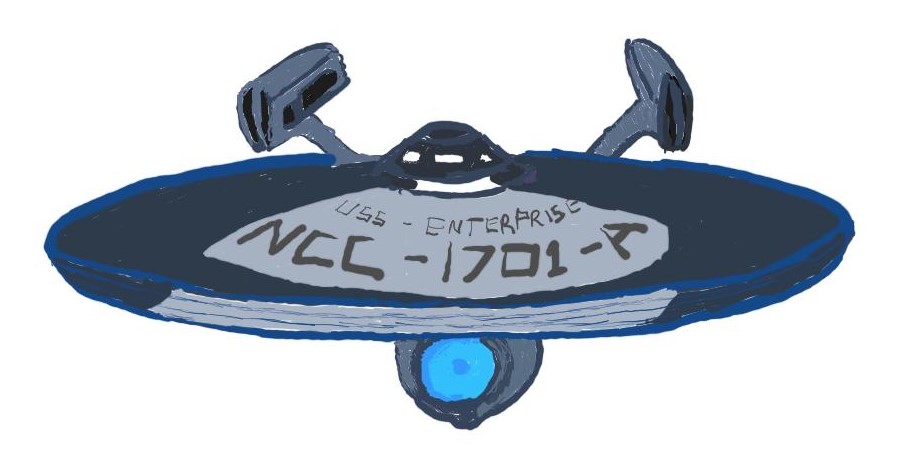
I would have given anything to be able to draw without all of the classes and practice. Many of my lessons involved tracing on a light board. It was a great way to learn how to make complex shapes, master scale, and understand the composition of objects or places. If you have a PC, tablet, or phone with a stylus you can use it in the same manner as a lightboard and I’m going to show you how easy it is.
You’re going to need a good drawing app. I like Autodesk’s Sketchbook. It’s free, powerful, and easy to use. It also runs on everything: iPhone, iPad, Mac, Android, and Windows all have a version. Check your device’s app store or the Autodesk web-site. You’ll need to create an Autodesk account after you install the software, but it doesn’t cost anything either.
After you have the app installed on your device, spend a few minutes on Bing or Google’s image search to locate and save a picture of something that you would like to draw. Just right click or tap and hold on the picture you like and choose the option to save a copy. You can also use a picture that you have taken with your camera.
Watch the short video below to see the details, but essentially we are going to create two layers. One to hold the picture we are going to trace and another to draw on. Once we’ve completed the sketch we’ll remove the picture layer and all that will be left is our drawing. Tracing is easy if you reduce the opacity of the picture layer. To save time I only do a quick outline with a single tool and color below. I suggest using multiple brush types and colors to get the best results.
