A Year with the DJI Mavic Air

I began my journey with quadcopters several years ago. I started out with in-expensive micro drones and gradually progressed up to a DJI Mavic Air. I’m an accomplished pilot now and have captured thousands of pictures and countless hours of video. You can read about my experience in a previous post here.

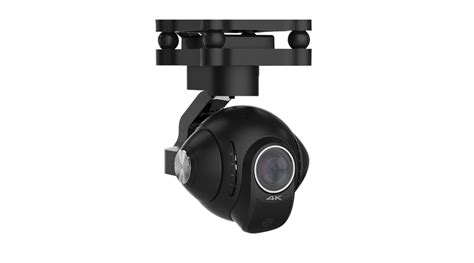
I’ve had the Mavic Air for a year and I’m more impressed with it now, than I was the day I bought it. One of the most surprising aspects of the powerful little flyer is how durable it is. Even after a year of being hauled around in backpacks, laptop bags, car trunks and plane luggage, there isn’t a mark on it. I’m still using the original props! I can ‘t think of any other flying vehicle that I’ve owned that didn’t need at least, new props a few weeks or months in.

There have been several major software updates for the Mavic Air since I unboxed it. The updates can catch you off guard; you’ll boot up to catch some video of your dog only to be hit with the firmware required message. Thankfully they’ve added a feature to update later. The phone app can hang on the unzipping of files during big updates, but you just need to close and restart it. The software has been noticeably improved. The user interface has remained largely the same but multiple bugs have been corrected. I can’t remember the last time the app froze or crashed during flight, which was a frequent occurrence at the start.

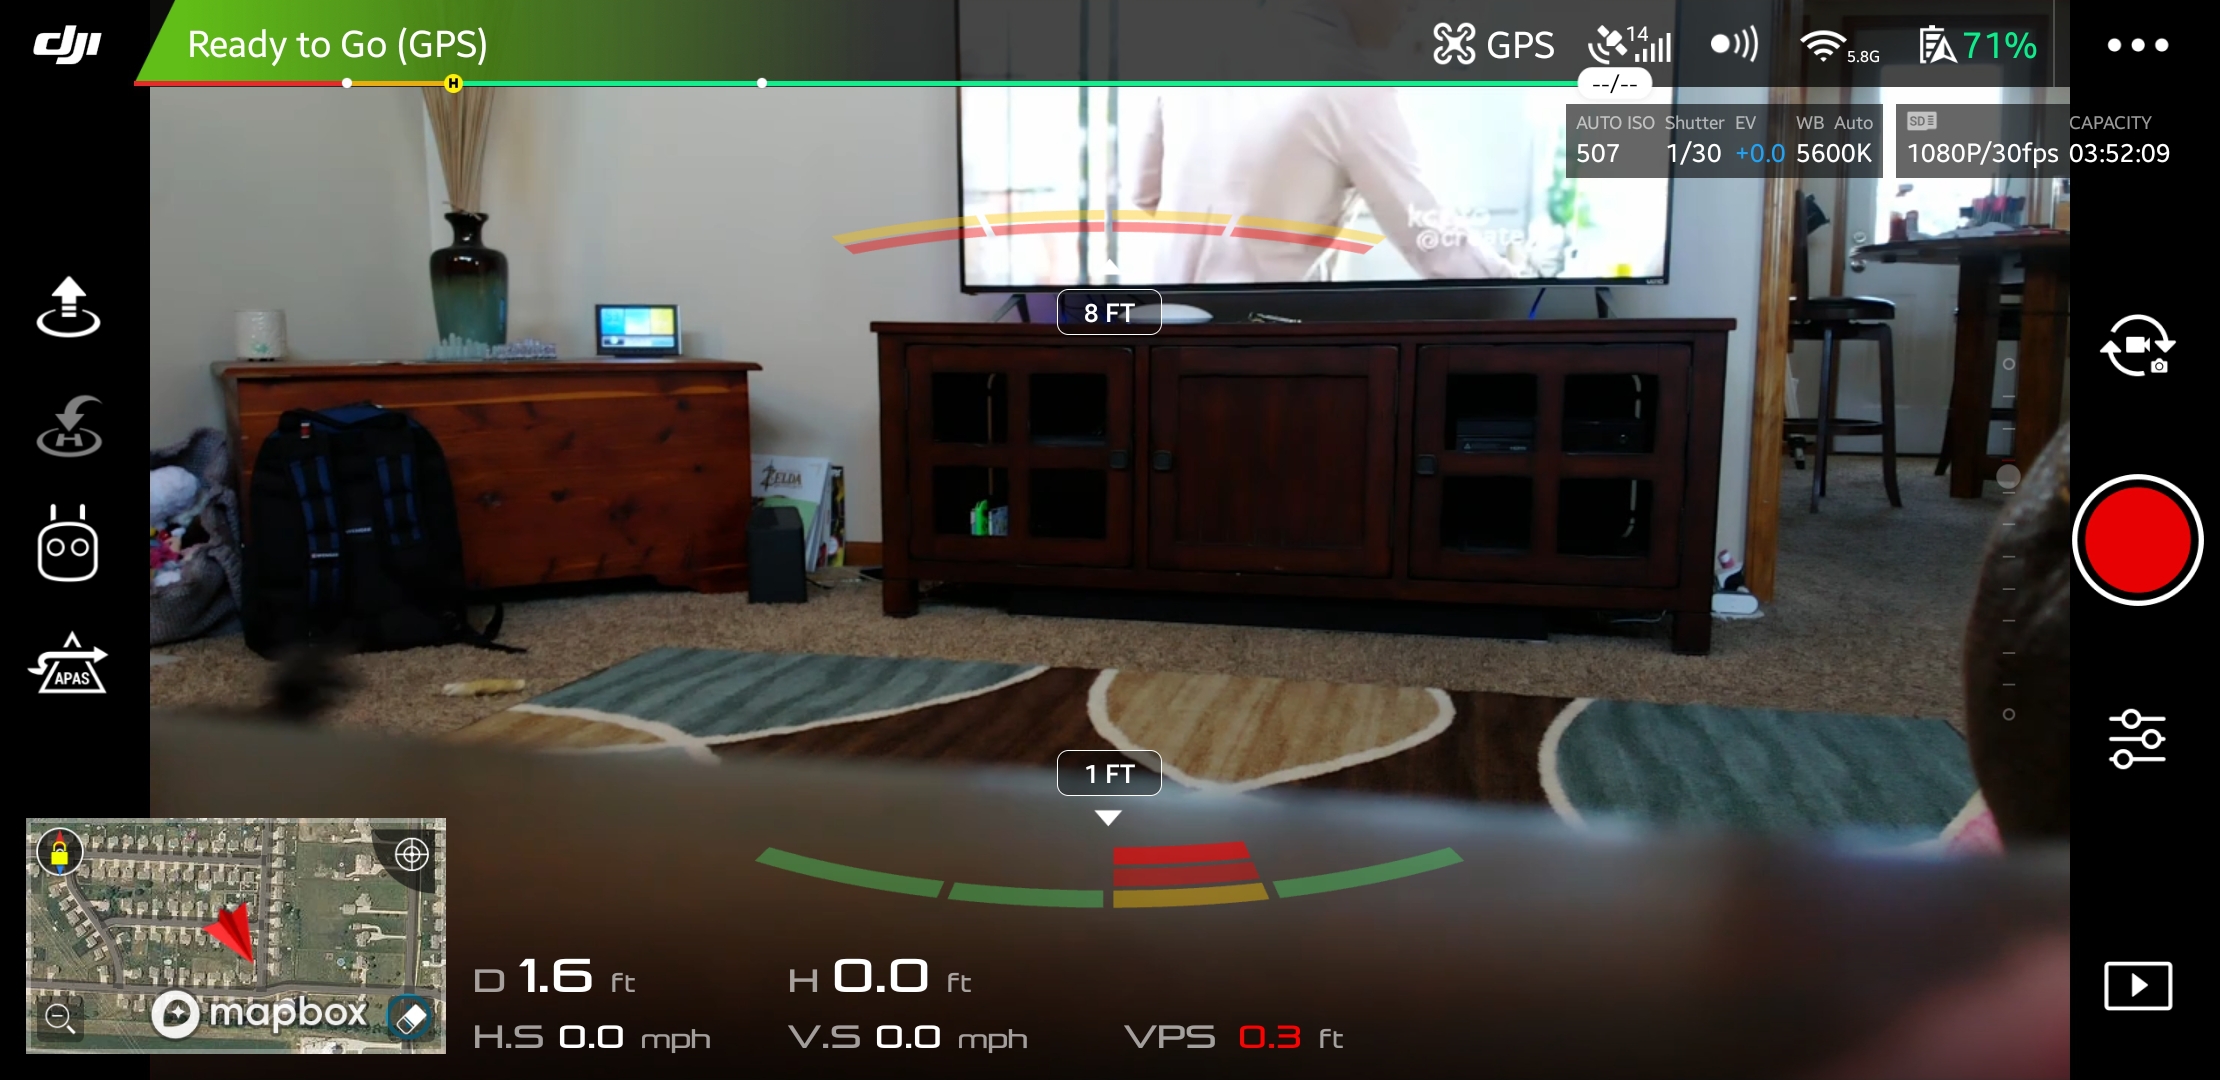
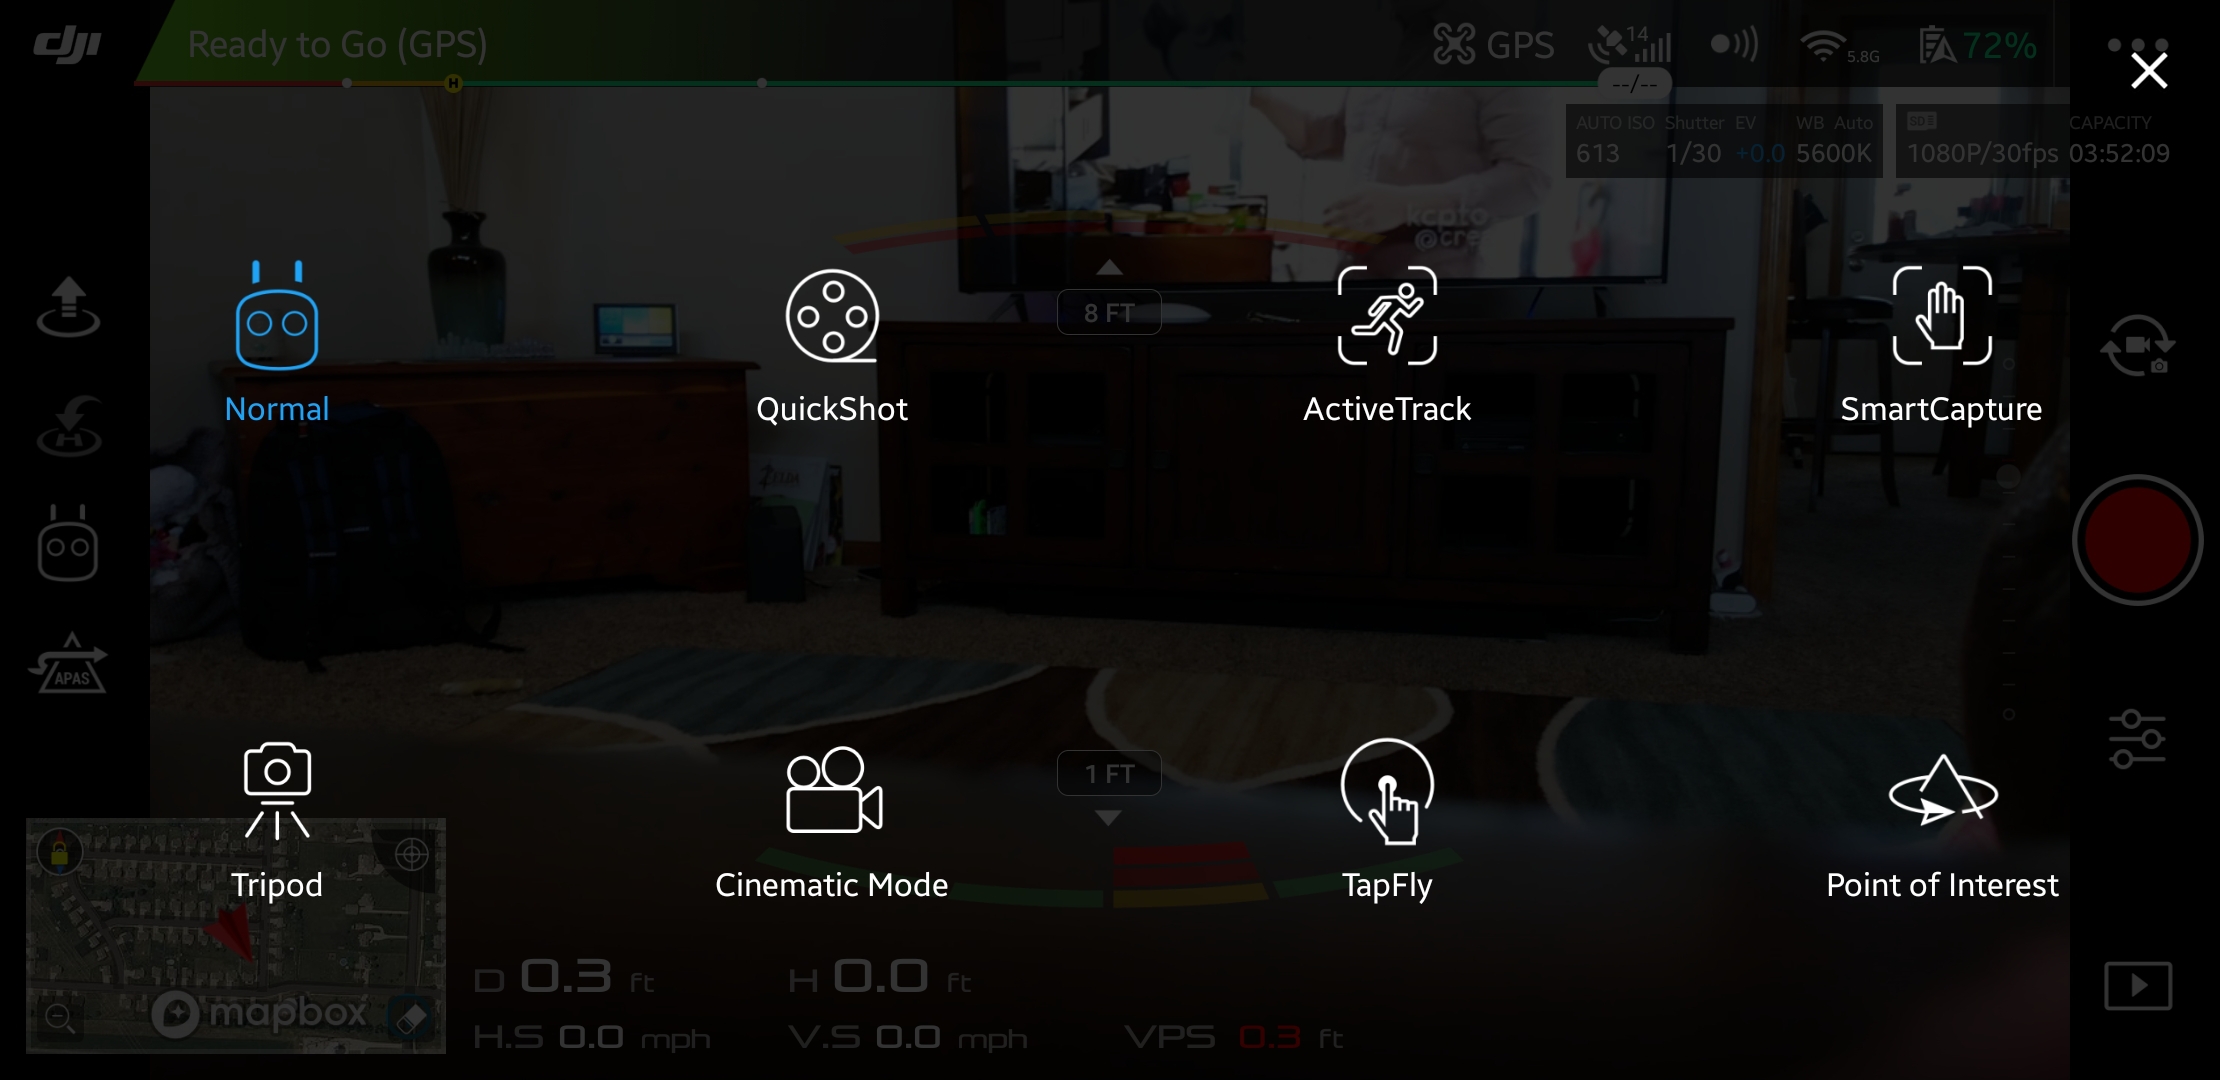
The AI has been in school for the last few months, it now flies the drone better than I do. Object avoidance, pre-programmed dramatic shots, follow me, return to home, and TapFly are all improved. My use of the quadcopter has evolved from that of a flying toy to a camera platform, so I find myself using these automated functions much more frequently.

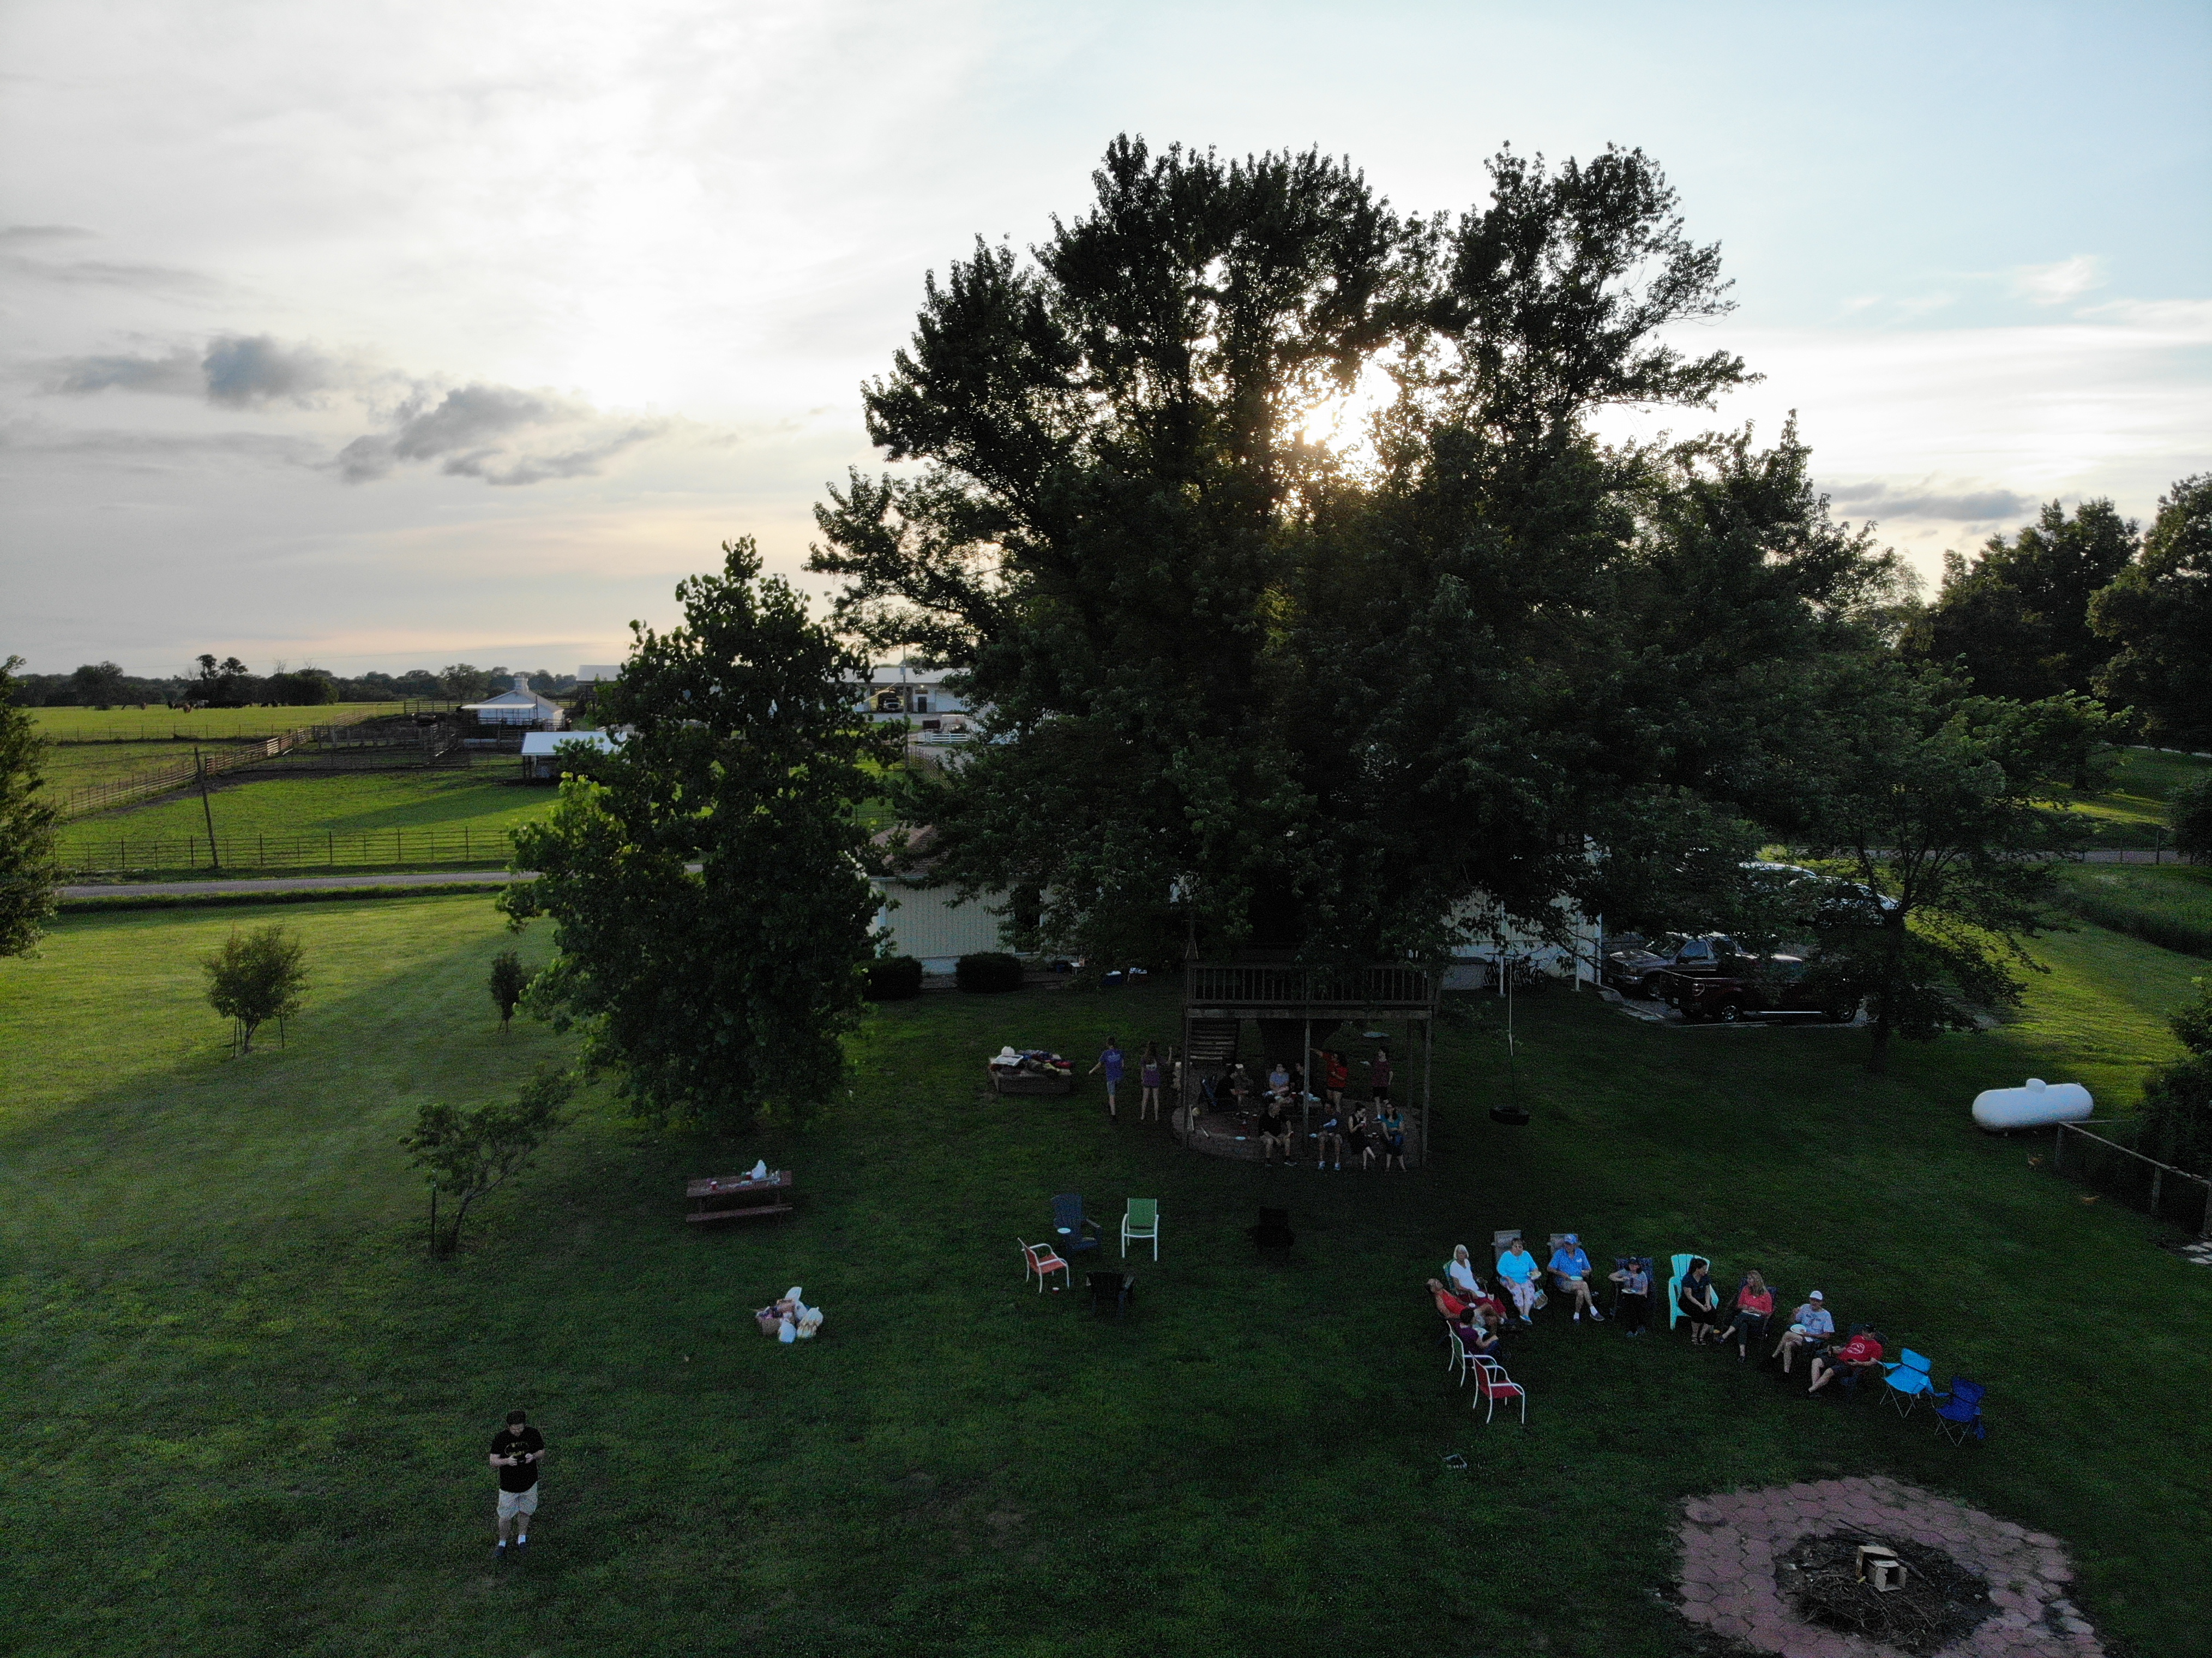
You might be wondering what a drone could be used for besides taking pictures. They’re surprisingly versatile machines; here are a few of the cases I’ve encountered so far:

  • Lost pet locator
  • Sky surveys of friend’s homes and property
  • Examining roofs for hail damage and lost toys
  • Chasing off various unwanted creatures: stray dogs & cats, racoons, opossums, bats, it’s a long list
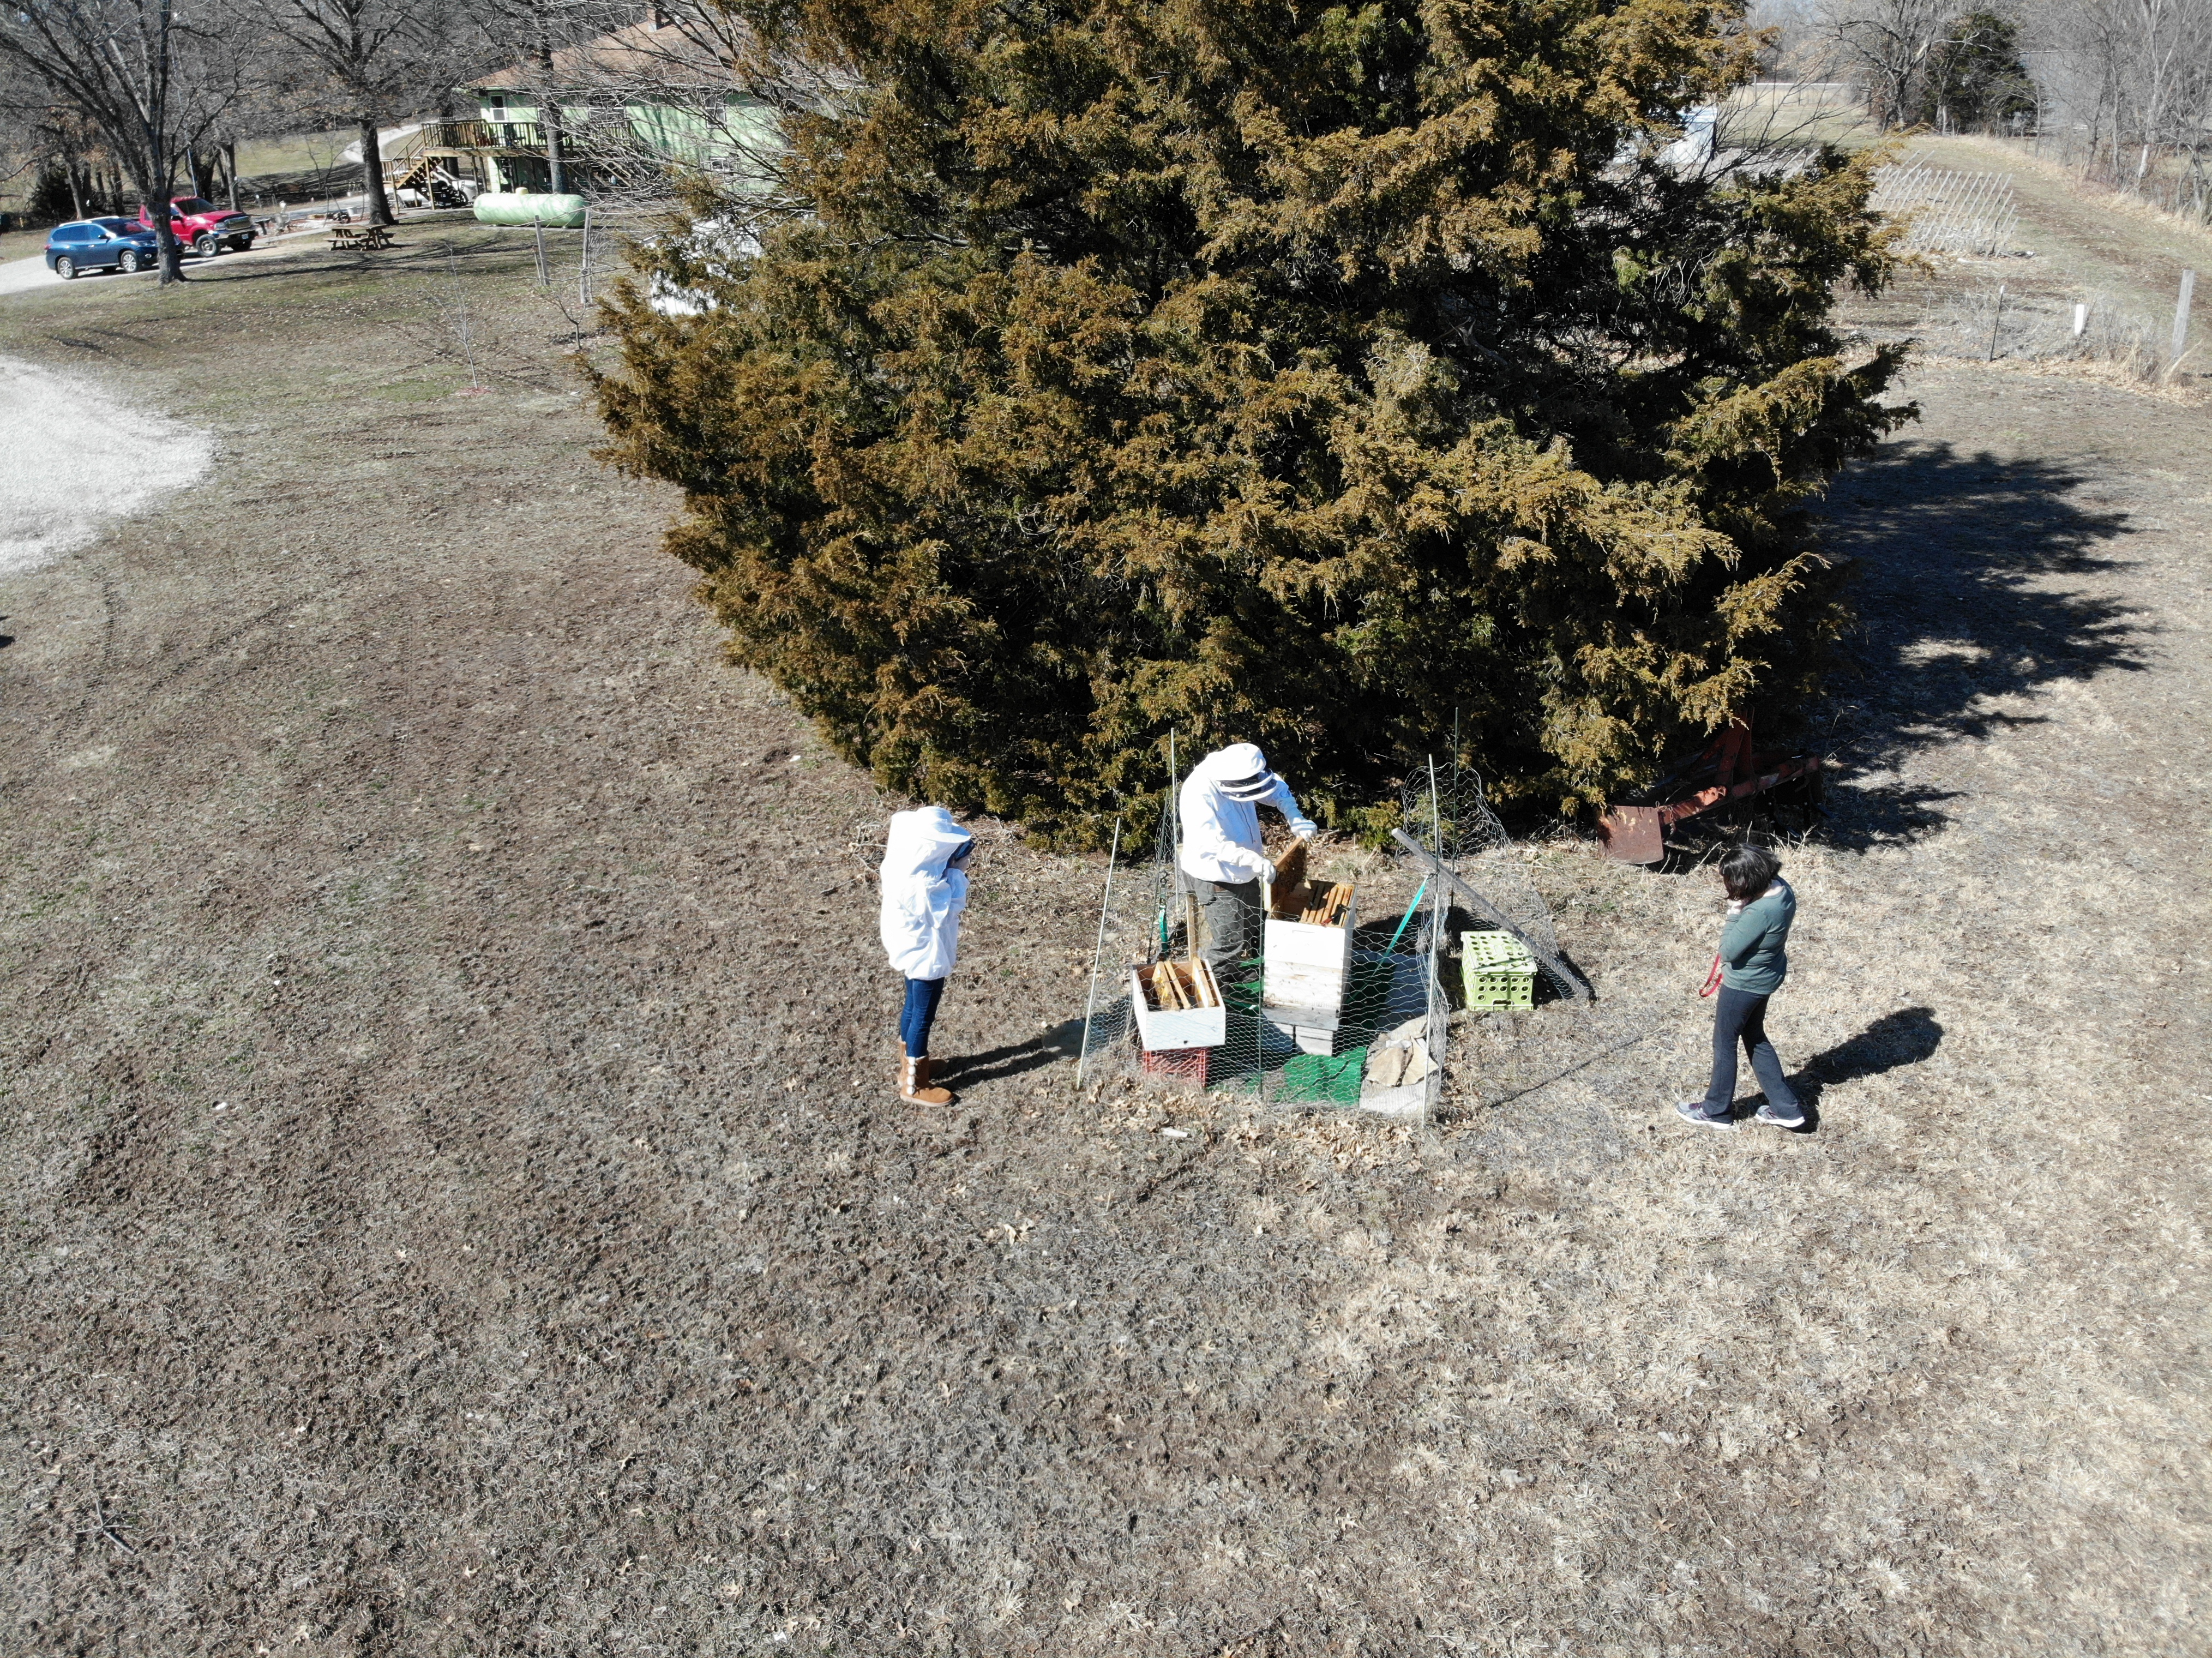
  • Getting close to dangerous things: Fire, Fireworks, Wildlife, Guns, Bees, Wasps, etc. the FPS view makes you feel like you’re there in the action

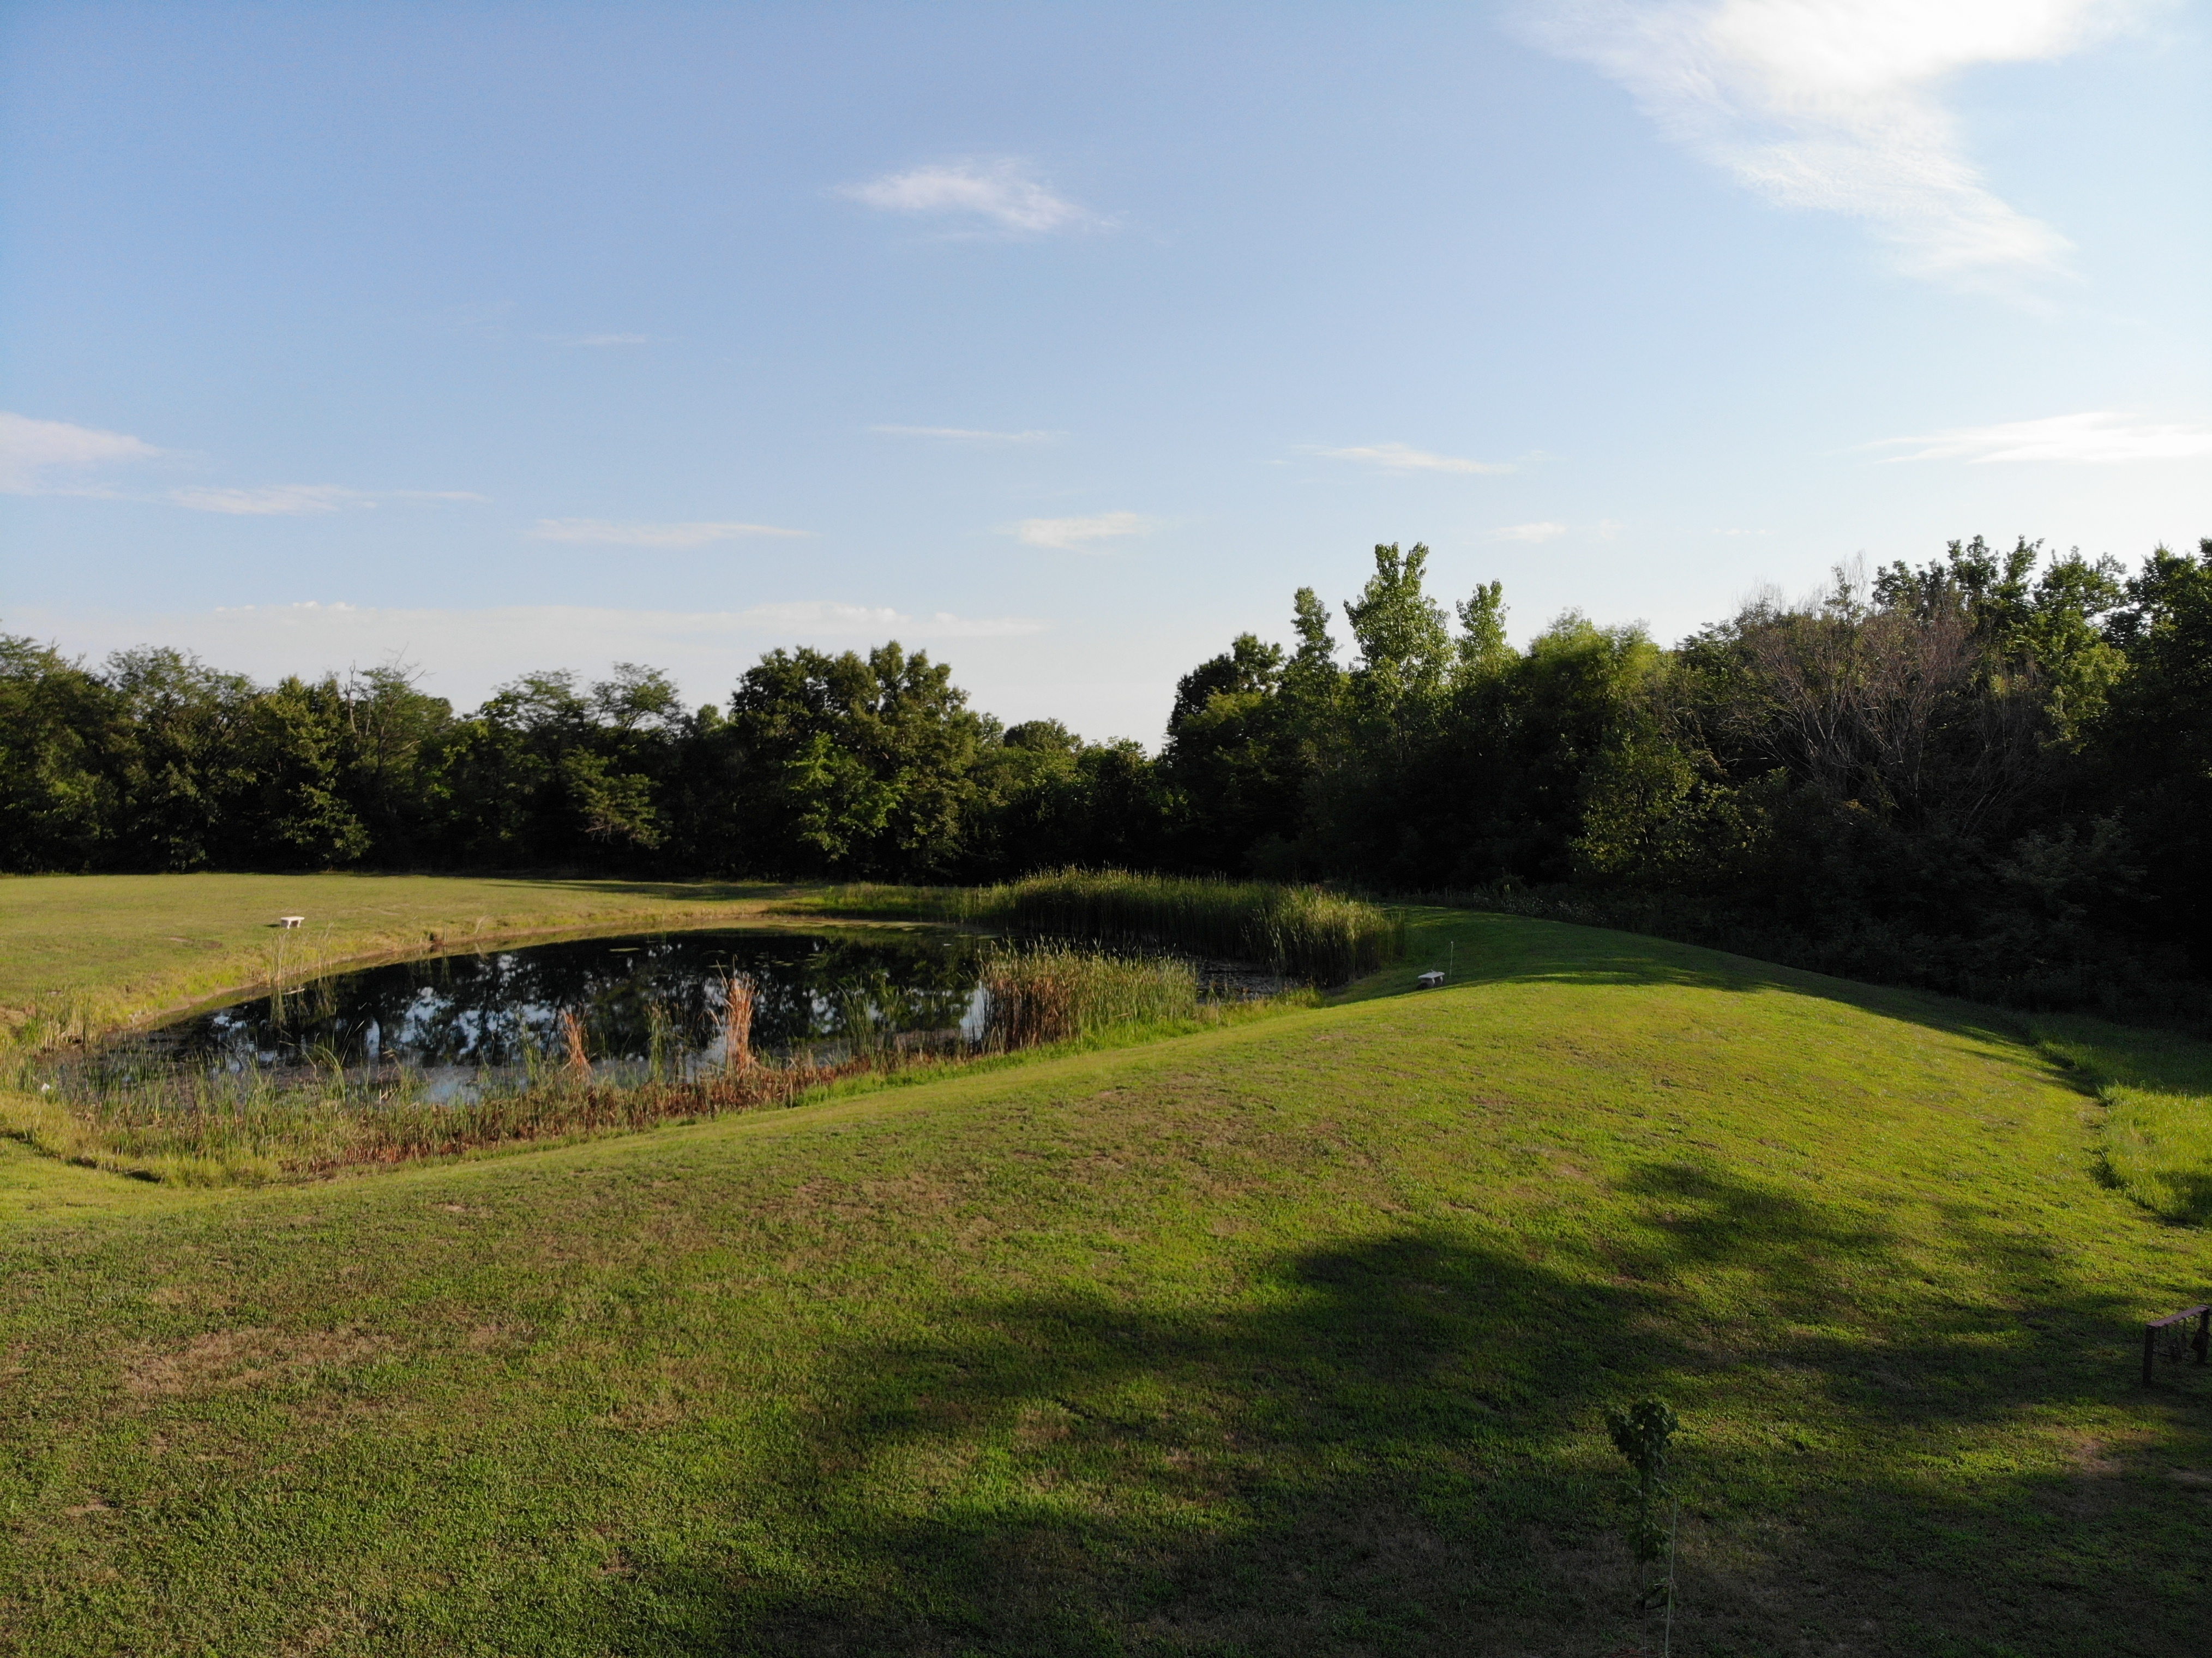
While looking back through the photos and videos for this article, I can’t help but smile. I’ve got some fantastic shots that would be impossible to get without the little machine. Quadcopters are not just for aerial pictures and videos. They’re great for anywhere that a human doesn’t easily fit, or places that would be too dangerous to be in, they make great tripods too.

Now that I’ve had a great camera drone for a year, I can’t imagine not having one. Especially a compact unit like the Mavic Air. I carry it with me almost everywhere since it folds up and fits in my laptop bag. I was a little skeptical about how much I would use it when I first purchased it and was concerned that it would be a waste of a considerable amount of money. Luckily, it turns out that my instinct to get one was justified. I consider it to be one of my favorite gadgets and look forward to all the things I’ll be doing with it in the future.

My journey from drone zero to hero with the DJI Mavic Air. Part 2.

To get stellar shots with a camera drone, it needs to have a gimbal mount. Preferably a three-axis gimbal. This technical marvel will allow your camera to stay steady and level while the drone moves around it. It’s a miniature version of the device you see mounted on the nose of news choppers and attached to Hollywood camera rigs. They come in various versions and styles; some are part of the drone itself and others can be bolted on to any vehicle powerful enough to carry them. My research led me to believe that the bolt on types were more flexible but required more adjustment to get the best results. I have little enough free time already, so I decided to go with a quadcopter that included a built-in gimbal.

gimbal_camera.jpg

Deciding on a built-in gimbal reduced my choices in hardware. There were a few other requirements for my flying camera purchase that cut the list down further. I wanted a true “drone” this time, something that had brains of its own. Features like return to home, follow me, and GPS location were important for my plans. I also needed portability. Monster octocopters with full DSLR rigs are cool, but I wanted something that could easily fit in a backpack or laptop bag.  As always, I did tons of research online and talked to a lot of people, including my brother who is an avid quadcopter pilot. In the end, I narrowed my list down to just two choices.

I’ve had the DJI Mavic Air for almost three months now. I picked it because DJI has an excellent reputation and offers an accident replacement program similar to Apple Care. I was also very impressed by its automatic flight abilities. This drone has followed me down multiple trails in the woods weaving in and out of the trees in an eerie “the robots are taking over” manner. It has sensors on the front, back, and bottom that let it hug terrain and navigate nearly any path. It’s truly amazing to see it fly itself. It also has touch and go flight, touch a spot on your screen and it will go there all by itself.

DJI makes some of the best Gimbals in the business and the one on the Mavic Air is no exception. Pictures and video look like they were taken with a camera on a tripod even when the Mavic is flying at over forty miles per hour.

I ended up getting what DJI refers to as the “Fly More” package. It comes with the drone, controller, 2 extra batteries, a multi-battery charger, extra props, and a very nice carrying case. I’ve been happy with my decision, if you go with this drone you will almost certainly want more than one battery and this package is the least expensive way to get them right now. A single battery lasts somewhere between 15 and 20 minutes in real-world conditions, depending on how fast you are flying and how hard the wind is blowing.

I’ve had the Mavic out in 12 mile per hour winds and it stays steady as a rock. Rather than me tilting into the wind, the drone’s AI automatically does it. It even auto-brakes. As you level off the pitch during a high-speed run, it automatically tilts in the opposite direction until it comes to a hover all on its own. Where was this tech back in part 1 when I was bouncing my micro-drone off the walls?

created by dji camera

Flying the Mavic compared to the micro-drone I started out with is like comparing a Yugo to a BMW.  I will say that before the Mavic, the piloting was all me. Avoiding the wall, my dog, and my wife’s face while screaming down the hallway at what seemed like mach two, was all my skill. Much like modern supercars, the Mavic can do the same with or without my input. It’s onboard AI is a better pilot than I am, but that doesn’t stop me from shifting the the switch on the remote into sport mode and fully controlling it by myself.

The Mavic Air isn’t the fastest drone on the market but something this size traveling at forty miles per hour is astonishingly quick. You will want to leave the drone in beginner mode which limits the speed and distance the vehicle can travel from the controller until you get the hang of flying. I also suggest turning on the AVS option which is the vision based obstacle avoidance.  In the video below you can see this system keeping me from hitting the trees. Watch it work out how to exit the dry creek bed and make its way to the road I touched on the map.

Now you know what drone I chose and why. At this price point, it met all my requirements and exceeded my expecations. The software, camera, and drone itself are all impressive. Watch for the next post in this series in which I’ll do a full review of the Mavic Air including shots of its software, features that aren’t commonly discussed, and more. I’ll finish the series with an article discussing useful things you can do with a drone that you might not have thought of.