
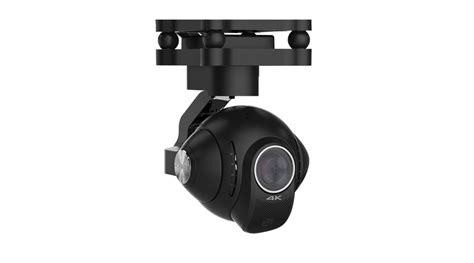
To get stellar shots with a camera drone, it needs to have a gimbal mount. Preferably a three-axis gimbal. This technical marvel will allow your camera to stay steady and level while the drone moves around it. It’s a miniature version of the device you see mounted on the nose of news choppers and attached to Hollywood camera rigs. They come in various versions and styles; some are part of the drone itself and others can be bolted on to any vehicle powerful enough to carry them. My research led me to believe that the bolt on types were more flexible but required more adjustment to get the best results. I have little enough free time already, so I decided to go with a quadcopter that included a built-in gimbal.
Deciding on a built-in gimbal reduced my choices in hardware. There were a few other requirements for my flying camera purchase that cut the list down further. I wanted a true “drone” this time, something that had brains of its own. Features like return to home, follow me, and GPS location were important for my plans. I also needed portability. Monster octocopters with full DSLR rigs are cool, but I wanted something that could easily fit in a backpack or laptop bag. As always, I did tons of research online and talked to a lot of people, including my brother who is an avid quadcopter pilot. In the end, I narrowed my list down to just two choices.
I’ve had the DJI Mavic Air for almost three months now. I picked it because DJI has an excellent reputation and offers an accident replacement program similar to Apple Care. I was also very impressed by its automatic flight abilities. This drone has followed me down multiple trails in the woods weaving in and out of the trees in an eerie “the robots are taking over” manner. It has sensors on the front, back, and bottom that let it hug terrain and navigate nearly any path. It’s truly amazing to see it fly itself. It also has touch and go flight, touch a spot on your screen and it will go there all by itself.
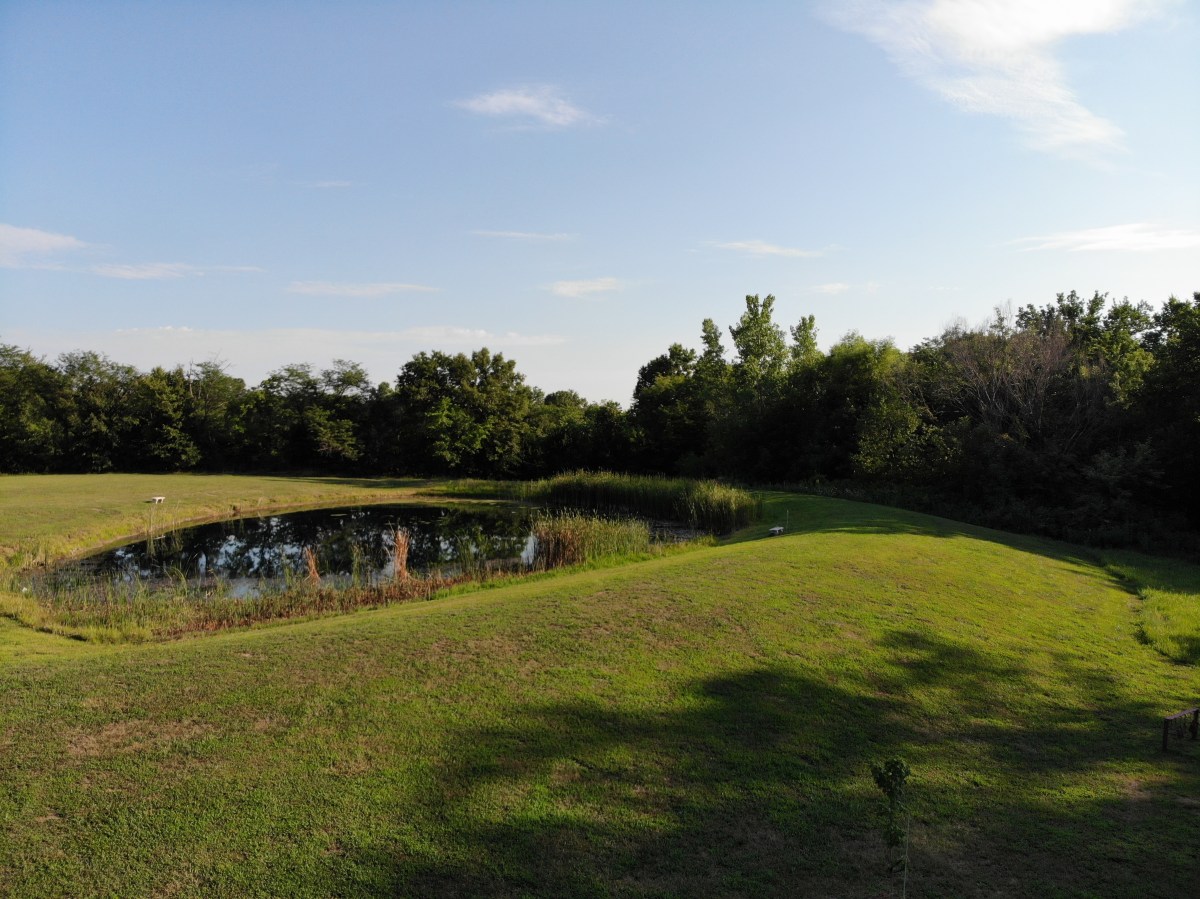
DJI makes some of the best Gimbals in the business and the one on the Mavic Air is no exception. Pictures and video look like they were taken with a camera on a tripod even when the Mavic is flying at over forty miles per hour.
I ended up getting what DJI refers to as the “Fly More” package. It comes with the drone, controller, 2 extra batteries, a multi-battery charger, extra props, and a very nice carrying case. I’ve been happy with my decision, if you go with this drone you will almost certainly want more than one battery and this package is the least expensive way to get them right now. A single battery lasts somewhere between 15 and 20 minutes in real-world conditions, depending on how fast you are flying and how hard the wind is blowing.
I’ve had the Mavic out in 12 mile per hour winds and it stays steady as a rock. Rather than me tilting into the wind, the drone’s AI automatically does it. It even auto-brakes. As you level off the pitch during a high-speed run, it automatically tilts in the opposite direction until it comes to a hover all on its own. Where was this tech back in part 1 when I was bouncing my micro-drone off the walls?
Flying the Mavic compared to the micro-drone I started out with is like comparing a Yugo to a BMW. I will say that before the Mavic, the piloting was all me. Avoiding the wall, my dog, and my wife’s face while screaming down the hallway at what seemed like mach two, was all my skill. Much like modern supercars, the Mavic can do the same with or without my input. It’s onboard AI is a better pilot than I am, but that doesn’t stop me from shifting the the switch on the remote into sport mode and fully controlling it by myself.
The Mavic Air isn’t the fastest drone on the market but something this size traveling at forty miles per hour is astonishingly quick. You will want to leave the drone in beginner mode which limits the speed and distance the vehicle can travel from the controller until you get the hang of flying. I also suggest turning on the AVS option which is the vision based obstacle avoidance. In the video below you can see this system keeping me from hitting the trees. Watch it work out how to exit the dry creek bed and make its way to the road I touched on the map.
Now you know what drone I chose and why. At this price point, it met all my requirements and exceeded my expecations. The software, camera, and drone itself are all impressive. Watch for the next post in this series in which I’ll do a full review of the Mavic Air including shots of its software, features that aren’t commonly discussed, and more. I’ll finish the series with an article discussing useful things you can do with a drone that you might not have thought of.

One thought on “My journey from drone zero to hero with the DJI Mavic Air. Part 2.”