
Now that we have our groupware server up and routing mail; we’ll need to configure some mailboxes for the mail to be delivered to. There are several types to choose from but we’ll stick to a standard user mailbox and a shared mailbox; two of the most common. The others work the same way you’ll just use different drop-downs and end up with different options.
CONFIGURE USER MAILBOXES
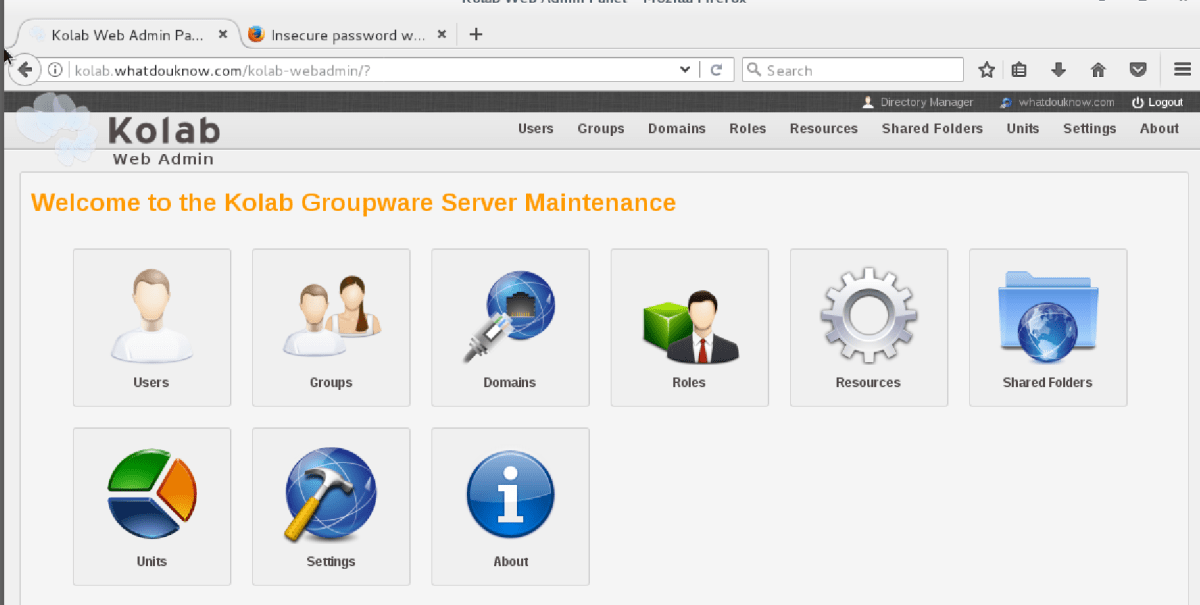
- Logon to the Kolab Web Admin panel in a browser that has access to your virtual machine. If you installed a GUI on your Linux server, its built-in browser will work.
- Click on the Users icon.
- Selecting Kolab User from the drop-down box will present a tabbed form that allows you to configure a standard user mailbox including the LDAP account.
- Complete all the fields on all the tabs then click Submit.
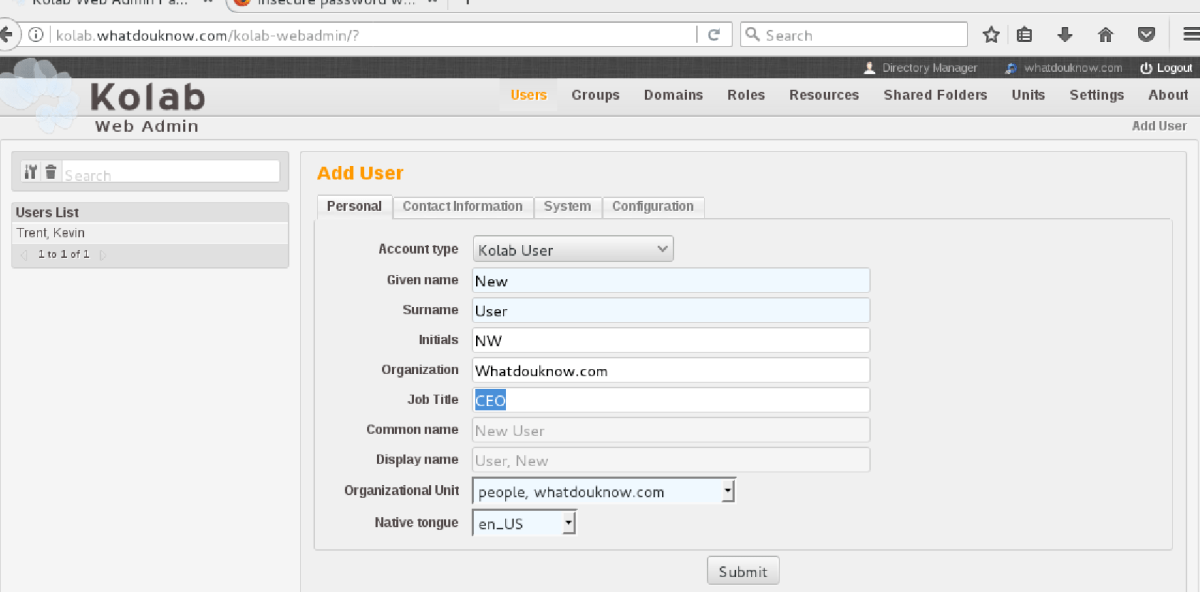
- Create at least two user accounts so you can test your server.

Explore the Web-Mail Interface
- Open the web browser and go to https://youserverfqdn.com/roundcubemail/
- You’ll be presented with a very nice web mail interface.
- Compose a message from user A to user B and send it.
I like to use two different browsers to log on as both users at the same time. The system will prevent two logons from the same client IP.
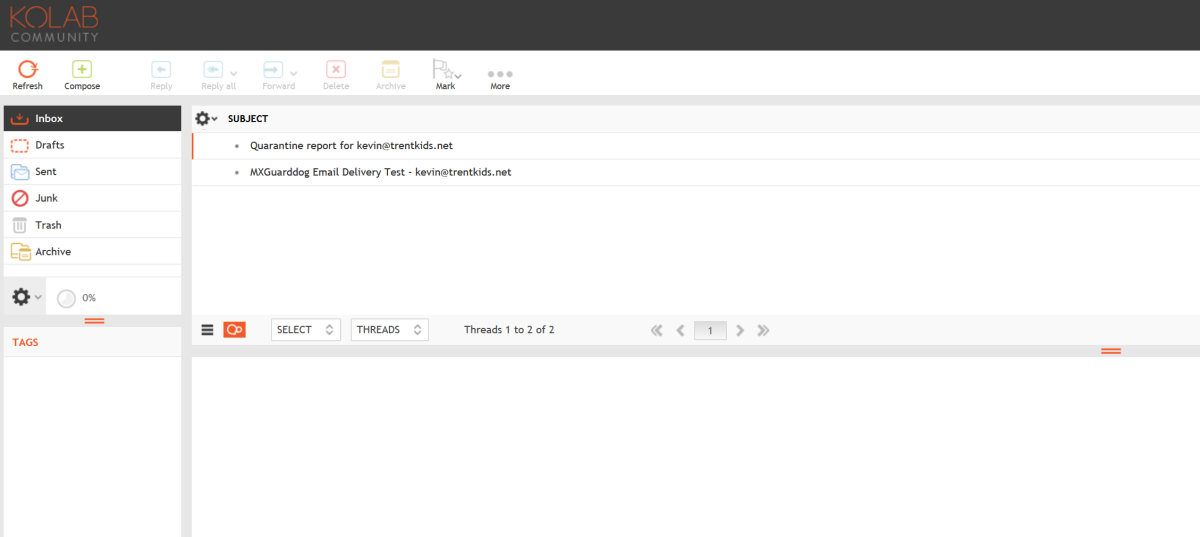
Switch between Email, Calendar, Contacts with the icon in the upper right. 
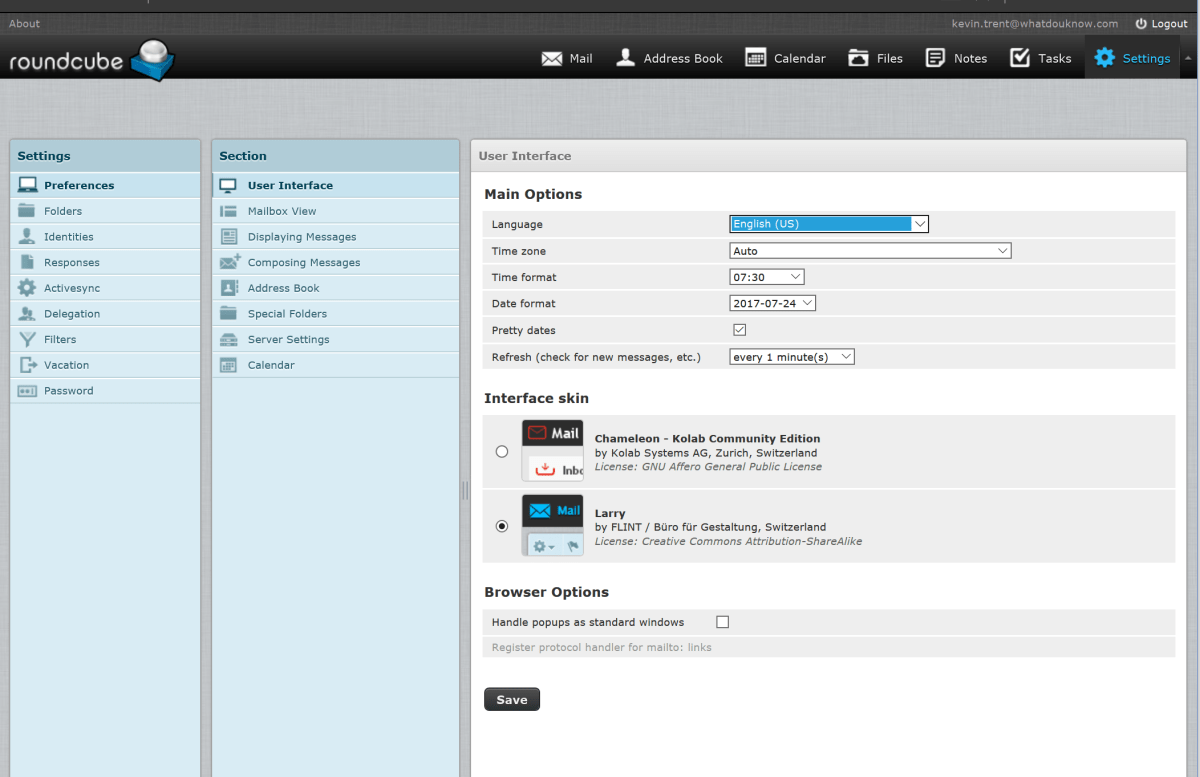
Settings
Look in the settings menu system to personalize, delegate and control your mailbox. This web client is very robust and customizable.
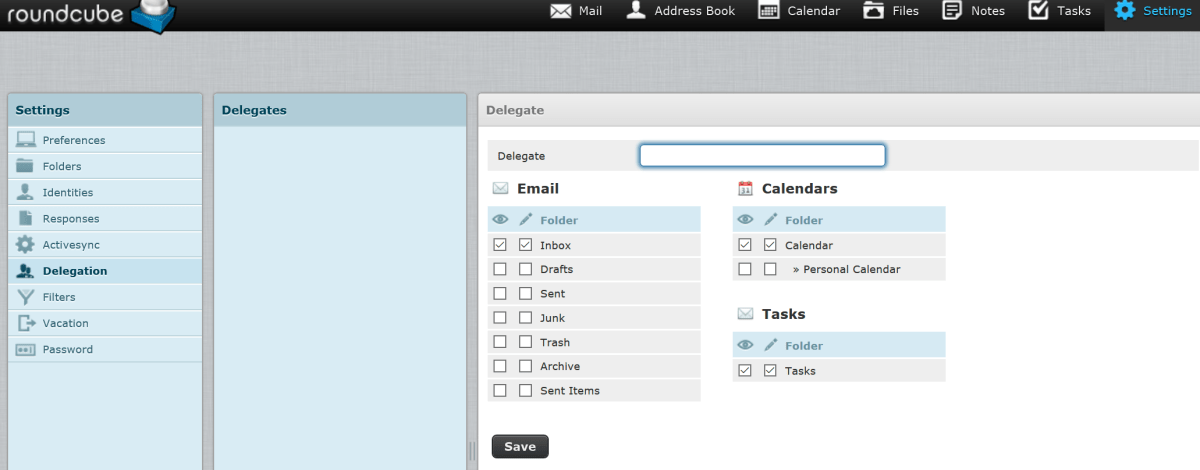
The menus are intuitive and self-explanatory. Each menu has sub-menu’s for the selected category. For example under Preferences you can control how things look and feel.
Other Clients
See the Kolab documentation for configuring other clients. Your choices are: Microsoft Outlook; Mozilla Thunder Bird, or Kontact the vendor’s client software. Its IMAP protocol is accessible by a wide range of apps and clients across all devices. https://docs.kolab.org/client-configuration/
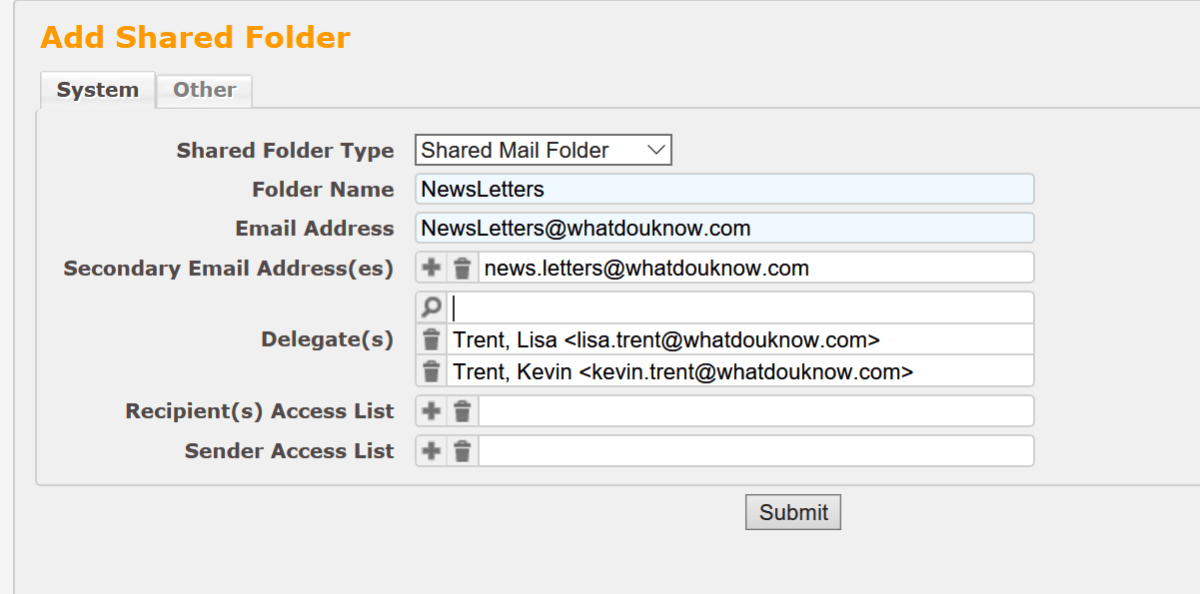
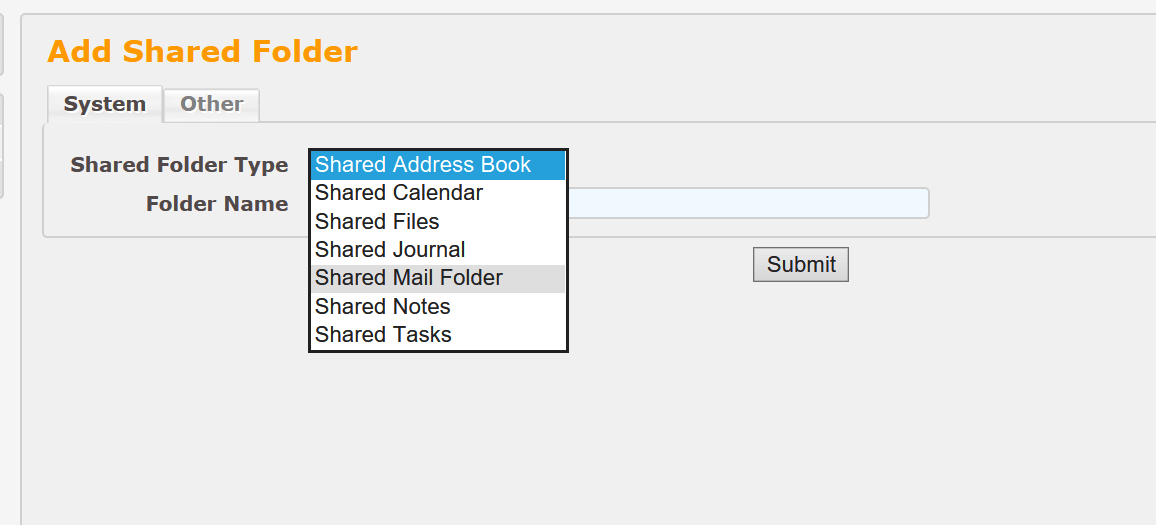
Create a Shared Mailbox
- Open the Web Admin Console
- Click the Shared Folder Icon.
- Select Shared Mail Folder from the drop down and click the Submit button.
- Fill out the form and click Submit.
To Use/Open the shared folder
- Open the Web client.
- Click the gear setting at the bottom of your folder list and click manage folders.
- Select Folders and check the Shared Folder’s box in the list.


Now that you can route mail to mailboxes you are able to implemeant and access it via several client types you should be ready to expand your system. If you’re setting this up for a small company or POC with 40 or fewer users, you’ll just need to setup some type of backup/restore (snapshotting the VM works just fine) and you should be ready to run. Start expanding your users, groups, and shared resources.
