
In the previous Kolab article we installed our messaging and collaboration server on a Windows hosted Hyper-V VM. Now we’ll set it up to function as a live email server.
Firewalls
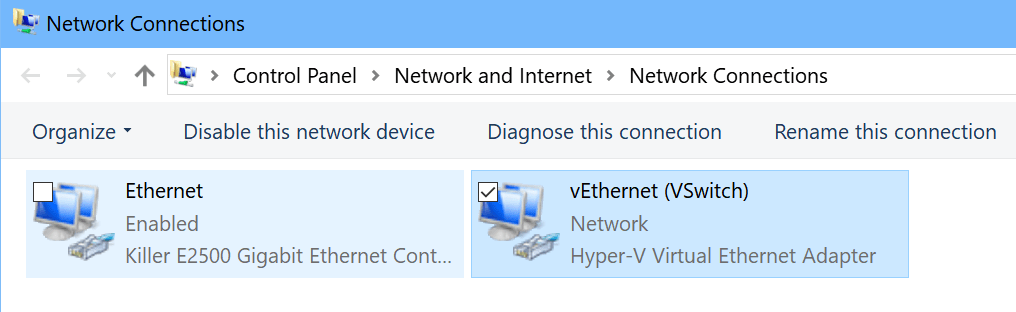
People often assume that because our Linux VM is hosted on a Windows computer that we will need to adjust or turn off the Windows firewall (or Symantec, McAfee, Avast, etc.) but this is not the case. When we created our V-switch the VM received its own network interface that is separate from the host computer’s interface. You can view it in the Network Connections control panel. This NIC is not tied to any of the software firewalls you may have installed on your Windows host system. The only firewalls that will be in play are your gateway device (router, cable modem, etc.) and the software firewall on your Linux VM. We’ve already allowed the required ports on the Linux firewall.
If your network is protected by a physical firewall of some type (it should be), you will need to forward the following ports from it to your Kolab server: TCP 25, TCP 110, TCP 143, and TCP 587. If you’re not sure what your Kolab server’s IP address is, the easiest way to obtain it is by running the command ifconfig (just like ipconfig) from its terminal. Unless you have customized your NIC, the eth0 interface is likely the one in use.

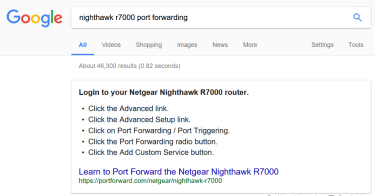
Precise instructions for forwarding the ports from your physical firewall is outside of the scope of this document. There are too many variations and types of firewall devices for me to document the process. Most of them involve logging on to the Admin console (usually a web page or app); locating the forwarding tab, and entering the correct ports in the box (or selecting them from a drop-down list) along with the destination IP address. If you are having trouble; google “The name/model of your firewall, Port Forwarding” and you’ll probably find step by step instructions.
Inbound Email Routing
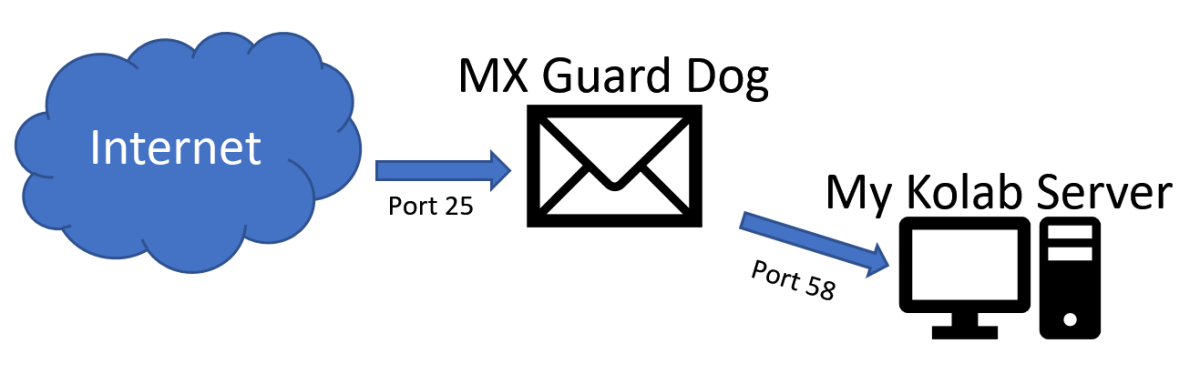
To route email from the Internet to our Kolab server we’ll need to configure our domain namespace to identify it as a post office. This process can be tricky, especially if you are attempting it on a residential Internet connection. Many ISPs do not allow SMTP (email protocol) hosting via residential connections and block incoming requests on port 25 (standard SMTP port). Evading detection usually involves a man in the middle service of some kind. My anti-SPAM service, mxgaurddog.com provides this function for me. My public MX records (next paragraph) points at their servers and they deliver the mail to my server on a non-standard port directly to its IP. This also serves as a very effective way of preventing various types of attacks against my domain. If you try something similar you will need to add your custom port to the firewall on your Linux VM (refer to the previous article for examples of how to do this).
MX records (Mail Exchanger) are what the internet uses to direct mail to the server(s) that are responsible for receiving messages for a given domain name (it identifies your post offices address). Again, precise instructions are not possible because ISPs, Domain Providers, and DNS servers can all be quite different from one another. The general process involves configuring a host record on your domain registrar’s DNS servers that targets your network’s public IP address. You can obtain the public IP address assigned to your network by visiting www.ipchicken.com from any system connected to your network. For example; if your public IP was 192.51.124.7 and your domain was mydomain.com. You would create an A (host) record for kolab.mydomain.com pointed at 192.51.124.7 and an MX record that points at the host kolab.mydomain.com. If you google “Your domain name provider, setup MX record” you will probably find step by step instructions.
If you are using a “man in the middle” service like MX Guard Dog your MX record will point at their systems and they will target your network’s public IP address. Your chosen service will provide you with exact configuration instructions.
Your ISP may provide you with a “leased” public IP address. This means the address can or will change over time. If you have a leased address you will need to logon to your domain name registrar’s site and update the IP address for your mail host when it changes or use a service that does it for you. NoIP.com is one of the most popular; https://www.noip.com/.
Outbound Email Routing
If you are setting up your Kolab server on a network with a business class Internet connection you should be all set to send email assuming you have allowed the correct ports out of your firewall(s). Many business class firewalls allow all outbound traffic and sending email is simply a matter of our Kolab server asking DNS for the recipient’s MX record and then sending the message to the specified address. If you company guards its outbound ports you will need to allow port 25 (SMTP) and port 53 (DNS) from the Kolab server to the internet.
If your business class connection has a dedicated perimeter SMTP relay, uses a service that provides egress for email (ProofPoint, Office 365, etc.), or if you are attempting to setup your Kolab server on a residential network, you will need to configure Kolab to use a “Smart Host relay”.
Residential ISPs do not usually allow an email server to send mail. Smart hosts act as a man in the middle for outbound mail. This service is usually very expensive to pay for. Sending mail also allows you send SPAM and we all hate that. To prevent it, a collection of blacklists on the Internet (Google it) stop servers connected to dynamically assigned IP addresses from sending mail. However, most ISPs provide you with an email account and if you are not trying to send mass mail campaigns you can use the smart host feature to connect to that account and send mail.
To configure Kolab to use a SmartHost you will need to edit the main.cf file.
- Open a Terminal session on your Kolab server and give it root access (sudo -i)
- Type: gedit /ect/postfix/main.cf
- Add the following entries to the end of the file (edit to fit your requirements):
- relayhost = [my SmartHost FQDN]:587 (or specified port)
- smtp_sasl_auth_enable = yes
- smtp_sasl_security_options = noanonymous
- smtp_sasl_password_maps = hash:/etc/postfix/sasl_passwd
- smtp_tls_key_file = /etc/pki/tls/private/localhost.pem
- smtp_use_tls = yes
- smtp_tls_security_level = encrypt
- smtp_tls_note_starttls_offer = yes
- Now we need to edit the password file to conatin our username and password
- gedit /etc/postfix/sasl_passwd
- [my smarthost FQDN]:587 (must match relayhost) Myusername:MyPassword
- Run the postmap command
- Type: postmap /etc/postfix/sasl_passwd
- Restart the Postfix server
- Type: service postfix restart
Now our Kolab server is configured to send and receive email. In the next article we’ll discuss user and mailbox configuration.
