
Chances are that after a few years of carrying around a camera with you near constantly, you’ve probably racked up a stack of epic pictures that you’d rather stare at instead of the usual melting clock wallpaper fair. Windows 10 makes setting up your own custom theme using your pictures ridiculously easy.
First you’ll need to separate out all your favorite pics. Copy and paste them in to a folder anywhere on your hard disk. As a beginner’s tip; I suggest that you choose pictures with a wide-angle (large area) view. They tend to look better as background pics than those that are of tight spaces.
Now that you have your pictures all picked out. Open your notifications pain and click the All Settings button. 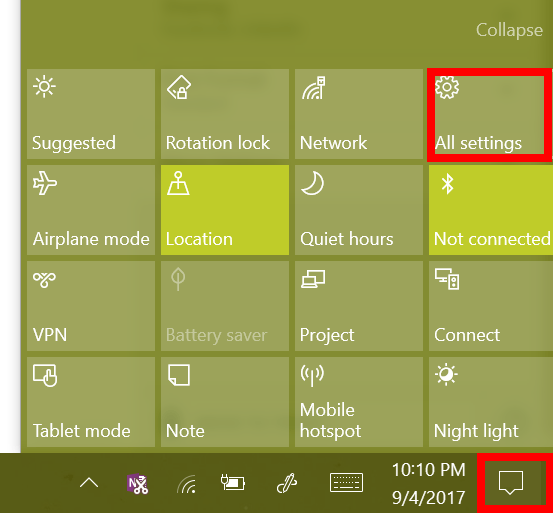
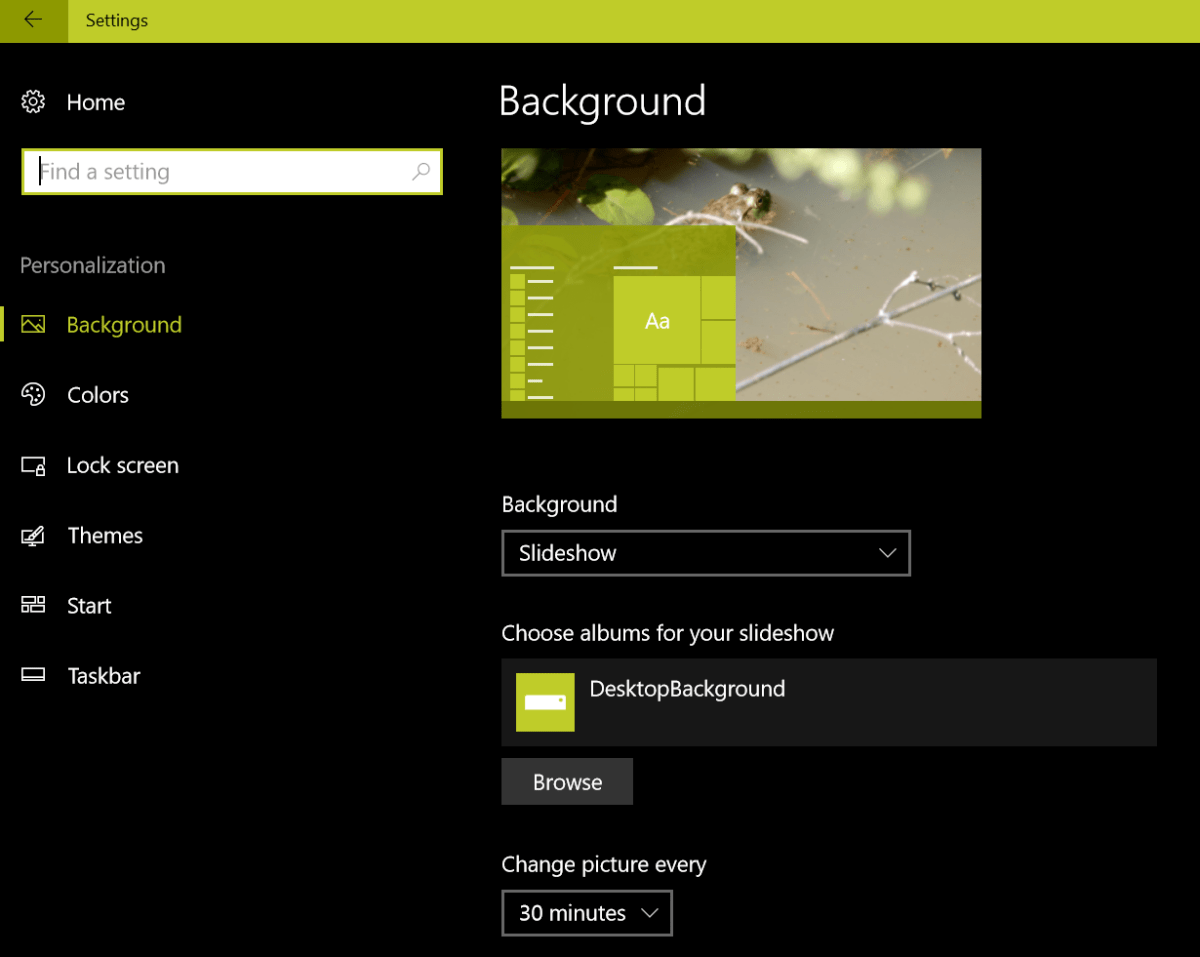
Choose Personalization from the menu and then click on Background in the menu on the left. Choose Slideshow in the drop down box in the center. Now use the browse button to locate the folder you saved all of your epic pictures in. Basically you want your screen to look like mine does below but with your folder’s name.
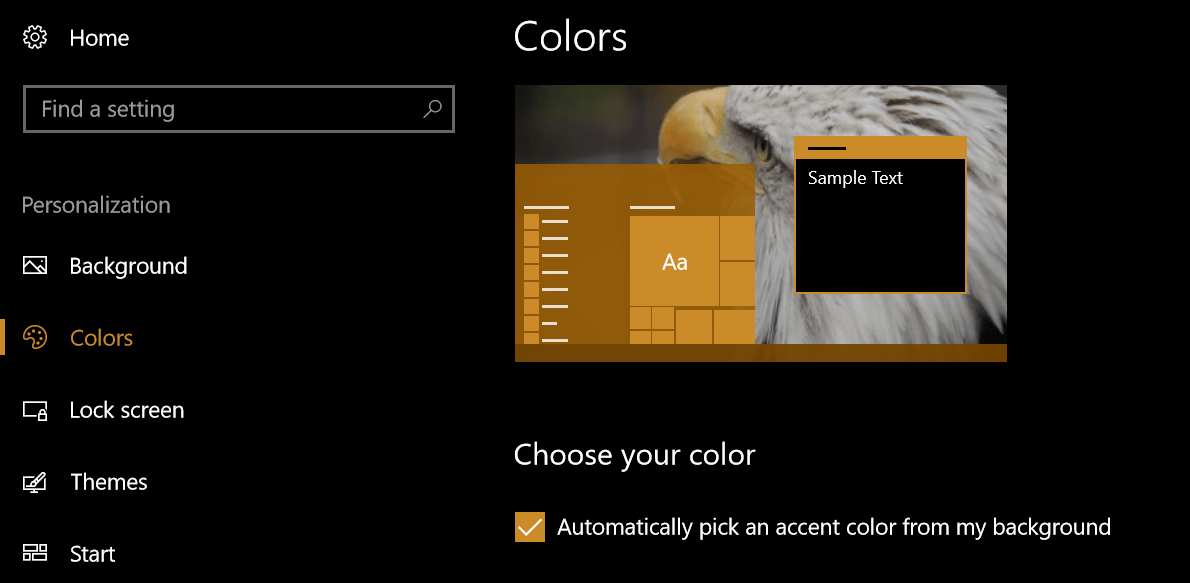
Now pick colors from the menu on the left and check the box that says to automatically pick a color from your image.
That’s it. Your background will now cycle through all the pictures in your folder and the task bar and window colors will change to match the selected picture. It’s one of my favorite features in Microsoft’s new OS. If you haven’t already upgraded, you should think about it.

2 thoughts on “Make a Windows 10 Theme from your personal pictures”