So you have downloaded, installed, and configured an evaluation edition of Windows Server 2019. You’ve installed your software and been cruising along with everything working fine. The decision has been made to keep the machine permanently, so you get procurement to purchase a volume license and figure you’ll activate the server with the new keys once the financial transactions are all squared away. Piece of cake.
Purchasing tells you the new keys are in the VLSC. You logon and retrieve them, open up the system properties, paste in the new key and blamo! It won’t activate. Fine you think, I’ll switch over and use the CLI, it always works. Open an elevated console, type in slmgr /ipk XXXX-XXXX-XXXX-XXXX-XXXX (your key) and hit enter. Huh, that didn’t work either?
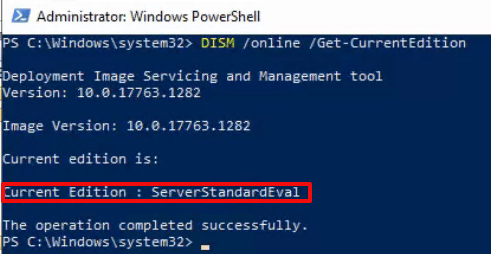
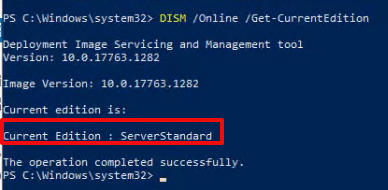
Here’s the deal, you can not apply a VLSC MAK Key to an evaluation edition because they are not the same version. The “Evaluation Edition” is considered to be a standalone edition of Windows. You can see this by opening an administrative PowerShell console and running: DISM /Online /Get-CurrentEdition
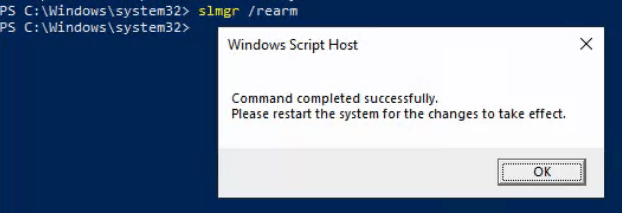
Contrary to some of the posts that I read when I ran into this snafu, the server can be upgraded to a full edition and your key can be applied without re-installing the server’s OS. It’s just a more circuitous route than you would probably like. If you are running low on time, you can extend the evaluation license for another 180 days by re-arming it. In the same administrative PowerShell console run: slmgr /rearm. You will be prompted to reboot.
Now that you have bought yourself some time. You will need to convert the evaluation edition of Windows to a production version using a General Volume License Key (GVLK), which are used when setting up KMS clients. Microsoft publishes a list of those keys here. I suggest that you make a backup or snapshot of the server before attempting a conversion.
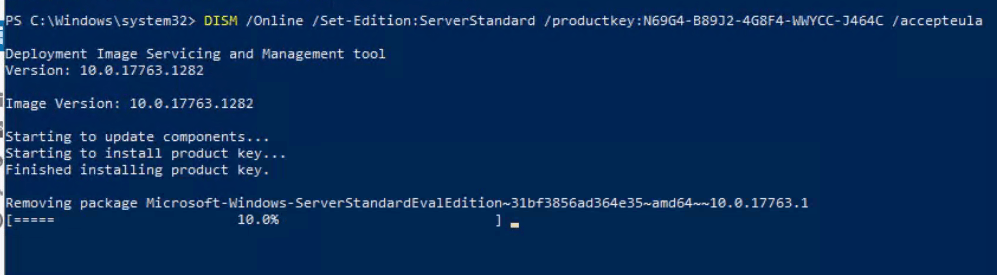
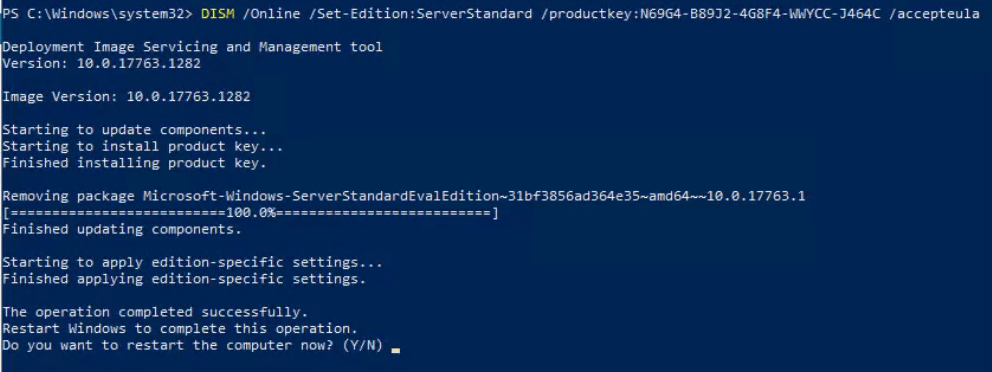
Open an administrative PowerShell prompt and run: DISM /Online /Set-Edition:ServerStandard /productkey:N69G4-B89J2-4G8F4-WWYCC-J464C /accepteula. Match the product key to the edition you want to end up on, listed in the Microsoft link above. The conversion can take hours to complete. I recommend that you reboot when the process is finished, even if you are not prompted to do so.
Verify everything worked by opening an administrative PowerShell console and running: DISM /Online /Get-CurrentEdition again. This time the version should match the GLVK key that you used.
In the same PowerShell console run: slmgr /ipk XXXX-XXXX-XXXX-XXXX-XXXX (your key) and hit enter. This time you should get a pop-up saying the product key was installed successfully. Click the OK button. Now run slmgr /ato, you should get another pop-up that says Activating Windows XXXXXXX edition Product activated successfully. Click the OK button. You’re done.

For an Enterprise Evaluation OS workstation, I would use Window10Enterprise64-bit?
DISM /Online /Set-Edition:Window10Enterprise64-bit /productkey:N69G4-B89J2-4G8F4-WWYCC-J464C /accepteula
LikeLike
For an Enterprise Evaluation OS workstation, I tried
DISM /Online /Set-Edition:Enterprise /productkey:NPPR9-FWDCX-D2C8J-H872K-2YT43 /accepteula
I got an error: Setting and edition is not supported with online images
Is there a workaround?
LikeLike