
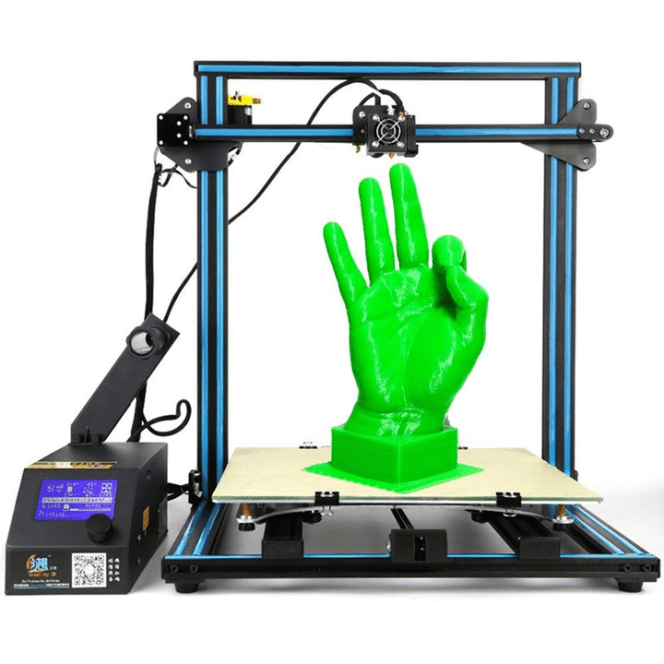
The 3D printers we have all become familiar with over the last ten years use an additive process to create objects from digital maps. The X,Y,Z mechanisms contained within their erector set frames, lay rows of molten plastic one on top of the other to build up structures millimeter by millimeter. They are fantastic machines that continue to amaze with their ability to bring items from our imagination into the physical world.
The inverse of additive manufacturing is subtractive. Material is removed to create structures. Think of whittling a stick into a spear. 3D laser printers use X,Y,Z mechanisms similar to those found in 3D printers to burn or cut shapes from various materials.
You may have seen a commercial for a machine named the “Glowforge”. That device is the top-shelf of at home laser cutting and engraving systems. As with most tech gear, there are lower priced alternatives that lack some of the creature comforts, but still get the job done. Research on the topic revealed the need to focus on a powerful laser, as close to 40w as possible. Dealing with that much heat and smoke requires generous cooling and ventilation systems and a large enough power supply to keep the electrons flowing.
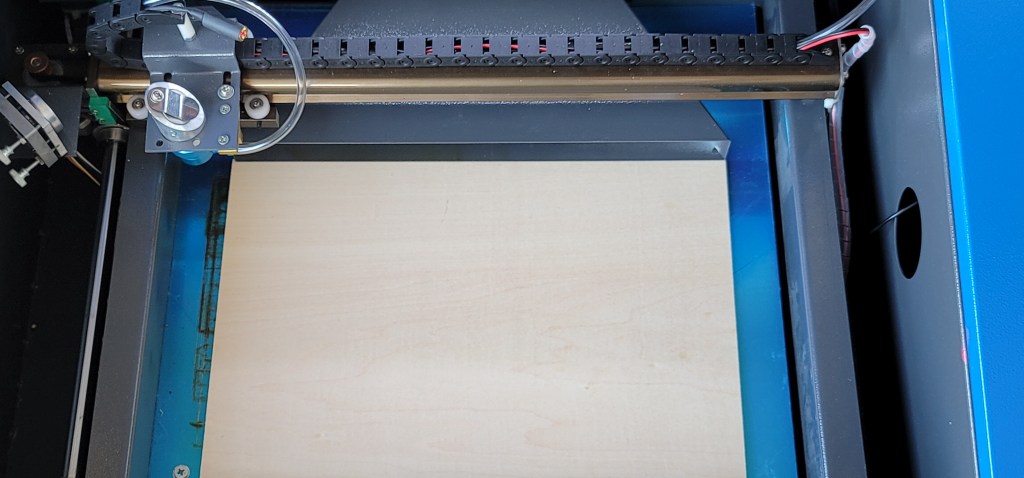
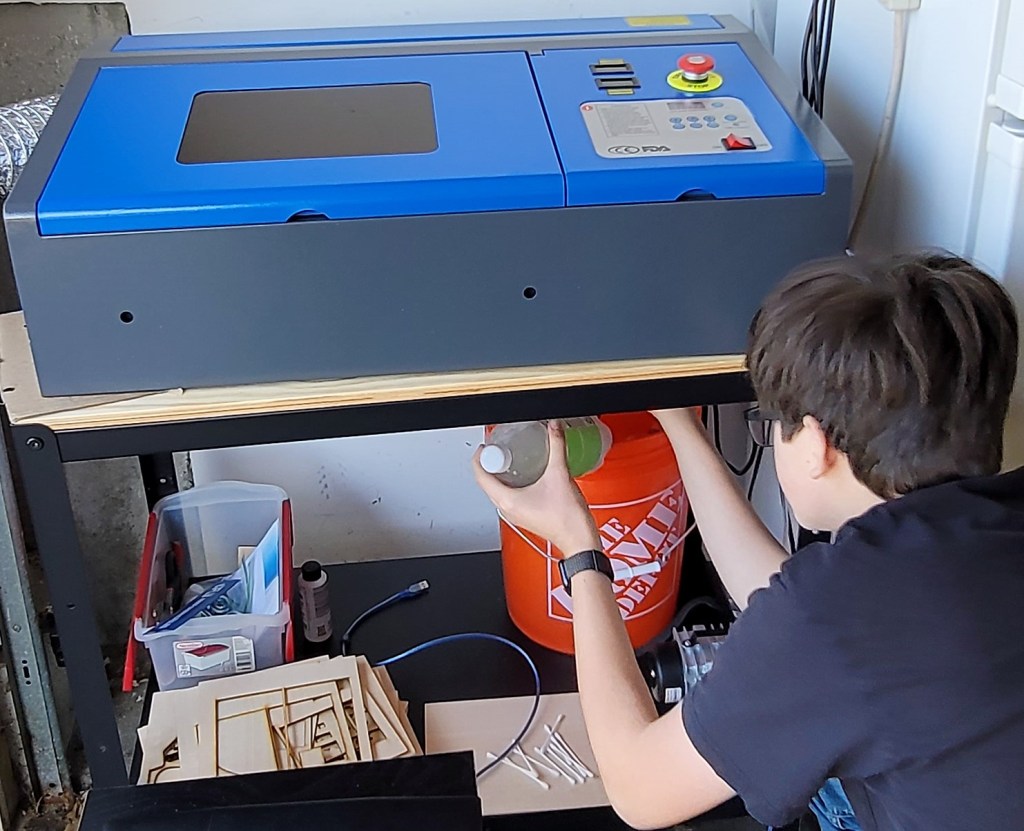
It may look like something out of a 1950’s space serial, but the OMTech 40W CO2 Laser Engraver Cutter has everything a hobbyist or semi-pro might need. This is one of the many names attached to the ever growing family of K40 devices that many use as their vehicle to enter the 3D Laser printing community.
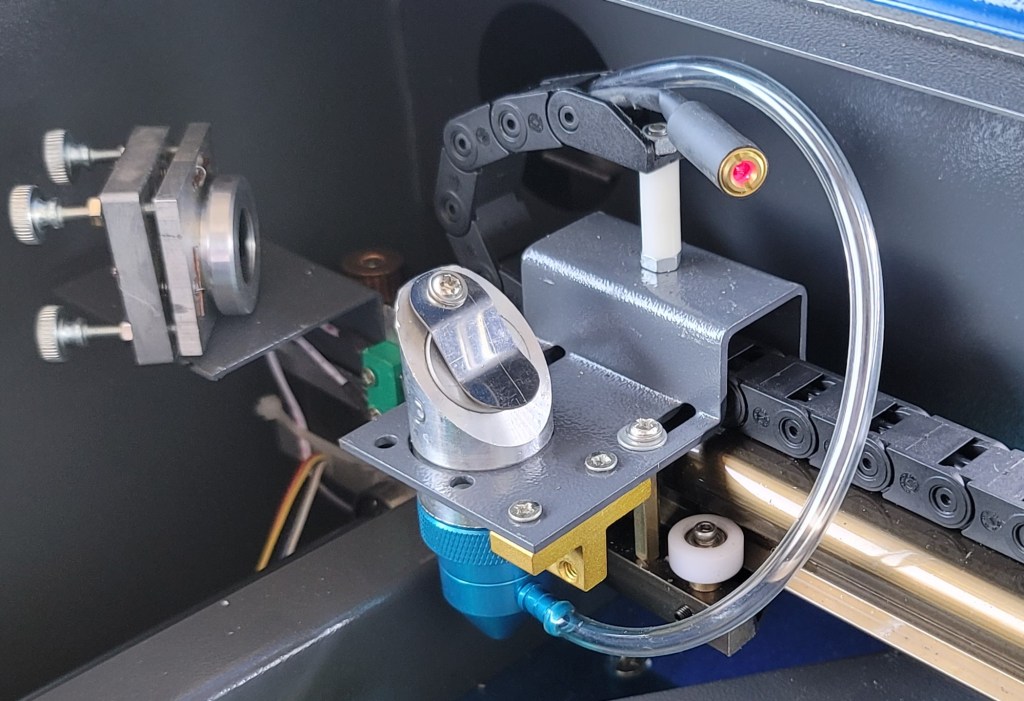
In true DIY fashion there are also numerous add-ons and modifications to upgrade nearly every piece and function of the K40 with. One of the first mods new owners go for is to add an air pump (aquarium pump), some hose, and a nozzle to create a blower that pushes ablated material out of the way for the next pass.
Out of the box, good K40 units like the OMTech are ready to go for introductory use. They are serious pieces of equipment, the laser is powerful enough to cause harm. If you are pondering getting one of your own, consider that these machines are burning various materials, some make noxious smoke. Therefore your setup will require good air flow. I recommend that you download and read the manual before making a purchase.
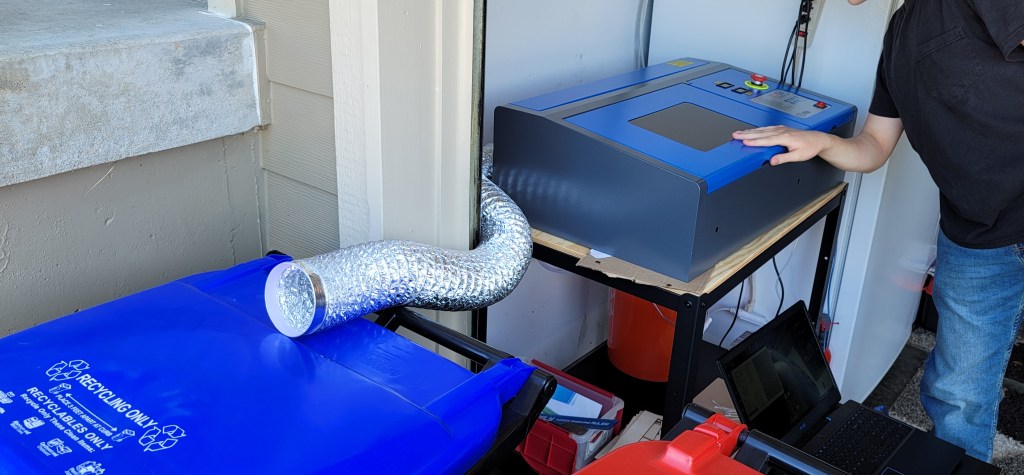
As for the smoke thing, our K40 is on a kart we picked up at IKEA that can be wheeled out to work in the driveway. The unit has a built in exhaust fan and uses the same type of flexible exhaust tube that a clothes dryer does. On cold or rainy days we wheel the kart close to the garage door and open it just enough to pass the exhaust tube through. I would not try to put a unit like this in a living space. The amount of smoke it makes can be substantial and occasionally overwhelms the exhaust system.
If you fail to keep the glass tube, in which the laser generator is encapsulated, cool enough, it will crack and ruin your expensive machine. Good kits include a water pump, tubing, and temperature sensors to prevent over-heating. You will need to supply a five gallon bucket with a couple of holes drilled in the lid. Pass the tubes through the holes, put the pump in the bottom of the bucket along with the water-temp probe, fill the contraption with three gallons of distilled water.
Distilled water is important to prevent mineral deposits from building up on the laser. If the area you work in is warm you will find that you can’t burn long before the water reaches the recommended max temp. Fill a couple of one-liter pop bottles to 75% and drop them in your freezer. Add them to the water bucket to keep things cool. The water will need to be changed on a regular basis to keep it as free from contaminants as possible. Don’t make the rookie mistake of putting your cooling bucket out of easy reach.
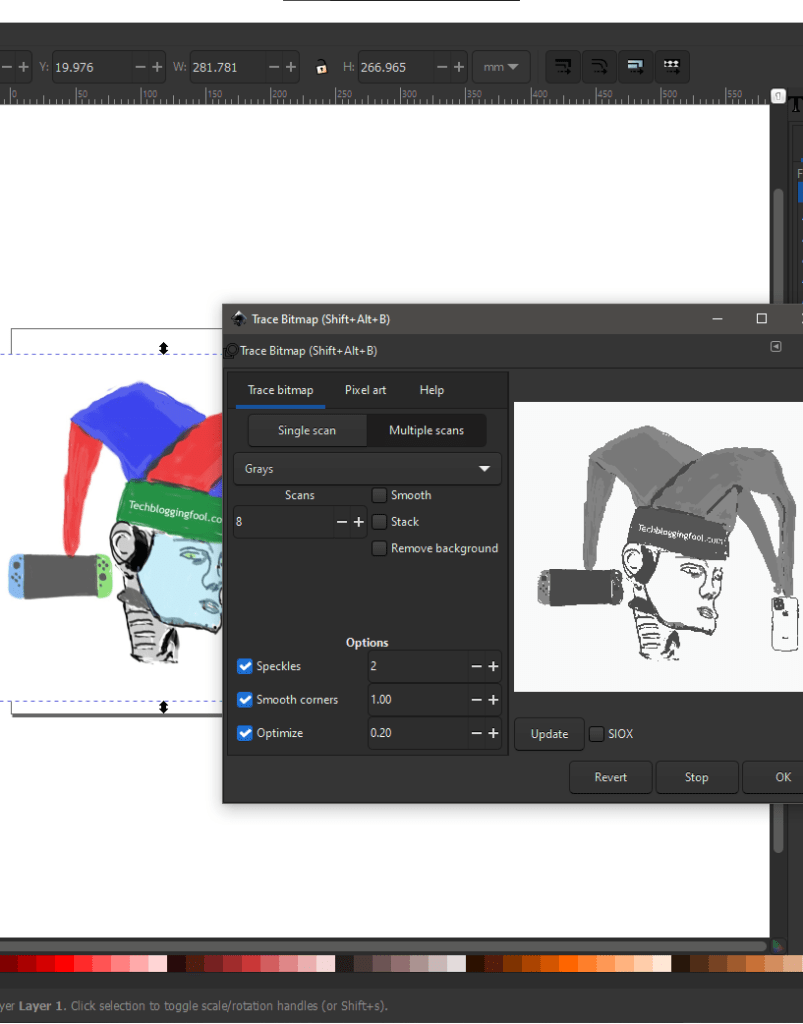
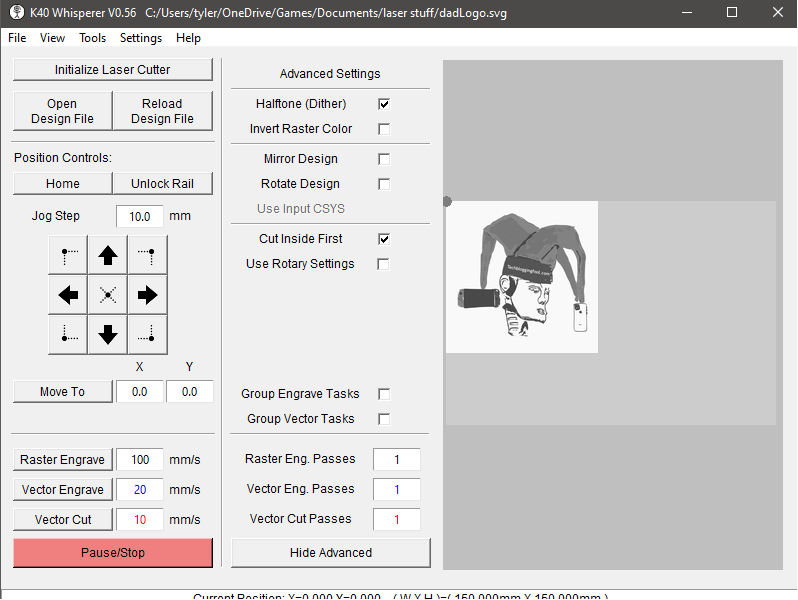
There is also the software to consider. What good is your fancy laser cutter if you can’t process your designs and images into instructions that your rig can follow? There are a lot of application choices out there, but the K40 crowd leans toward a combination of two open source titles Inkscape and K40 Whisperer. Since you’ll be googling your way through the first few burns, it makes sense to follow suit and use the same packages the bloggers do. Life is just easier when we all use the same software.
If you are new to laser 3d printing, expect to spend a couple of days getting the machine setup the first time. You have to unpack and remove the tape from your laser. Get the unit setup on a kart, which takes several hours to assemble itself. Drill two holes through the lid of a clean 5 gallon bucket to put your cooling pump in. Fill the bucket with your pump, 3 gallons of distilled water, and an ice bottle to keep it cool. Test the mirror alignment by following the instructions that came with your laser. Run the temperature probes and connect them to the controller. Install the two software packages to your laptop and find the USB link cable.
Any digital image can be laser 3D printed onto almost any surface that will fit on the unit’s target platform. The file is opened in Inkscape and converted (saved as) a vector-based file. The vector file is fed to K40 Whisperer which translates the picture into instructions that are transmitted to the controller.
Setting the machine’s power and speed is an artform that takes a lot of practice to master. Use low power and speed settings when starting out. You can find guides for most types of projects online. Youtube is an excellent source of knowledge on the topic.
Cuts are made by making multiple passes over the same lines. The type and thickness of the material has a drastic effect on how long “prints” take. Etching is achieved by ablating a shallow trench of material to form the required shape. Pre-cut panels of Balsa and other lite woods are an ideal material to practice on and can be found at most hobby stores or on-line. Cardboard can also work but be warned, it catches fire very easily.
