Having a subscription to Microsoft’s Game Pass has expanded the number and type of games I play. I try titles from the subscription-based catalog that I probably would not have purchased individually. Banishers Ghosts of New Eden is one of those. I don’t typically enjoy games that feature ghosts as a main story element. This time, the game play video looked interesting and that was enough to convince me to try it.
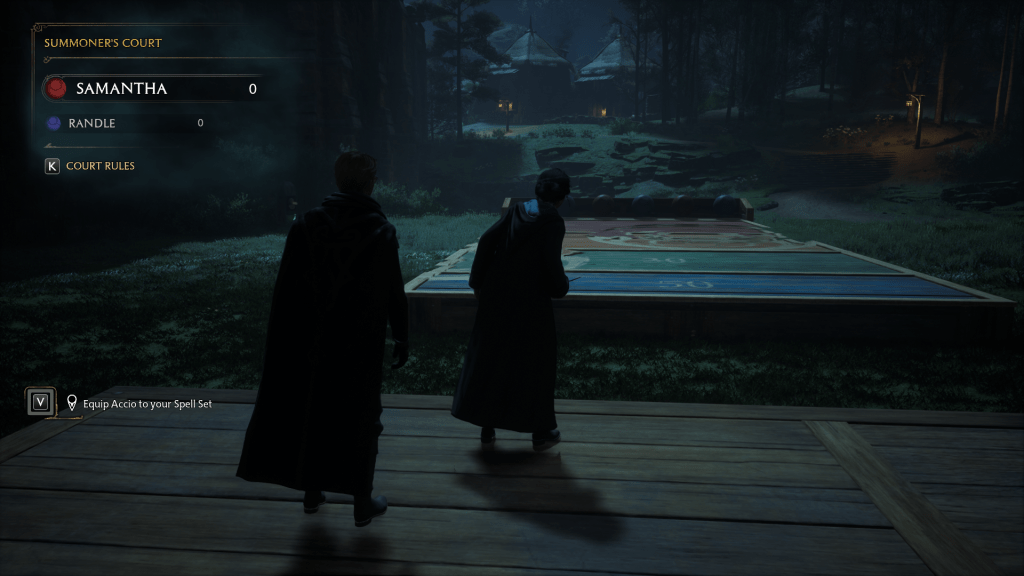
At its core, Banishers is an adventure RPG based on ghost hunting. It’s set in the sixteen nineties in and around a very haunted colonial North American town. The main characters Antea and Duarte have been summoned to address the situation. They are Banishers, a type of old-school ghost hunter, and their job is to rid the area of supernatural malfeasance.
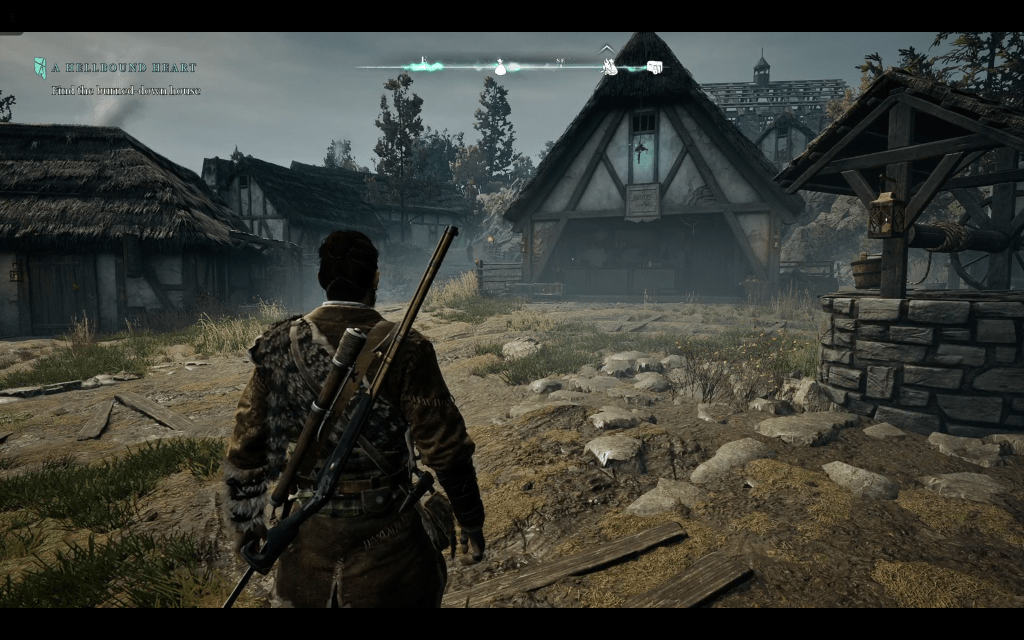
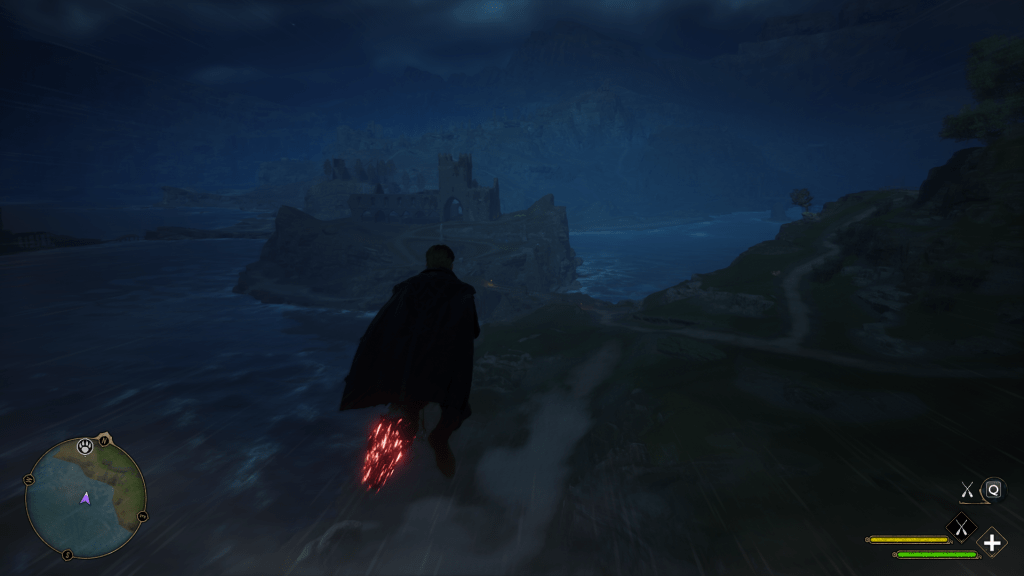
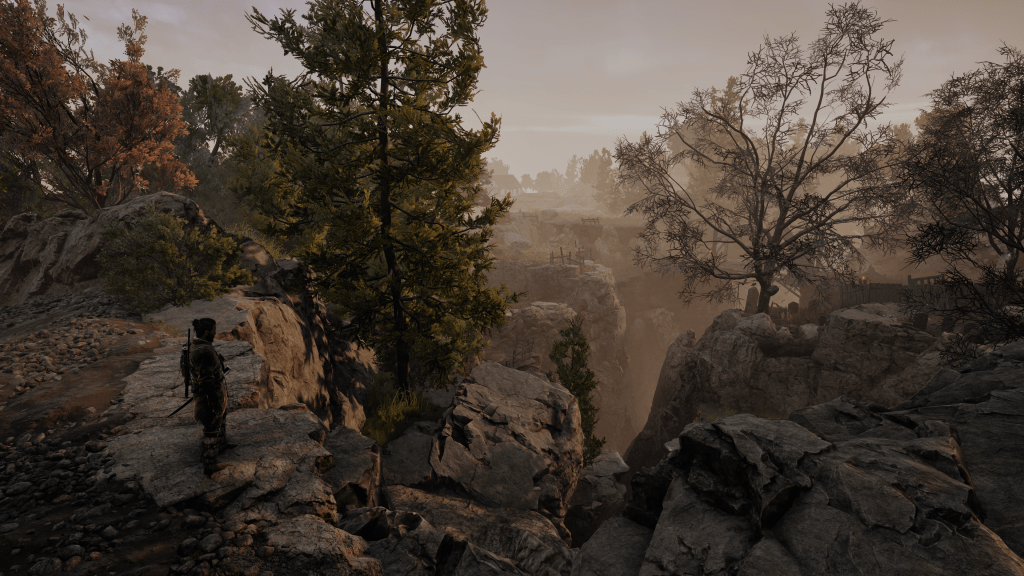
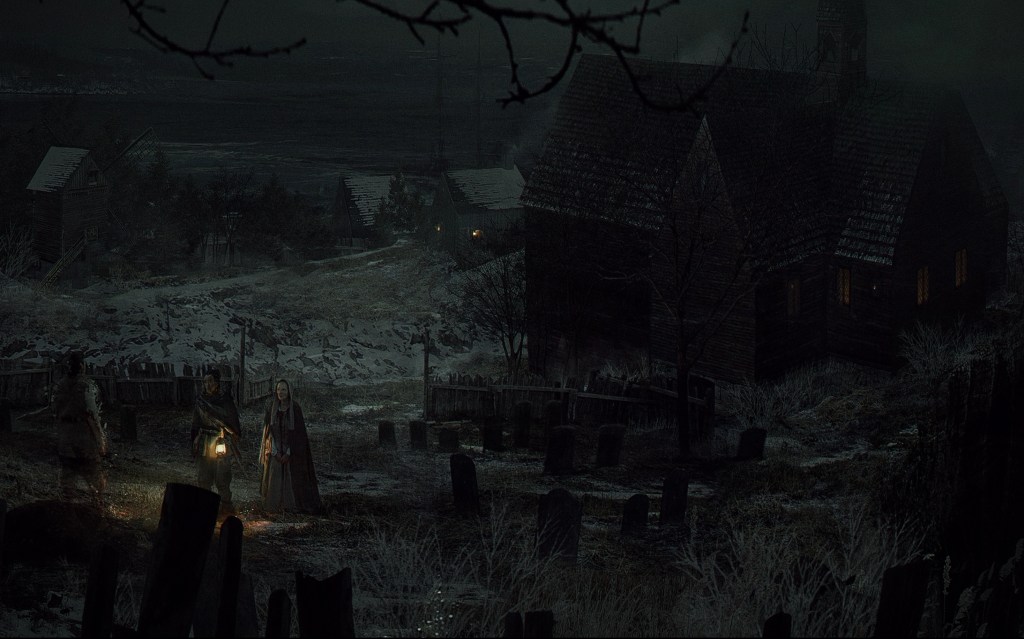
In part I chose to try Banishers because it looked like a game my spouse would enjoy watching. I was right. From the opening scene, this game is gorgeous. The environments are all so detailed. The weather is almost an NPC by its own right. Much of world is cold, wet, foggy, and just plain dreary. The color scheme and artistic slant lean toward realistic. The costume director deserves an industry award all their own.
I have been impressed by the graphics. I play the game on my PC, Handheld PC, Xbox, and via Game pass streaming to my phone and laptop. It looks and plays great on all of them provided you tune the game for the hardware. In 4K ultra on an OLED screen the scenery is stunning. Remember how you used to stop and stare off the top of hills in The Witcher 3 or Uncharted? You’ll be doing it in this game too.
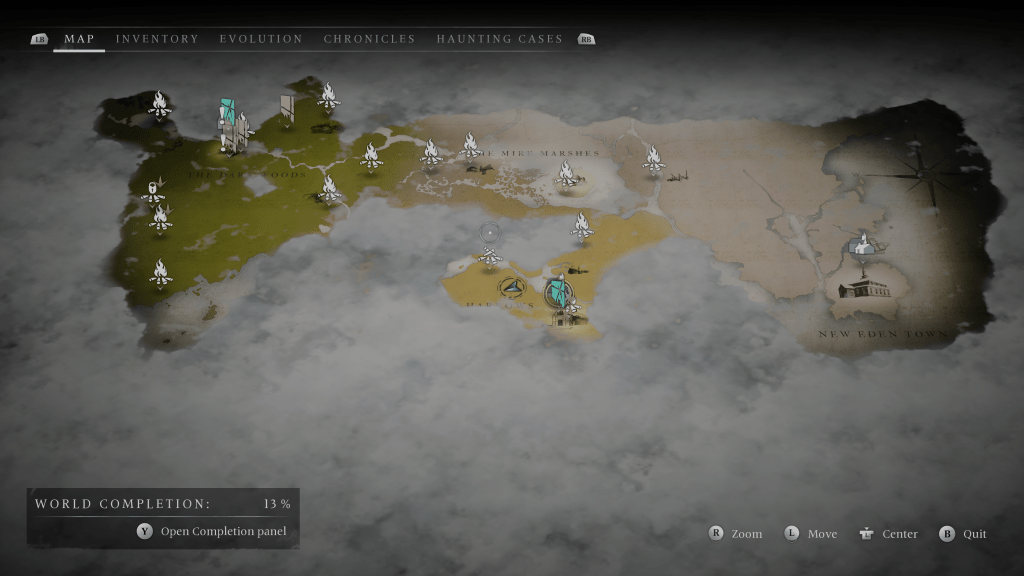
The world isn’t open, but it’s not on rails either. Traveling, navigating, maneuvering, looting, and unlocking will be familiar to anyone that has played the modern Tomb Raider series. Down to having campfires that you save, upgrade, and fast travel from sprinkled all over the map. The classic adventure game mobility methods are all featured. Rope climbing, mantling, sidling, ducking, jumping, grappling, and eventually fast traveling get you around the game’s world.
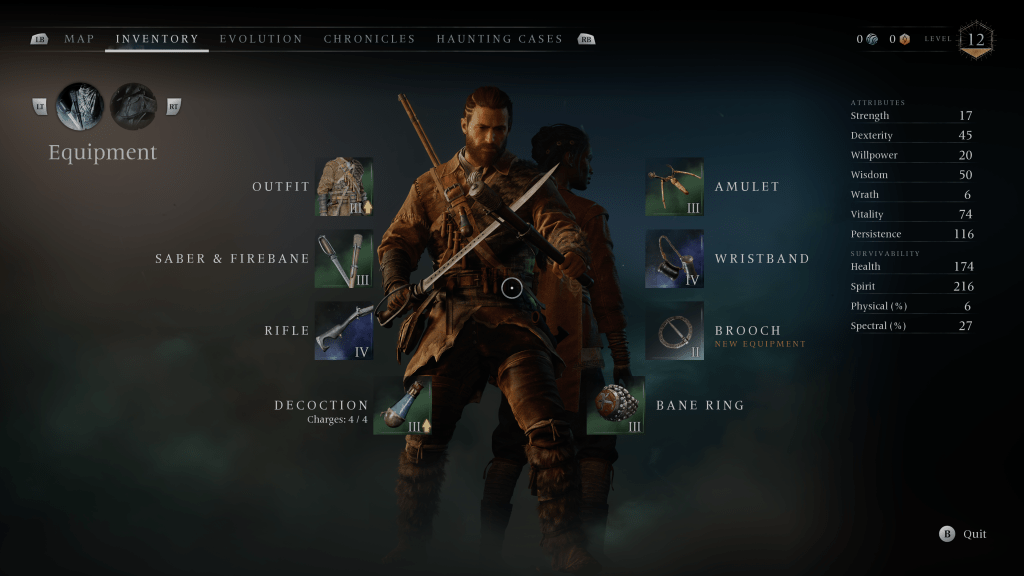
After a major event in the game’s early levels, you gain the ability to control both Antea and Duarte. You can swap between them with a button press to take advantage of their unique abilities. The game is played from the 3rd person view for the most part. Your main weapons are a saber (sword not light), a flint lock rifle, punching, and several types of magic attacks. The characters also feature ultimate attacks, linked combo attacks, and charge attacks.
The rifle is powerful when you hit weak spots and ammo is unlimited. Don’t get too excited though. The agonizingly slow reload will keep you from playing the game as a full-on shooter. If you focus resources on rifle related upgrades you can get close to blasting your way through, but not quite. Well play developers, well played.
The combat starts out easy and increases in difficulty as your characters and their gear rank up. There are several types of evil entities to do battle with on your journey. There are also mini bosses and bosses that must be conquered to unlock new map areas. On normal mode, the AI is quite challenging. Expect to die a few times in each new mini-boss area.
Normal mode and above makes the combat feel very souls like. Over ranked baddies with shields and multiple attackers that work together will have you fully engaged to keep up. I also tried a few fights on easy mode. They are still challenging and require strategic decisions, but I cleared areas without dying more often than not.
Frame perfect parries with your saber are the best defensive move in your arsenal. Generic blocking is moderately effective depending on your gear and the attacker. There isn’t any cover, but you can dodge.
Attacks and defensive moves have to be balanced to win against the more powerful enemy encounters. I often find myself backpedaling to shoot, then rushing in close in to do heavy damage with melee attacks. I customized my characters armor, weapons, and abilities to match this strategy. The terrain usually locks you into a fighting arena like God of War.
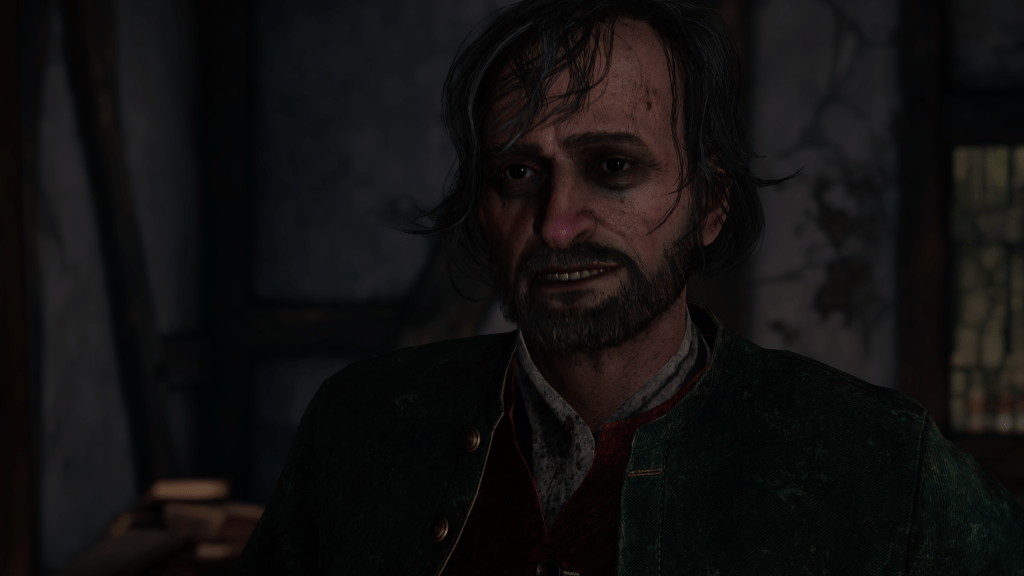
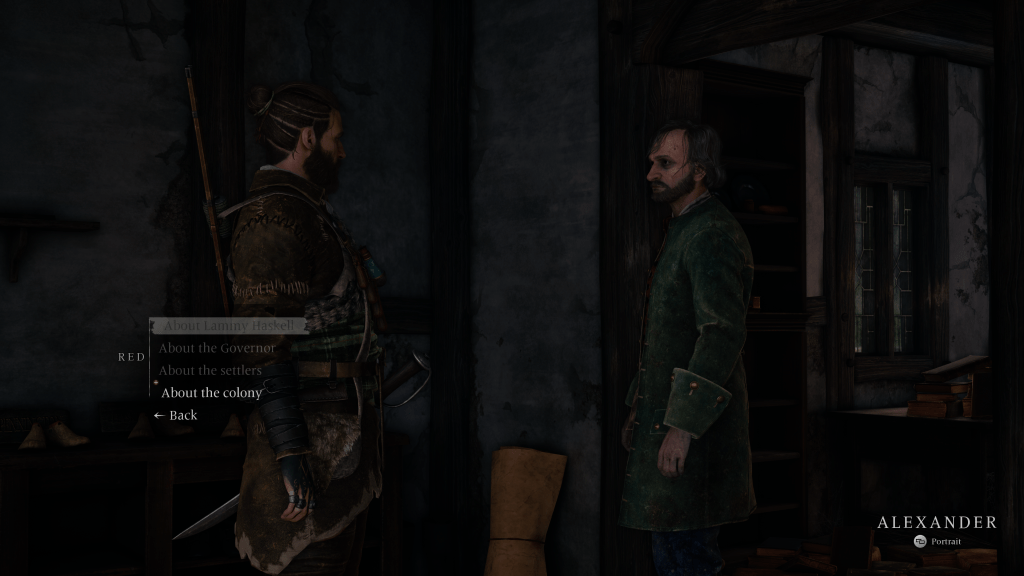
What makes Banishers so good to watch, and play is the combination of high production value and interesting combat. The theatrics are simply fantastic. The sets, actors, voices, and storytelling are all dazzling. The dialogue sounds like natural conversation from the time and place. Overheard conversations often provide subtle clues. Emotions are well conveyed by seamless in-game cinematic experiences and direct individual dialogue scenes. There are no loading screens.
You’ll meet and work with all types of characters as you progress through the game. The witches are some of my favorites. They are presented as wise naturalists rather than as villainous. Banisher’s story arcs are good at getting you to care about the character’s plights.
Even side quest characters have a tall enough story arch to invoke a mild sense of empathy. I’ve encountered stories based on cannibalism, mariticide and uxoricide, a mass murder caused by moral circumstances and more. I keep playing just to see what happens next, well past my bedtime on several occasions.
Side quests start when you talk to folks in each newly unlocked area to acquire work. If someone hires you, an investigation is started. You’ll be looking for clues and talking to NPCs to figure out who or what is causing the problem.
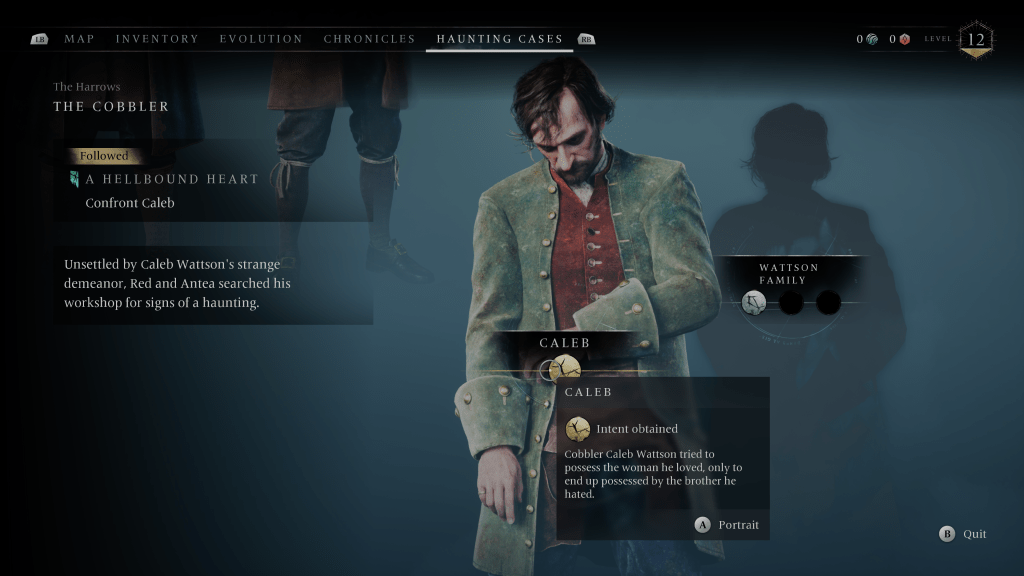
Some of the so called “haunting cases” are pretty grizzly murder mysteries in which multiple people were murdered. Others are accidents and everyone is innocent. It’s your job to figure out which. Along the way you will collect resources and battle supernatural creatures. Each quest features a moral decision at the end that has an effect on the game’s overall outcome.
I’ve been playing the game for about thirty hours. In that time, I’ve ranked up to a level twelve. I’ve upgraded all of my gear and weapons to mid-level. I have faced most types of enemies and mastered the combat as well as navigation. I’ve gotten a real feel for the game, and I can tell that I will play until I finish it. Banishers Ghosts of New England surprised me. I expected it to be a mediocre adventure game, but it is clearly top shelf.