For as long as I have been using the Moonlight app to stream games from my PC to various screens, it has exhibited an annoying issue. Occasionally, the stream freezes on the client device but continues playing on the host. I usually end up having to restart both systems to reconnect.
The problem was worse in some games than in others. Hogwarts Leagacy really triggered the issue on my setup a lot. Destiny 2 suffered from the drop as well. There were no error messages in any log file that I was able to locate. It happened often enough that I mentioned the problem in my first article about Moonlight. Not often enough for me to give up on samestream technology.
Searching online led me to this Redditt Moonlight Freezes Up. The answer to my issue was in the comments. I turned off the hardware GPU scheduling feature found in Windows 10 and Windows 11 on the host system and on any Windows PC clients. Disabling this feature configures the operating system and CPU to manage VRAM. When the feature is turned on, the task is offloaded to your graphics card. Which can boost overall system performance if you have the free cores.
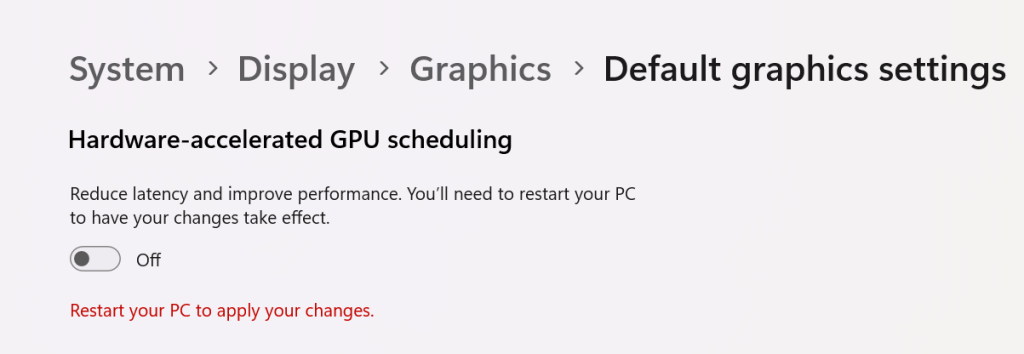
Go to Settings -> System -> Display -> Graphics and click Change Default Graphics Settings. Then disable Hardware-accelerated GPU scheduling by sliding the toggle to the off position. You will need to restart your computer for the change to take effect.
Disable HAGS
The other possible solution is to use the famous Display Driver Uninstaller utility to uninstall your current driver completely. Then, download and install what many consider to be NVIDIA’S best driver release ever, version 472.12.
I’ve had a PlayStation Vita (2000 model) sitting in my junk drawer collecting dust for a long time. I had just completed a post on setting up Moonlight game streaming a few weeks ago. While doing the research for that post, I discovered that the online gaming community had created a custom port of the Moonlight software that runs on a jailbroken PS Vita.
Generally, I don’t tend to jailbreak my stuff. However, Sony has absolutely abandoned the Vita line of devices, which means there’s nothing to lose. The last time I went through the jailbreaking process, it was extremely technical and required some advanced knowledge to accomplish. To my surprise, it was very easy to accomplish this time around. Anyone with patience and the right guide should be able to pull it off.
Retro Game Corp’s guide got me through the process.
I’m not going to write a full step-by-step guide. There’s plenty of them out there already. This is the one I used, and I commend the author for including all the steps. If you are thinking about jailbreaking your Vita, you should consider the process permanent. You should also be aware that occasionally, the process fails and can brick your device.
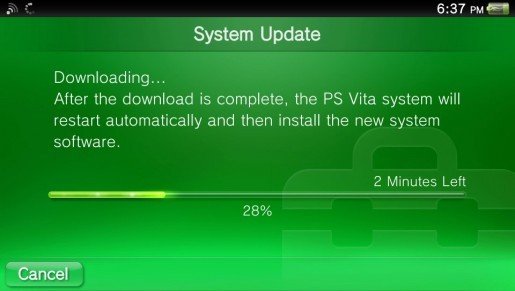
More or less, you need to upgrade the firmware to version 3.74. Next, you’ll want to factory reset the Vita (look in Settings -> System -> Format). Then, you connect to Wi-Fi and sign in or create a temporary PSN account.
Update the Vita’s Firmware before jailbreaking.
The easy part is the hack itself. Just visit jailbreak.psp2.dev in the Vita’s web browser and click the button to proceed. Follow the on-screen instructions and reboot when prompted. Eventually you will end up installing a custom hacked copy of the 3.65 firmware via an automated process that takes care of everything for you.
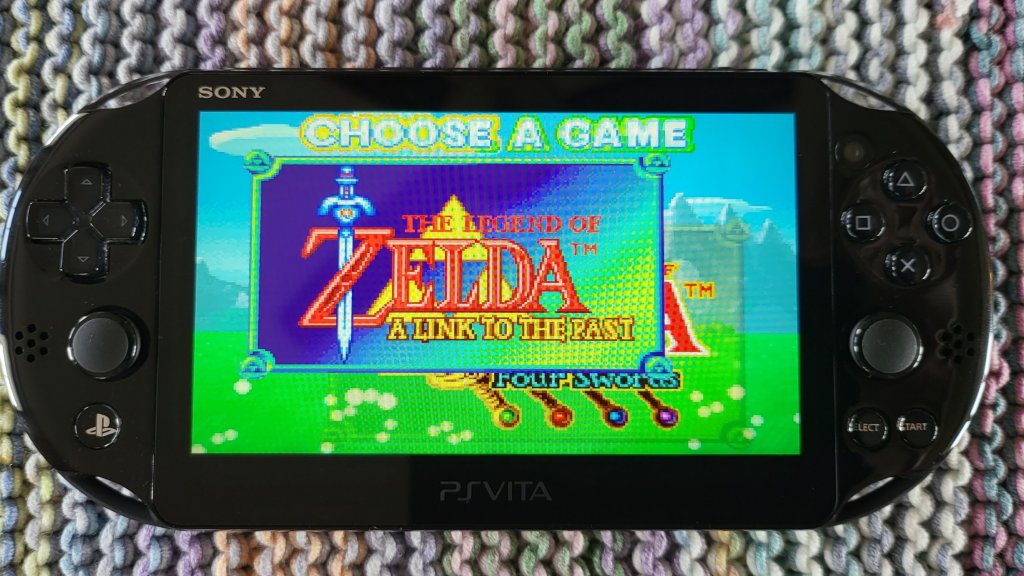
Emulators to play backups of your old game cartridges are in VitaDeploy.
Once you’ve completed the custom firmware replacement and installed the software mentioned in the guide, adding emulators for GameBoy, GameBoy Advanced, NES, SNES, PS1, PS2, and more is as easy as browsing an Appstore and picking them. Again, this is all covered in the guide I linked to above. You’ll need your own ROM files and, in some cases, will need to locate the BIOS of the various consoles in order to play emulated games.
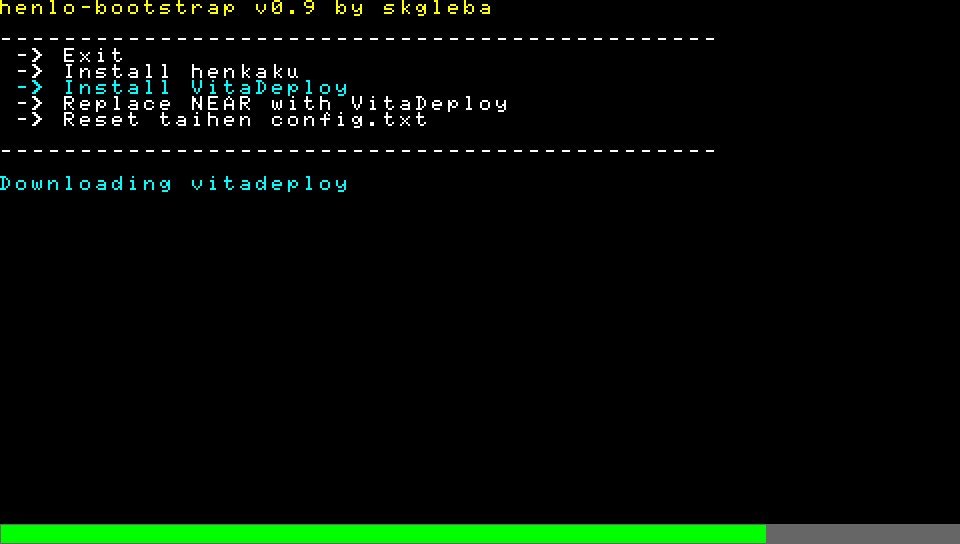
Vita Deploy is an app store for homebrew.
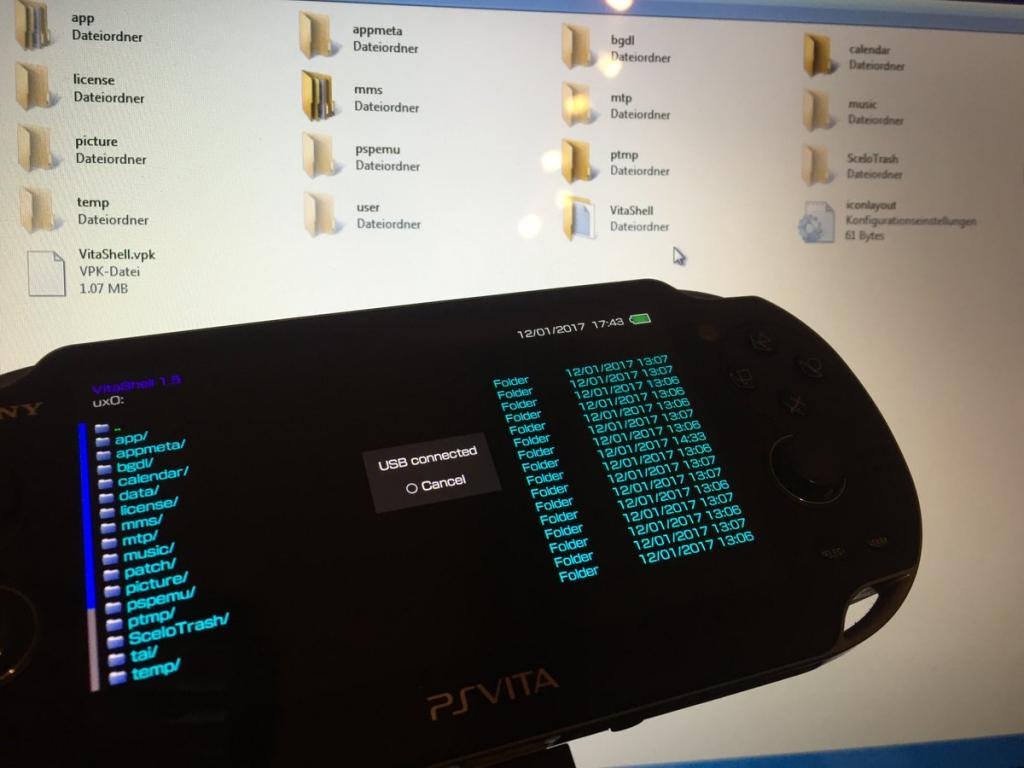
When it comes time to move files from your PC to the Vita, don’t spend time trying to get the old Content Manager software working. It doesn’t work on modern operating systems. Open the VitaShell app and connect the Vita to your PC via USB. Then click the select button to enable your PC to use the Vita as a USB drive.
Pressing select in the Vitashell app starts USB mode to mount the Vita as a drive in Windows Explorer.
The version of Moonlight currently in VitaDeploy is .92 and has an issue pairing with the Gamestream host. Download version .93 from github @ https://github.com/xyzz/vita-moonlight/releases/download/0.9.3/moonlight.vpk . Use VitaShell, Windows Explorer, and a USB cable to move it to your device. Then, find the .vpk file in VitaShell and open it to install the software. Aftwards, it works like any other moonlight client. The menus are text only and navigated with the D-pad.
The Vita doesn’t have clickable sticks, so you will need to be creative mapping controls in the games that you stream from your PC. I move aim and fire to the RB and LB (Vita’s shoulder buttons), and the controls that were previously RB and LB to the LT and RT which are default mapped to the Vita’s back touchpad. This works for most games like Destiny 2 and Cyberpunk 2077.
The client software is not without issue. Occasionally, it locks up or crashes for no apparent reason. Sometimes, the screen seems to be over saturated with white. When bad stuff happens, you can usually end and resume the session to recover and continue playing. Generally, it happens to me at the start of a session if it happens at all. Other than that, games look and perform well.
I’ll leave you with some hard-won tips for using the Moonlight app itself. Holding the select button and tapping up or down on the D-pad will cycle through various telemetry screens. Tapping the upper left corner of the Vita’s touchscreen will open the menu for pausing, quiting, or changing the game.