
I recieve more email in a day than I could possibly read. My job doesn’t allow for things falling through the cracks just because I’m busy. I use Outlook’s conditional formatting feature to make important messages stand out from the ocean of junk.
Conditional formatting will change the color and / or font of an email in your message list based on parameters you specify. You can easily change emails from your boss to red, team members blue, the big project to large yellow, etc.. Personally, I assign each project I’m involved with a color. This makes it easy to find relevant information quickly.
- Open Outlook.
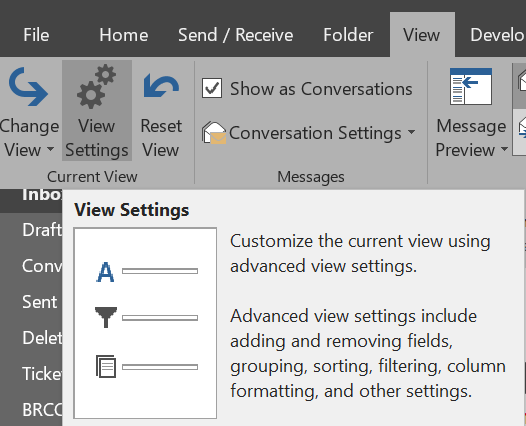
- In the ribbon click View and then the View Settings button.
- Click the Conditional Formatting button.
- Select Add to start a new rule and assign an appropriate name.
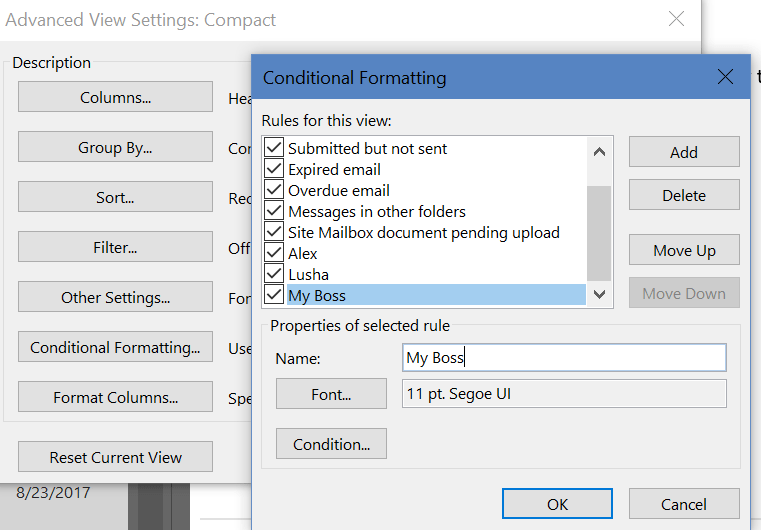
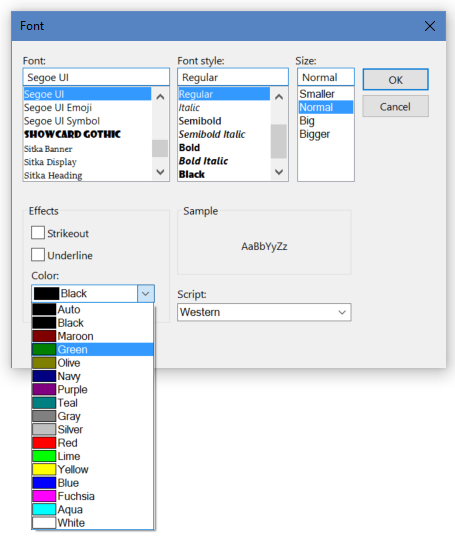
- Use the Font button to choose the text effects your rule should trigger.

- The Condition button presents a list of filters to trigger your font change with. Choose the message sender, subject, keywords, and more. The three tabs across the top provide advanced options.


Good organization of your inbox can be the difference between drowning in email or sailing through your workload. Spend a couple of hours upfront to automate as much as possible. You won’t regret it.
