
Exchange has a decent built-in room reservation system. It has some nice features like Free/Busy information, a robust address book, advanced room lists, automatic time selection, and an excellent invitation and approval system. However, it leaves a lot to be desired when it comes to information about the rooms themselves. It doesn’t track the information required by managed conference centers at all. There’s no layout or seating information, no pictures or directions, no way to alert IT staff or room managers that custom setup is required and no catering tracking.
At the heart of Microsoft’s Exchange Server software is a series of databases. These databases can be modified to store both the fields you see and use in Outlook as well as custom data. Outlook itself provides the tools we need to add our required fields but it also will allow us to create custom forms to input and access the new data with. Many Exchange admins and Outlook power users are already familiar with Outlook’s custom forms trick. There are a lot of articles and excellent information on-line about using them. I like Outlookcode.com and have learned much from reading the site. Microsoft also publishes several TechNet articles on the subject. Using custom forms, Outlook transforms from a CRM and PIM tool to full database application solution.
Create a Room Mailbox
A room mailbox is pre-configured to handle meeting requests and approvals. A room mailbox must exist before publishing and testing the form. More information about resource mailboxes is available @ https://technet.microsoft.com/en-us/library/bb124374(v=exchg.141).aspx
To create room:
- Open the Exchange Management Console or Exchange Web Console
- Navigate to Recipient Configuration ->Mailbox
- Right click on Mailbox and choose New Mailbox

- In the New Mailbox wizard select Room Mailbox then click Next

- On the User Type screen select New User then click Next
- Please note: this option will create an Active Directory account for this mailbox and then disable it once permissions are set, automatically. You should not delete the disabled account the process leaves behind but it is wise to move them to an OU in AD that is protected against accidental deletion.
- On the User Information screen, select the check box for Specify the organizational……..
- Click the Browse button
- Navigate to the OU that your room mailboxes occupy
- In the Name Field enter the room’s name as you would like it to appear
- Enter a username in the User Logon name field (name of temporary AD account)
- Verify that the Alias field is populated with the room name or some variation of it
- Select the database location and any applicable policies
- Click Next

- Click the New button on the next page
- Click Finish
- Your new room mailbox will be visible in the EMC after enough time for replication has occurred
Room Mailbox Options
Options for room mailboxes include things like: who are the room administrators, should requests be processed automatically, and who can override the default settings. The options below are a good place start, but you will need to customise them to fit your specific requirements.
- Locate the conference room you wish to configure in the EMC.
- Right click on it and select Properties
- On the Resource General tab enter the Room’s capacity (this will be visible in the room finder)
- On the Resource Policy tab enter delegates if this room is to be moderated by a human
- Uncheck the Forward meeting requests to delegates box (this setting can be annoying)
- On the Resource In-Policy Requests tab choose Selected Recipients for the first option and All Users for the second option This configuration will make sure your users follow the policies you set.
- On the Address and Phone tab complete the location information fields
- On the Resource Out-of-Policy Requests add the Room administrator, this will allow them to override a policy when required.
Outlook Developer Mode
To create custom forms, fields, edit code, etc. you need to enable Outlook’s developer mode. Outlook in Developer Mode, functions as an IDE (Integrated Development Environment) and a pretty powerful one at that.
- Open Outlook
- Click on File
- Click on Options
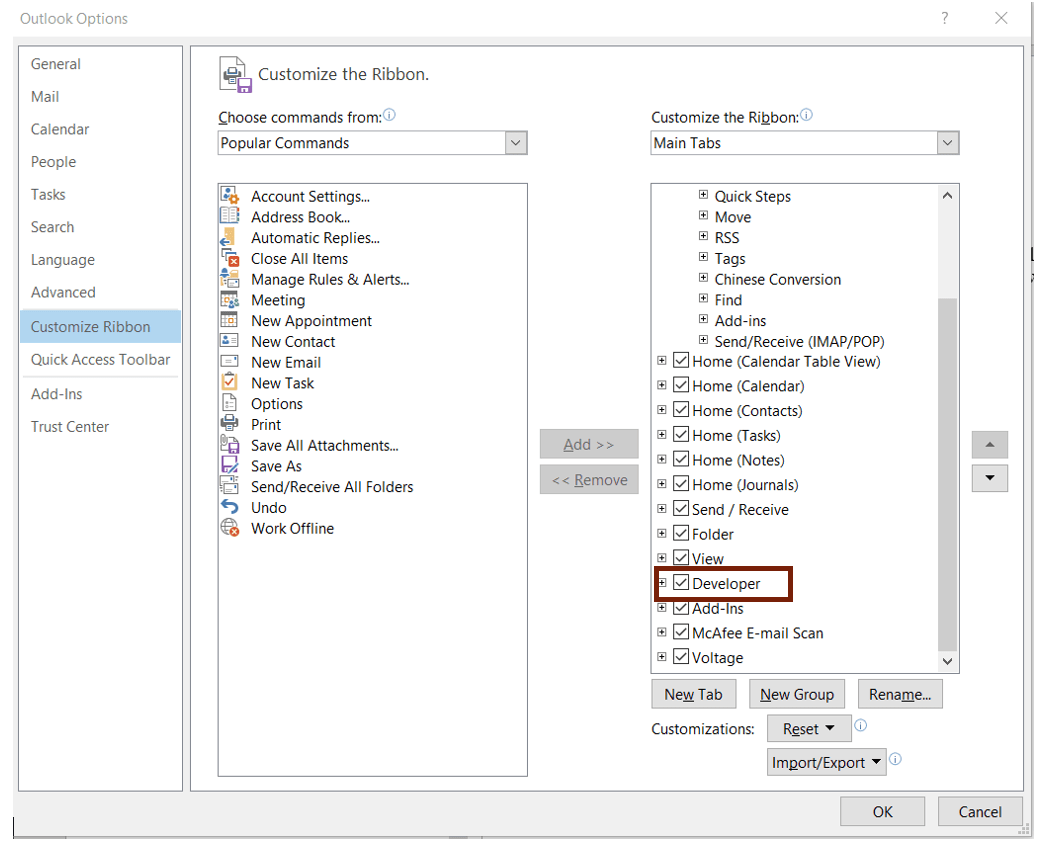
- Select Customize Ribbon
- Put a check mark in the box marked Developer
- Click the OK button
A new Developer Tab will be visible in Outlook’s ribbon, from this tab you can design and publish forms, edit Visual Basic Scripts (VBS) and Visual Basic for application (VBA) add-ins.
Download and Edit the Template
In this article we’ll walk through editing a template I’ve already made, you’ll see how the tool works and be able to make your own with ease. Plus, it’s a good template even if I do say so my self, LOL. You can download it here: Conference Center Template. Unzip the file to your hard drive. Opening a form template in Outlook the first time can be a little confusing.
- Open Outlook
- Click the Developer Tab
- Click the Design a Form button
- Use the drop down to select User Templates in the File System
- Click the Browse button and locate the file you saved

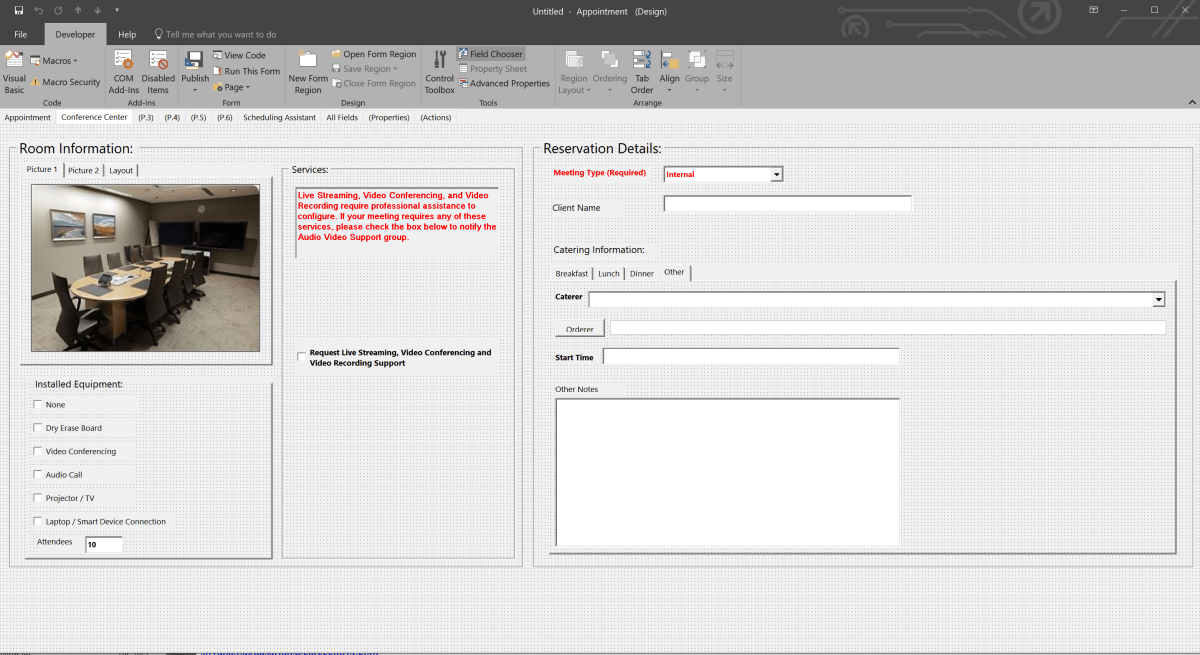
The template will open in Edit mode. It opens to the default Appointment tab because this form is based on the built-in meeting maker. Click on the tab named Conference Center to see the customizations.
Change the Pictures
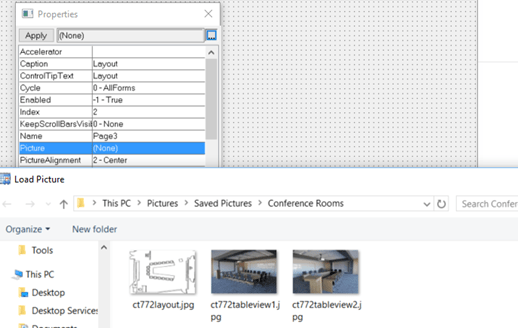
- Right click on the picture (use tabs to select) and pick advanced properties
- Select the Picture field and click the … button in the upper right
- Browse to the picture you wish to insert
- Click Open
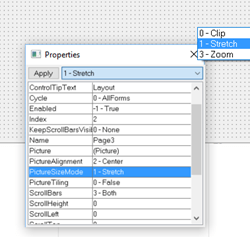
- After inserting an image, size it by selecting PictureSizeMode in the properties
- Choose Stretch from the drop down at the top, this will cause your pic to fill the frame
Edit the Equipment List
- Right click the field you wish to edit and select Properties
- Use the controls to adjust the field properties accordingly
- You can choose whether the boxes are checked by default or not. Enter Yes for checked or No for not checked

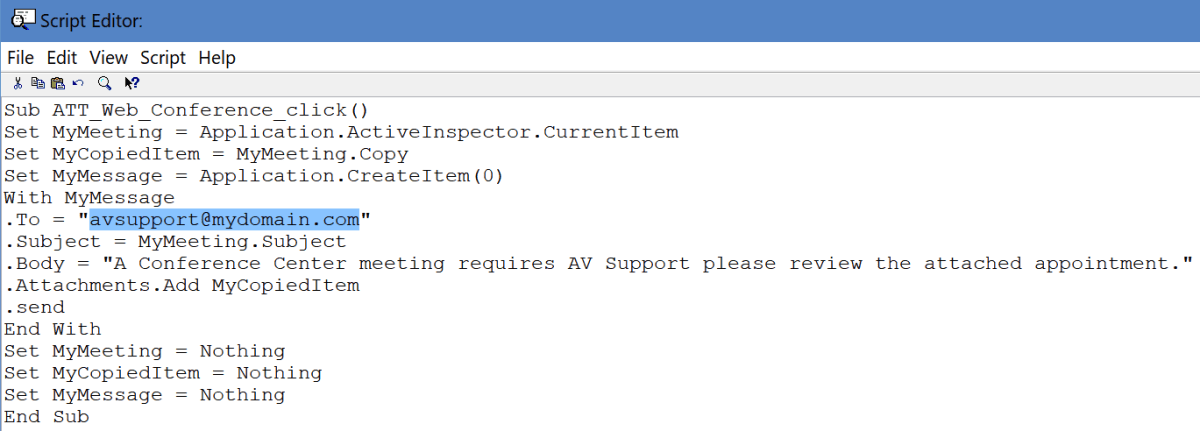
Edit the VBS Code (AV Notification)
This template includes VBS code that emails a copy of the appointment when the “Request Live Streaming……” box is selected. You can remove this section of the form if you don’t need it. Otherwise, you’ll need to edit the email address or change the code to better suite your particular requirements.
- In the Ribbon click the View Code button
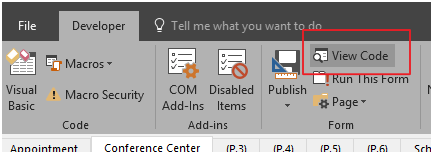
- Change the highlighted Email address or otherwise adopt the code for your purposes. There is no save option in the editor. Once you are finished close its window.
After you’ve completed all of your changes save the form. File -> Save.
Publish the form to the Room’s Mailbox
Your users cannot access the form until you publish it to the mailbox we created at the beginning of this article. Before proceeding you’ll need to open the room’s mailbox in Outlook. If you don’t, it’s path will not be available in the publishing dialog. I prefer to setup an Outlook profile just for working with the room’s calendar, but this is optional.
- Select the drop-down chevron under the Publish button
- Choose Publish Form As from the menu

- Select the room’s calendar from the Look In drop down
- Provide the Display Name and Form Name
- Click the Publish button

Make the New Form Default
To prevent users from having to manually open the form we’ll want to replace the default appointment form.
- Open the room’s folder in your Outlook (you must be displaying the folder list)
- Right click on the room’s calendar folder
- Click Properties
- In the When posting to this folder use drop down box select the form you published
- Click Ok

Congratulations you’ve upgraded your room reservation system. After you’ve wowed all your co-workers with the results of your hard work and get around to fully testing everything, you will notice a usability flaw. The form only works if you open the room’s calendar directly in Outlook.
Most Outlook users create an appointment and then invite the room to it. This invitation is based on the Free/Busy system in Exchange which is a subset of the Exchange web services. EWS never presents a form at all. Just a list of rooms and their availability. When the user selects a room, an e-mail is sent to the room’s mailbox which is processed by the attendant and added to the calendar. You’re left with a couple of choices.
- Train your users to open the room’s calendar and book their appointments from there. This isn’t a bad option for smaller organizations, but if you have thousands of employees, retraining all them could be problematic.
- Read my next article about how to use a few lines of HTML, some PowerShell, and Outlook to allow the normal invitaiton process while still compelling your users to complete the custom form. Exchange & Outlook Custom Form Room Reservations; Retain Invitations
