
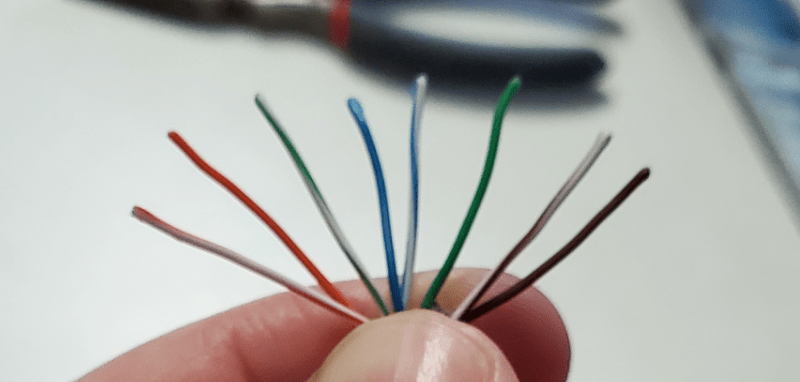
Sing it with me everyone, “orange-white, orange, green-white, blue, blue-white, green, brown-white, brown”. I like the “Twinkle Twinkle Little Star” tune, but use whatever suits your fancy. The point is to be able to easily remember the order that you arrange the individual strands of a Cat5 cable in.
If you have read Part 1 of this series you already know that we need to run some cables between the switches placed throughout our home. We don’t want to drill holes that are large enough to pass cables with the ends already on them. It would be a lot of work to deal with holes that big. So we’ll learn to put the ends on after we run each cable through a much smaller hole, barley larger than the cable itself.
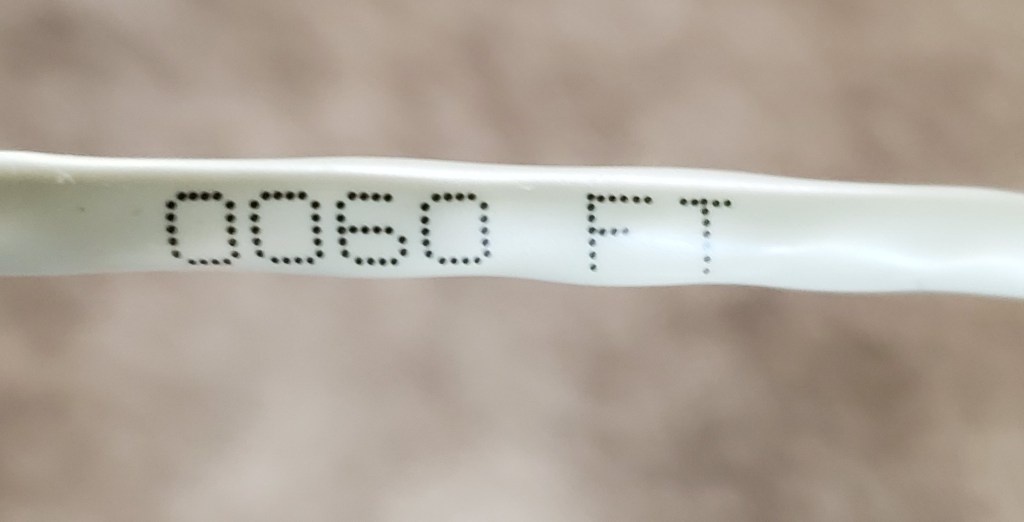
If you’re new to network cabling, the best place to start is to make a few patch cables. That is what we call the cables that run from your switch to your devices (computers, consoles, access points, etc.). I suggest making four 10 foot long cables and four 20 footers as well. Before you go hunting for your tape measure to figure out how long ten feet is, look closely at your cable. It has a bunch of writing on it and one of the numbers is how many feet of cable you’ve pulled from the roll. Now go grab your crimpers, ends, a pair of scissors, needle nose pliers, and your glasses if you need them.
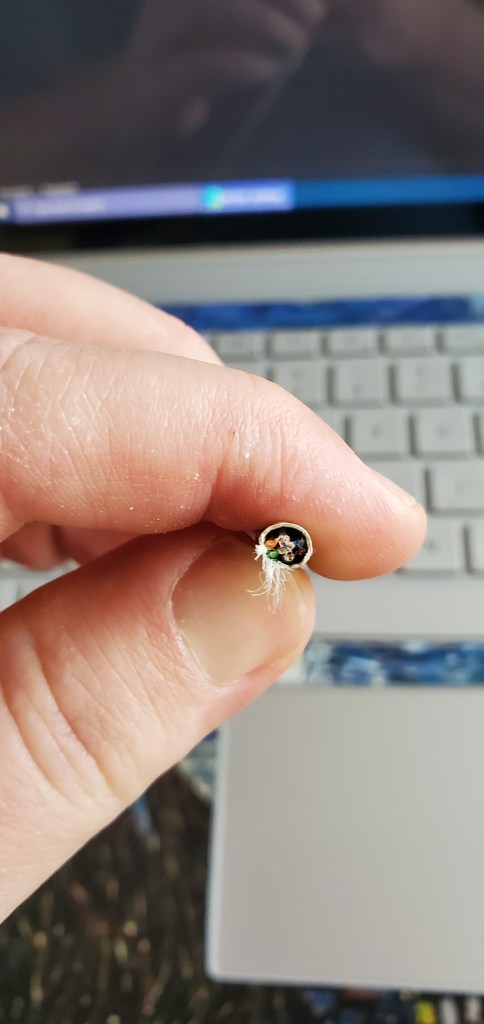
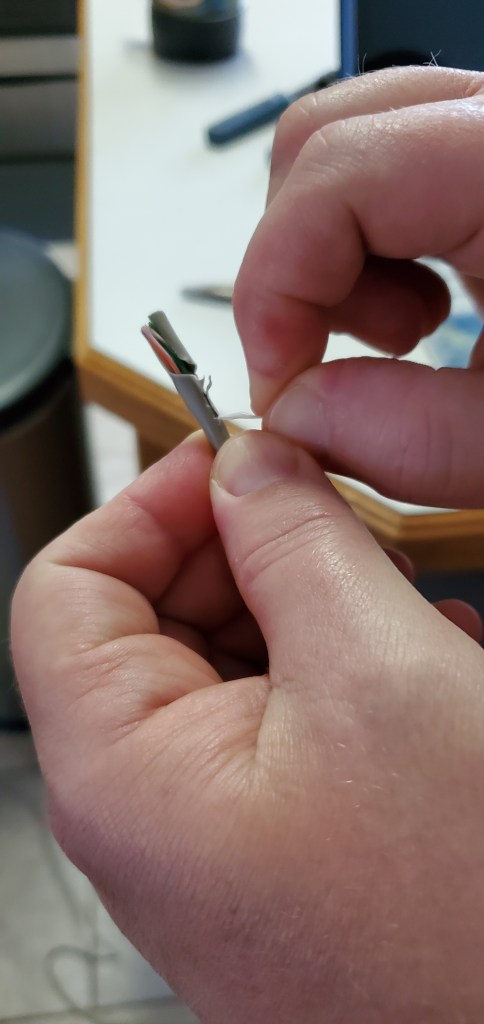
Use the cutter on your crimpers to cut your length of cable. Notice that inside the plastic sheath there are several other cables that match the colors in our song. There’s also some string peeking out. It’s that string that we want to get to. Take your scissors and snip a little bit of the outer covering so that you can grab a hold of the string. I use needle nose pliers for this. Pull the string down through the outer sheath a couple of inches. Just like slicing cheese with a wire cutter isn’t it? Use your scissors to cut away the outer covering that you’ve peeled back.
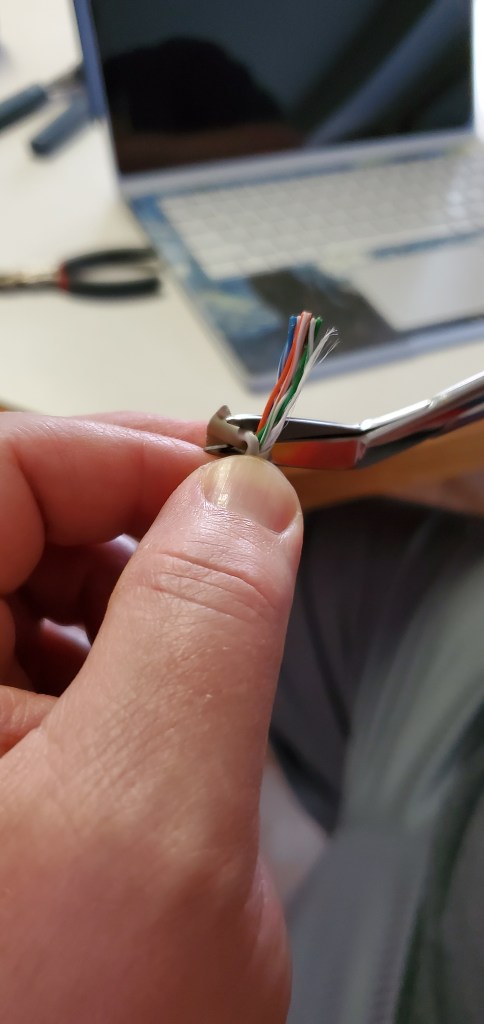
Once you’ve exposed the interior cables we’ll need to arrange them for our ends. There are four pairs of strands twisted around each other. Hold the end of the cable just under the end of the cut you made in your non-dominant hand. Then use your dominant hand to untwist and straighten each individual wire. Just like undoing bread ties right? Pinch your thumb and forefinger together tightly and run each strand through the vise to straighten them.
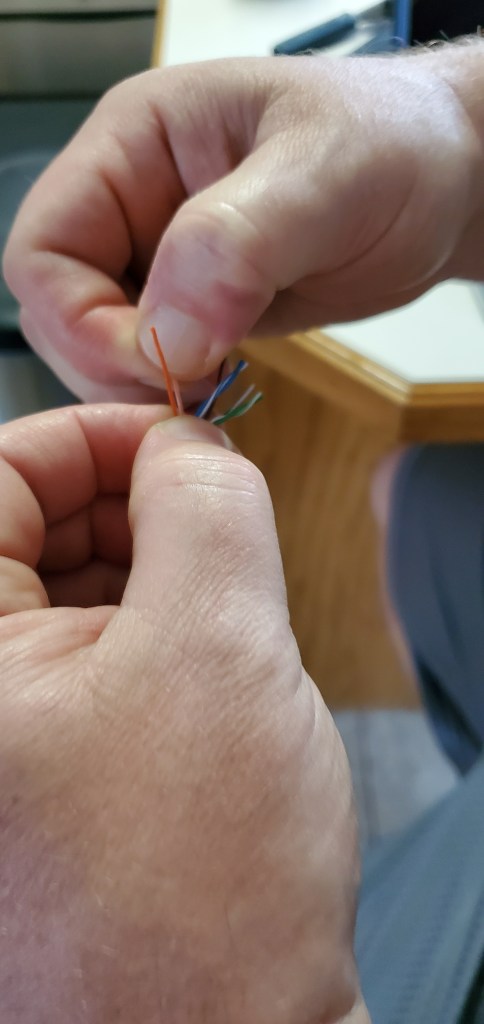
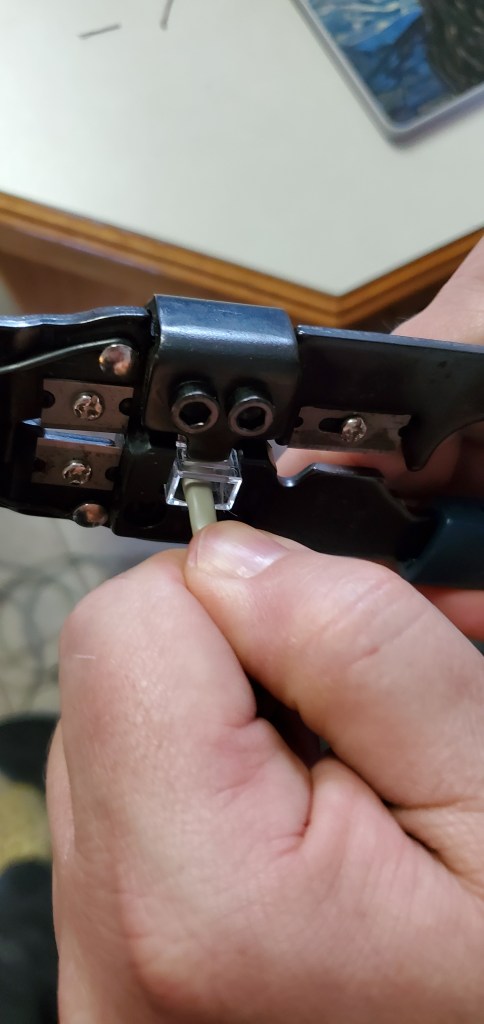
Arrange your strands in the order of song, then grip them just above the outside cover. Make sure they are still in order and squeezed tightly together. Cust the strands in a straight even line so that approximately a half inch of strands are left. Do not let go of the strands, keep them pinched together tightly. With your other hand, pick up an end and orient its opening toward the strands with the clip facing down. Slide the strands into end.

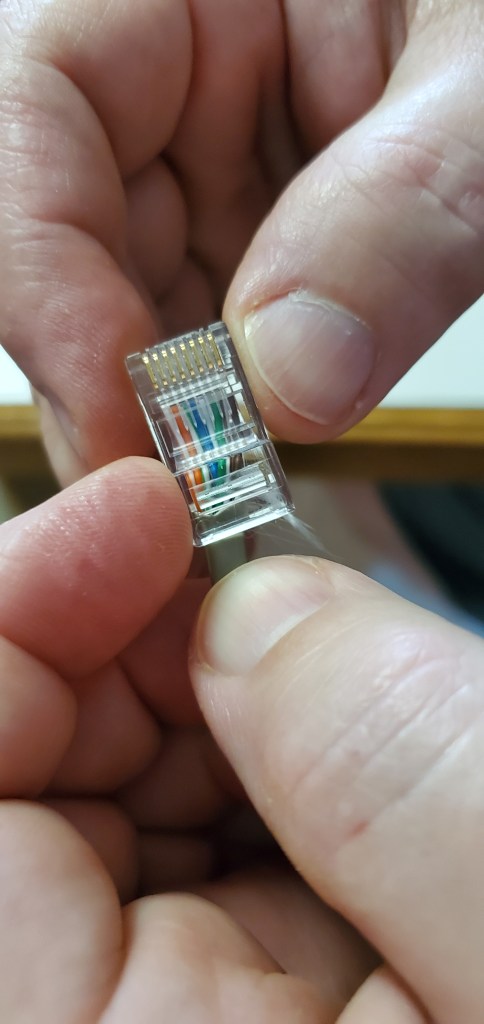
Watch closely and you should see each strand slide into its own channel inside the end. Be sure they stay in their proper order. If they get out of order you may find it easier to pull more of the sheath away and start over. Once the cables are in their channels push the cable as tight as you are able into the end. Now keep the assembly held together with your non-dominant hand and pick up your crimpers with the other.
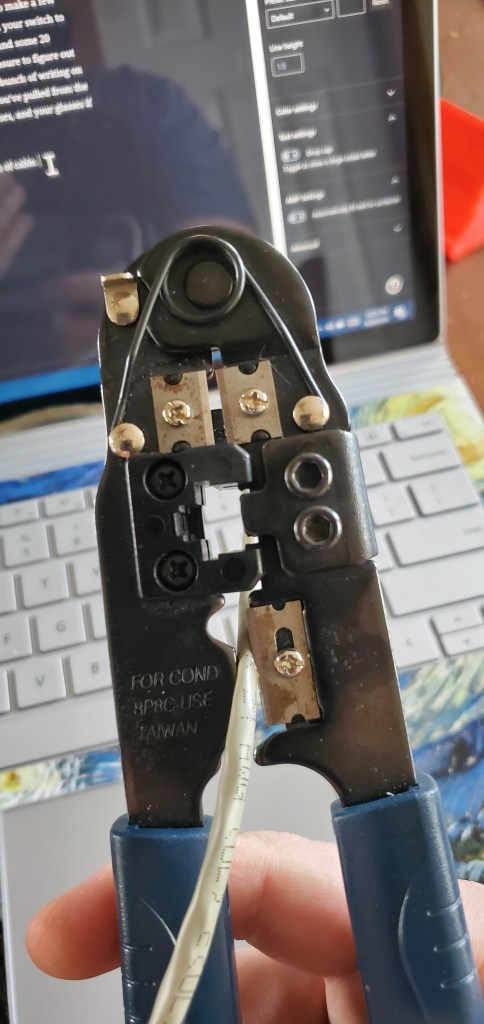
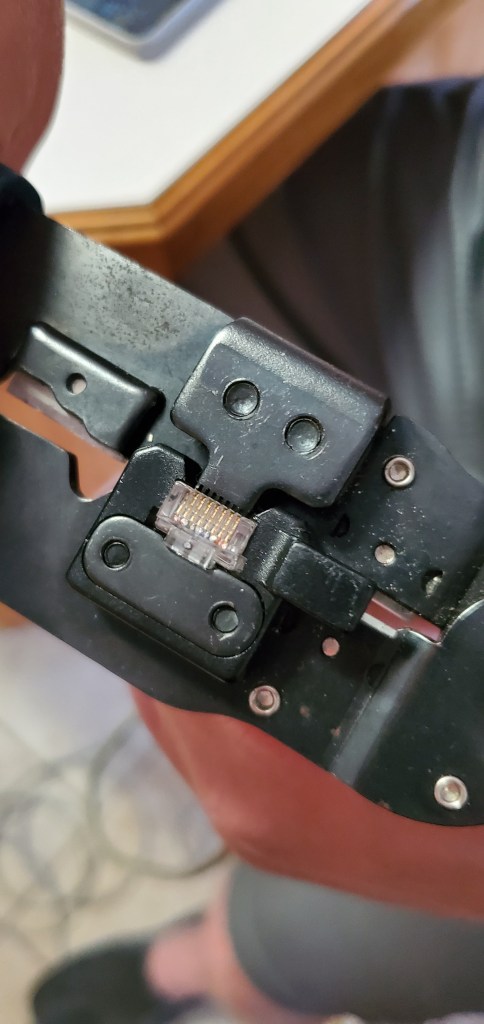
Slide your cable assembly into the crimpers. Some of these tools have multiple slots for different types of ends. You’re looking for the one labeled RJ-45, or network. Press the entire assembly into the crimper as hard as you can with your non-dominant hand and squeeze the crimpers closed with your dominant. On top of each channel is a small golden connector. The crimpers push each connector down into the strand underneath it. Look at the blunt end of your cable and you should be able to see if all connectors have been pushed down evenly. If not, cut the end off and start over.
Congratulations, you’ve managed to attach one cable end, only fifteen more to go! This is one of those things that gets much faster with practice. By the time you’ve finished the first four cables you’ll be much faster. If you learn better by watching than reading, search YouTube, there are a lot of videos showing this process.
If you have a cable tester, read its instructions and test each cable that you make. Most of them are two parts, you insert each end into a part and then press the on button. If you do not have a tester, plug one end of your cable into a switch and the other end into your laptop/desktop you should see orange and green “link” lights on both devices.
Stay tuned for the next article in the series. We’ll tackle running cables between the switches throughout your home.

2 thoughts on “Install An Advanced Network At Home – Part 2 How to Make Network Cables”