The Internet has drastically altered the way we live and especially the way we work. A result of the hyper-connected workplace has been the realization that a large percentage of the workforce doesn’t require a specific location to work from anymore. The Work From Home or Work From Anywhere revolution has been a long time coming.
If you’re just starting a job where working from home is an option, read on to learn from my experience. I’ve been working from my home off and on for several years worth of my career, including a three-year stint of being self-employed. It can be a great situation for both the worker and the job provider, but is not without pitfalls.
Right Equipment for the Job
You may be under the impression that working from home means sitting on the couch in your PJs with a laptop. Sure, you can do that for an hour to two. However, most of us quickly learn that sitting on an arm-chair or couch doesn’t provide enough support for an eight-hour shift of digital work. Neck kinks, lower-back aches, shoulder pain, wrist pain, and headaches are common complaints from full-time couch jockeys.
Get yourself a real desk and a real office chair. Don’t skimp, you’re going to be using it all day, everyday. The most important feature of the object that your park your computer on, is the height. An inexpensive, height adjustable, laptop stand can be more effective than an expensive desk that is permanently too short or too tall for your body.
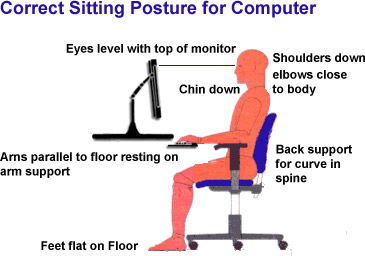
Your shoulders should hang loose and your elbows should not angle up when reaching for your keyboard. In short, you should not be actively engaging muscle to maintain your position. The center of your screen(s) should be just below eye level so that you look slightly down at them. Your chair should be adjustable enough to line up with the desk you’ve chosen.
A keyboard tray goes a long way toward placing the keyboard and mouse at the correct height versus your screens. Placing your keyboard and mouse on the same surface as your laptop or monitor often means the input devices are too high relative to your chair. This causes you to hunch your shoulders and neck which results in fatigue. If your desk or stand doesn’t have one, universal trays that mount to almost anything are easy to find on Amazon.
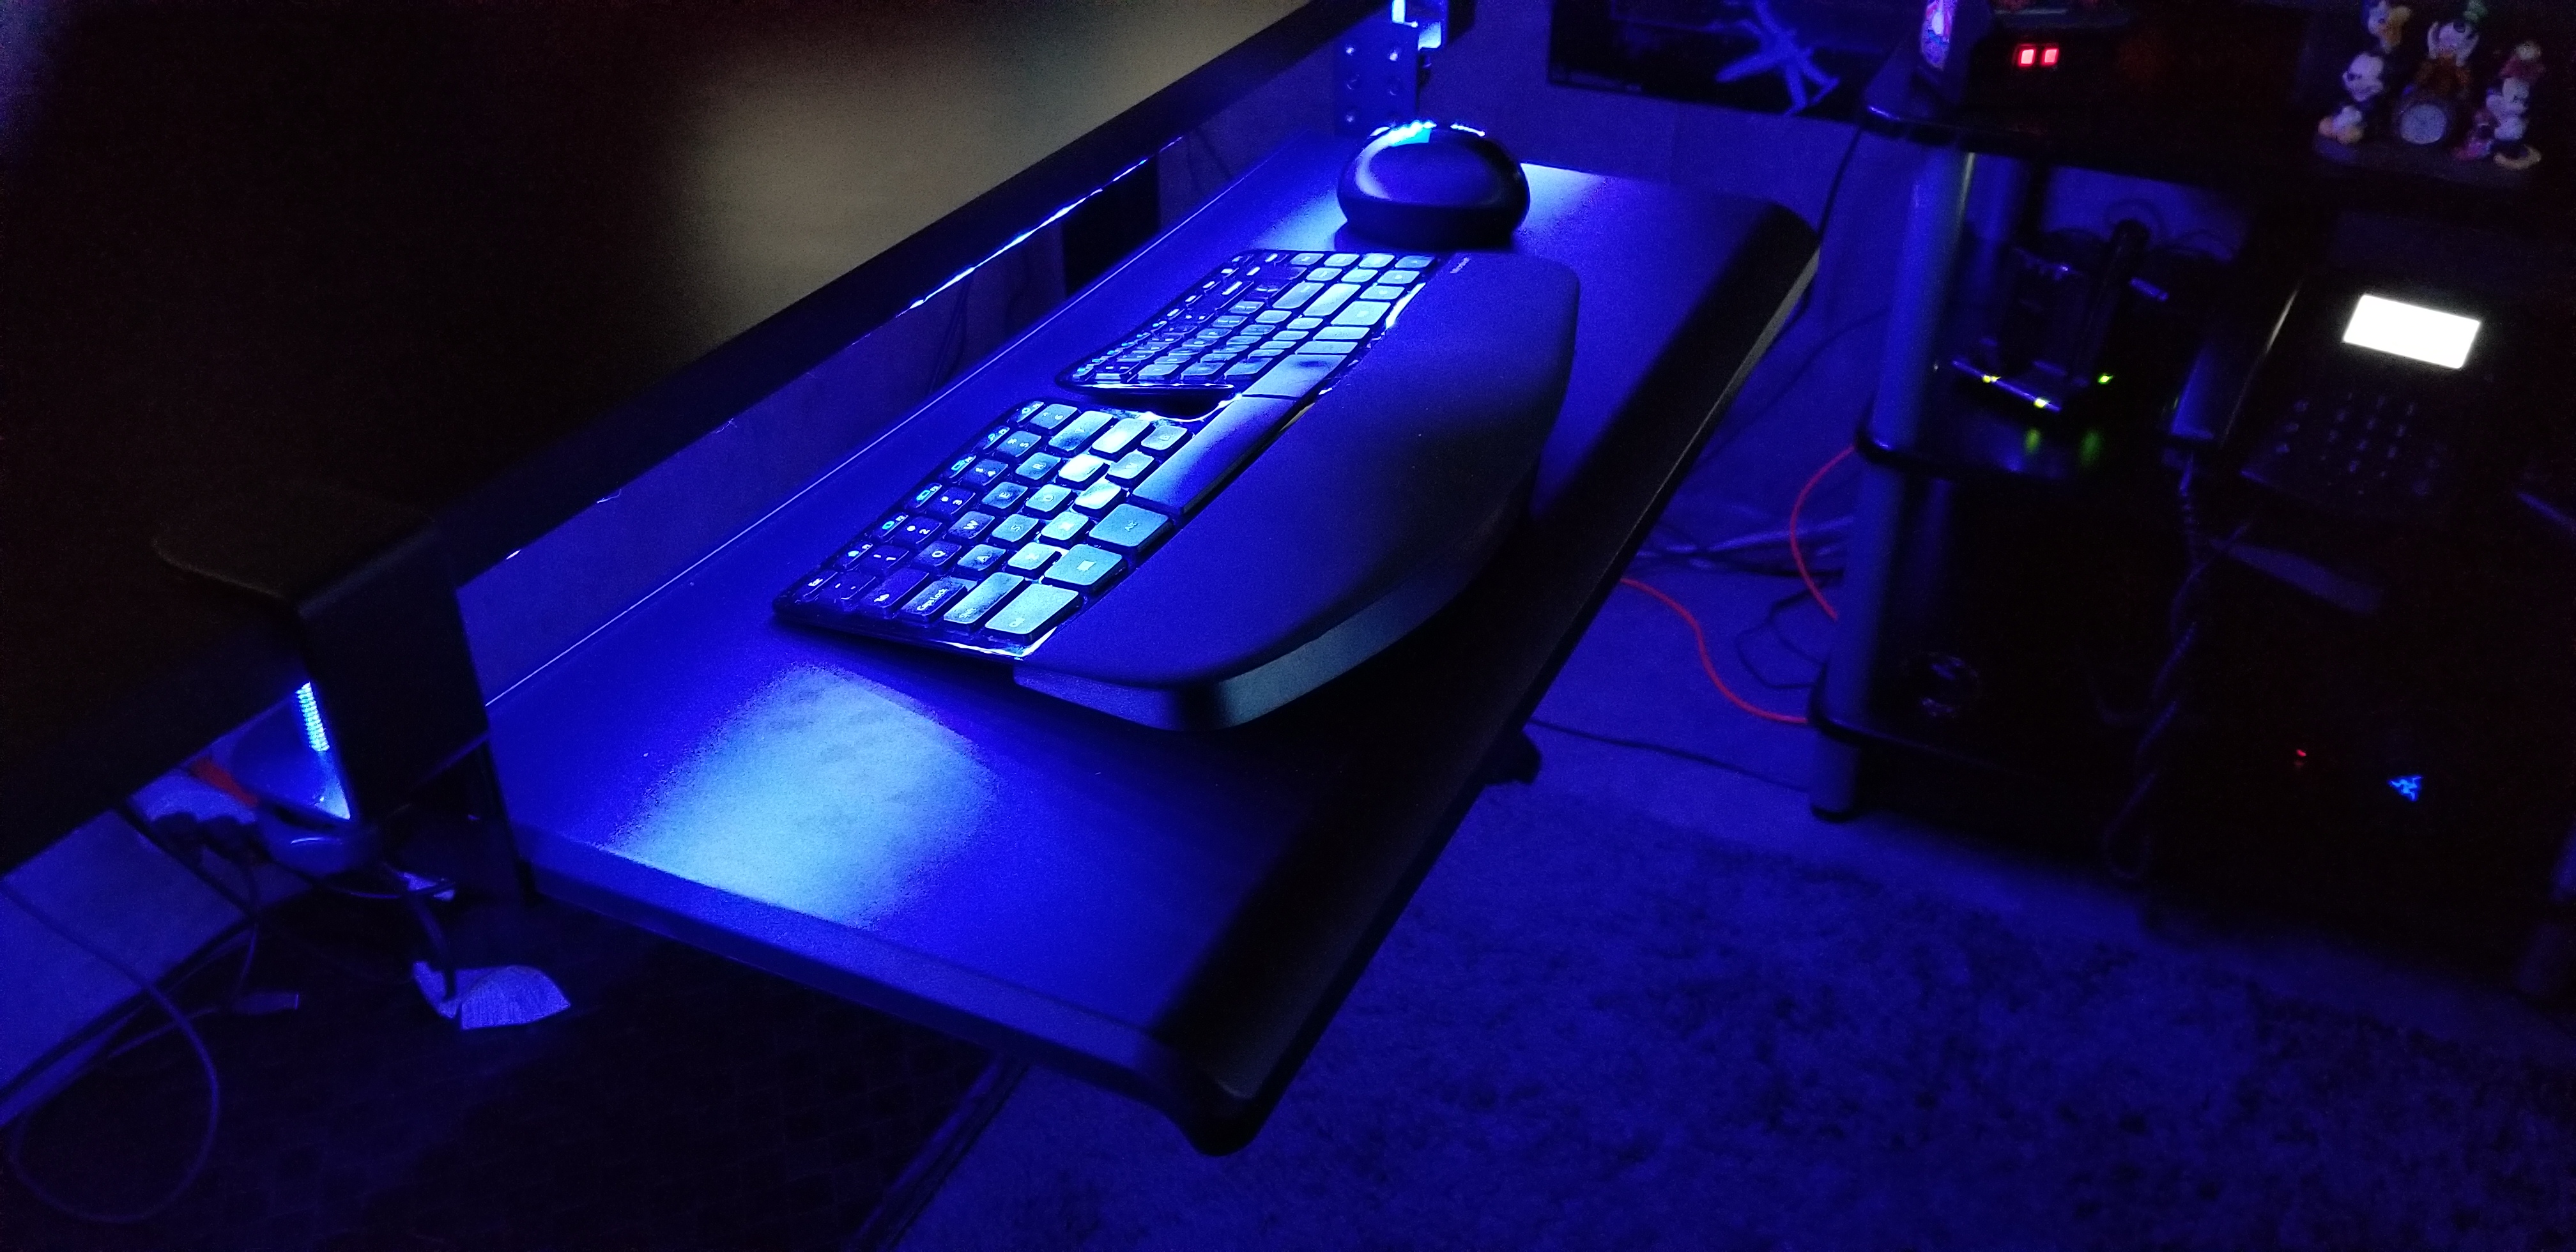
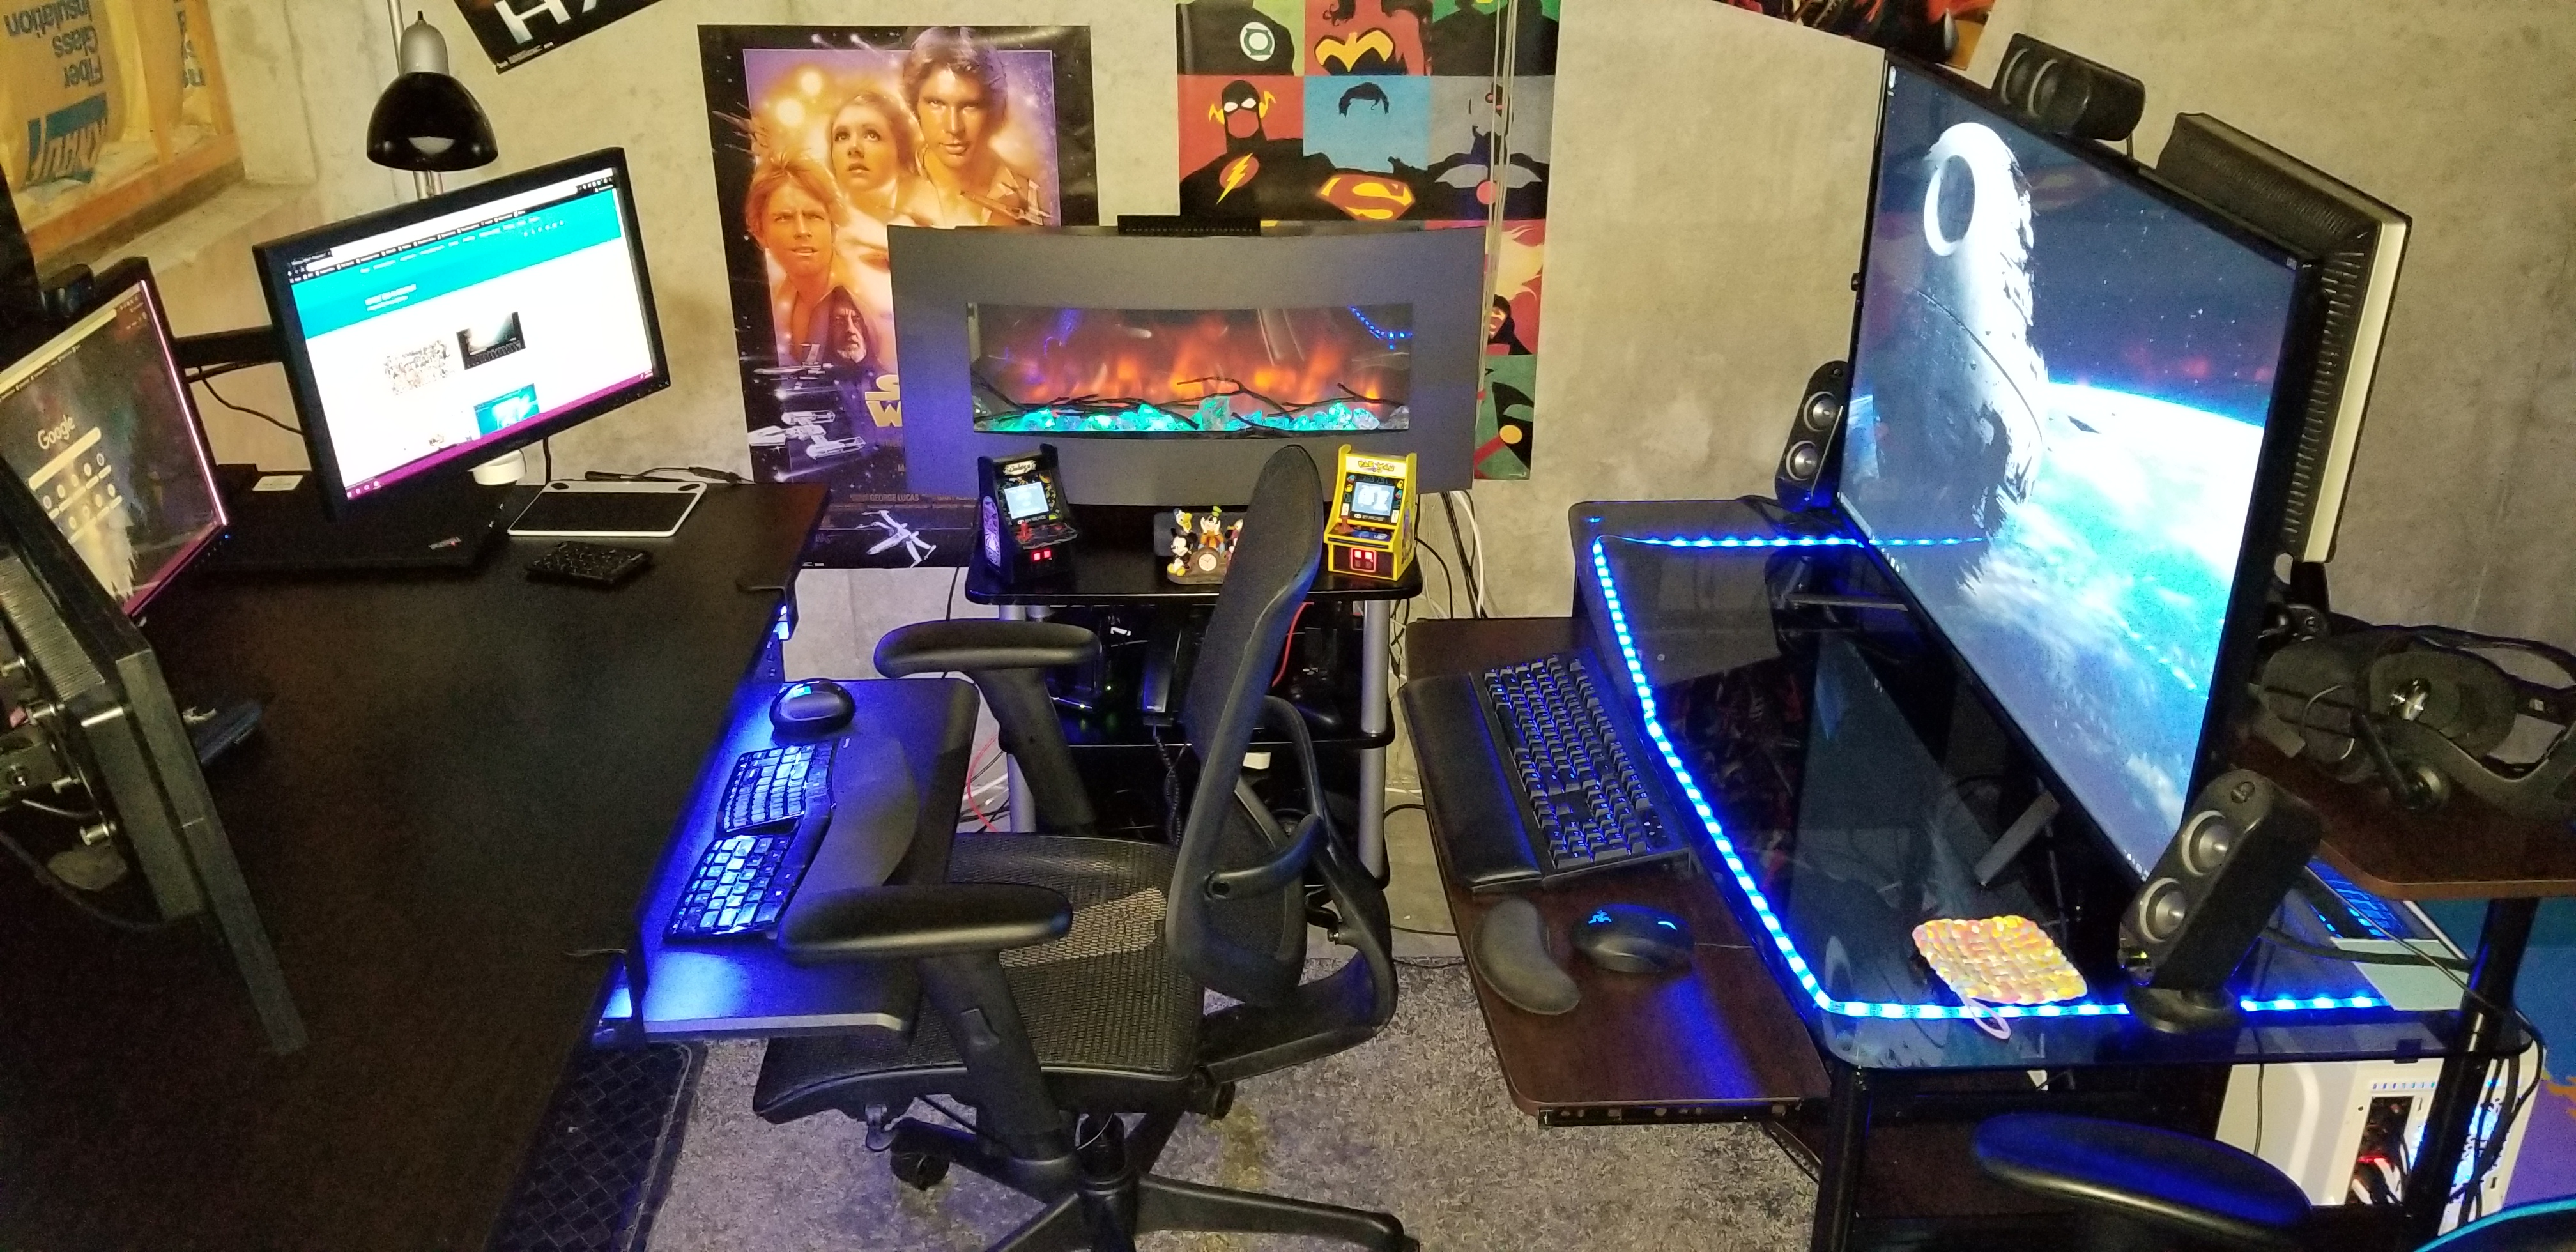
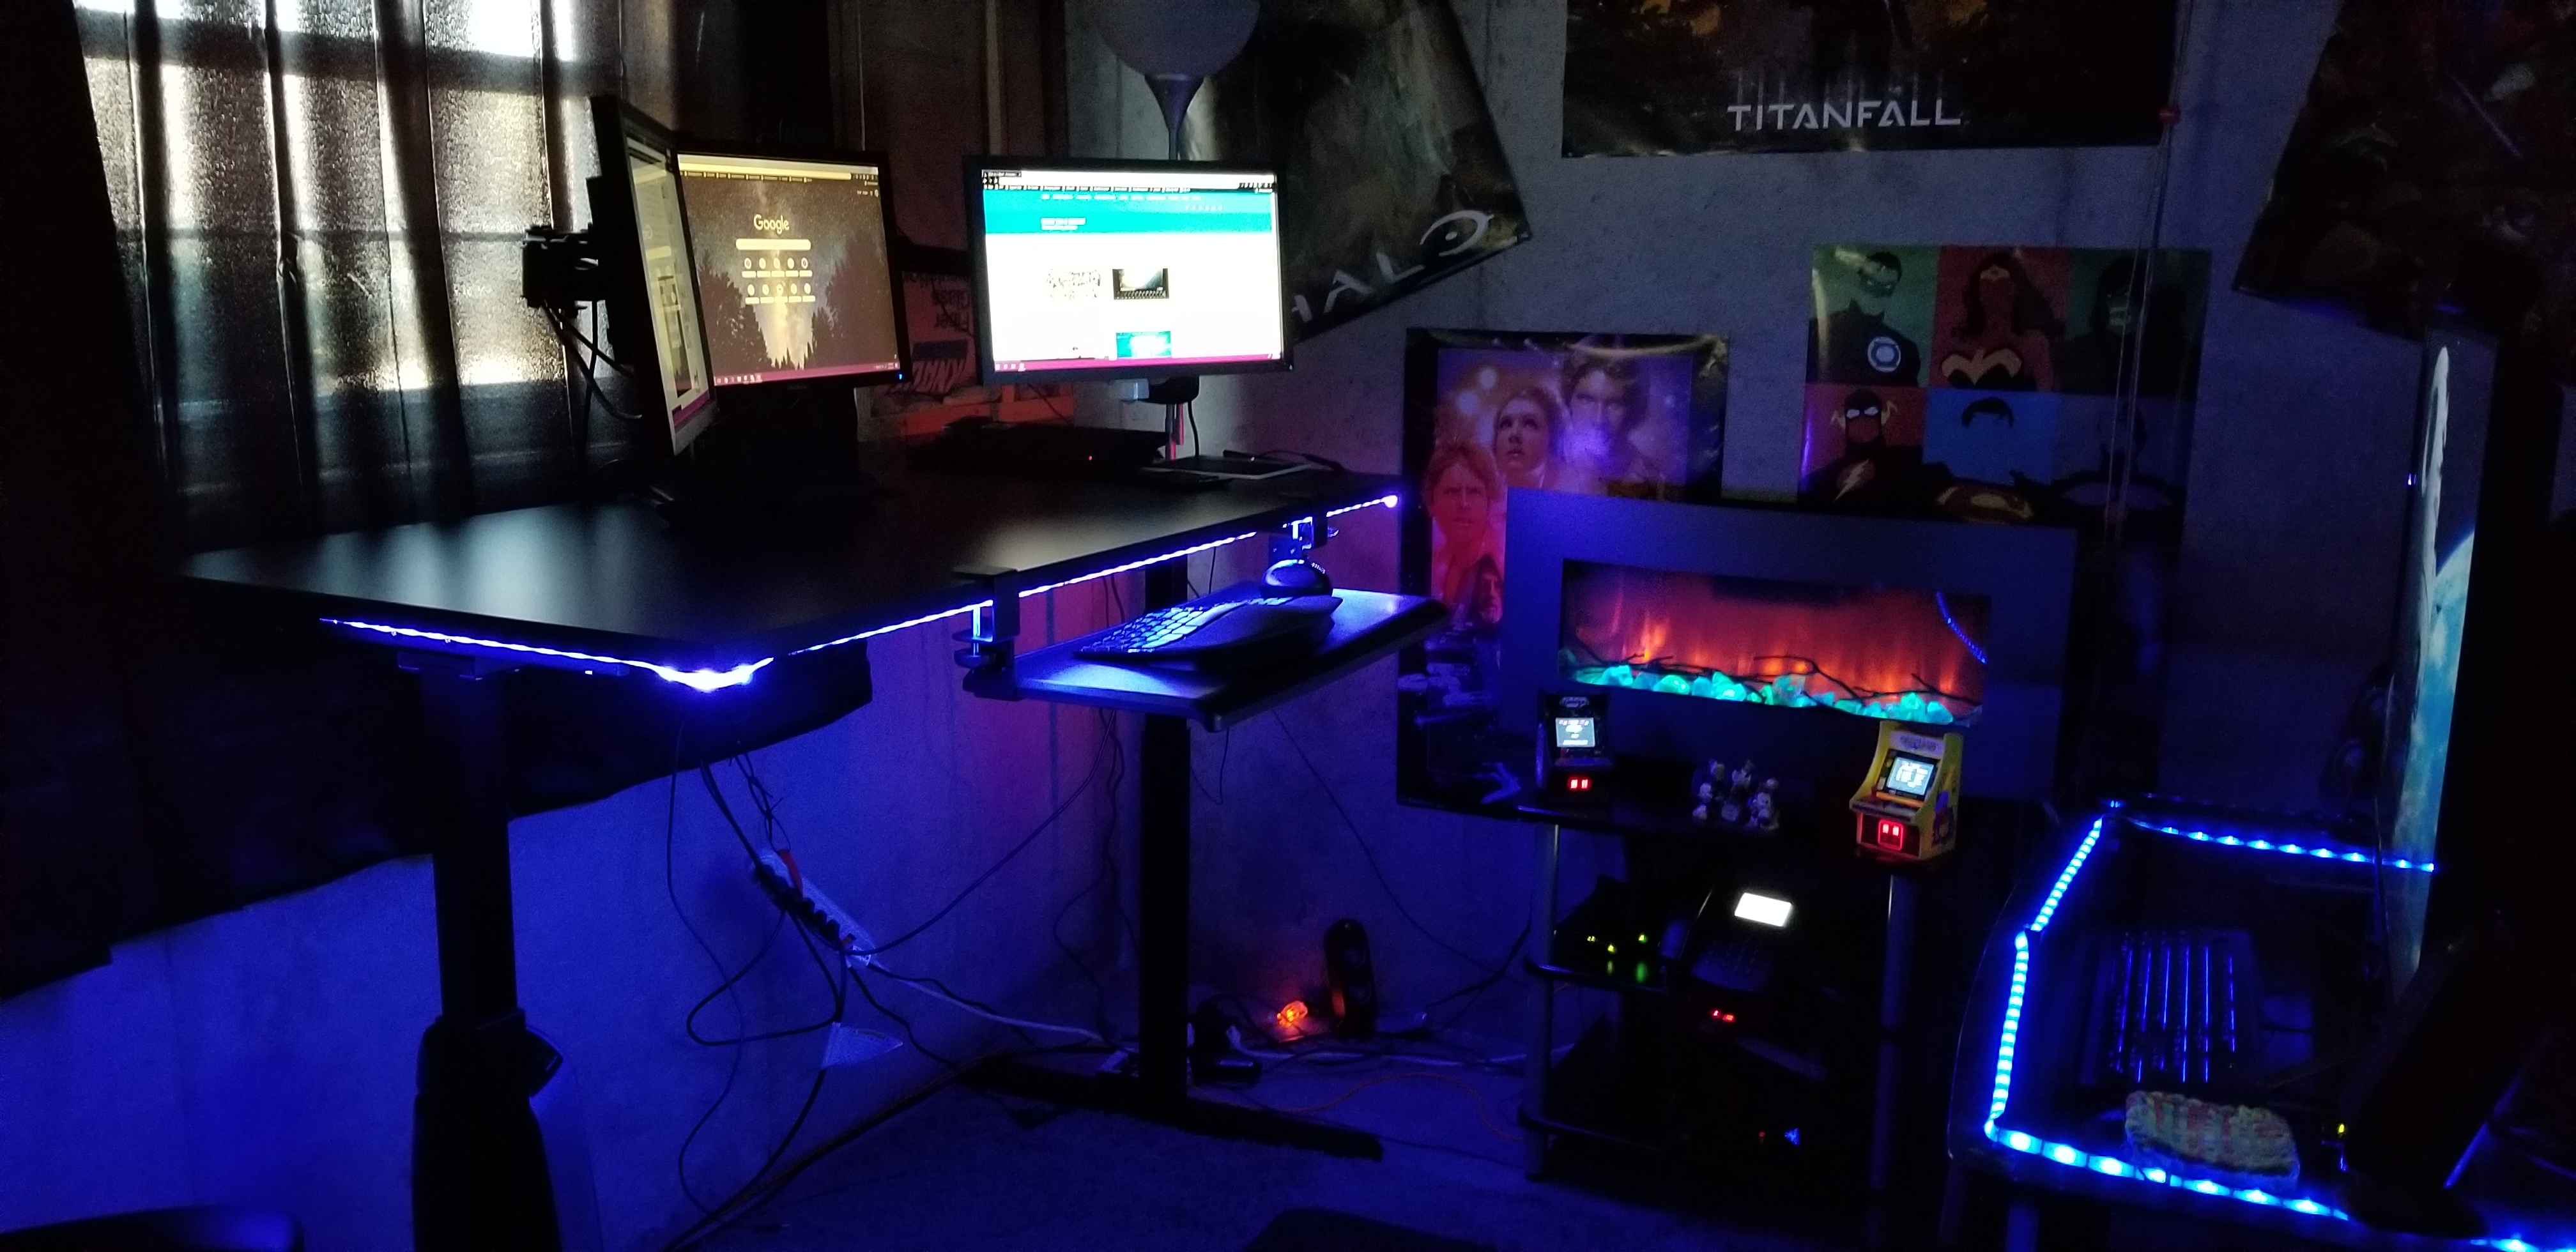
Personally, I picked up a standing desk on-sale for less than $250. I also grabbed a tri-monitor mount and keyboard tray from Amazon for $100 and a mesh chair rated for eight hours for another $120. I put them on cheap area rug from Wal-Mart in the corner of my unfinished basement next to the windows and presto, a private office to call my own.
Location, Location, Location
Speaking of privacy. How many times have you been on a conference call and heard somebody’s kids or their dog making noise in the background? Did you roll your eyes? So do the rest of us. You don’t want to be that person. Especially now that video conferencing is replacing the audio only variety, you’ll need a private space.
This doesn’t mean you have to dedicate a room to your home office. Although if you can, then by all means do. The rest of us need to find a space that is out of the main traffic areas of our home. Like I said before, mine is in the corner of our basement. I’ve also used the corner of our bedroom, a dining room we never ate in, and a room I built-in the unused portion of a garage.
Natural lighting is a big plus if you have the option. Try to avoid spaces that don’t have decent air flow. Small rooms without good ventilation, like a pantry or walk-in closet, tend to get stuffy and hot when you put a computer in them. A fan and space heater can be excellent accessories for your chosen area.
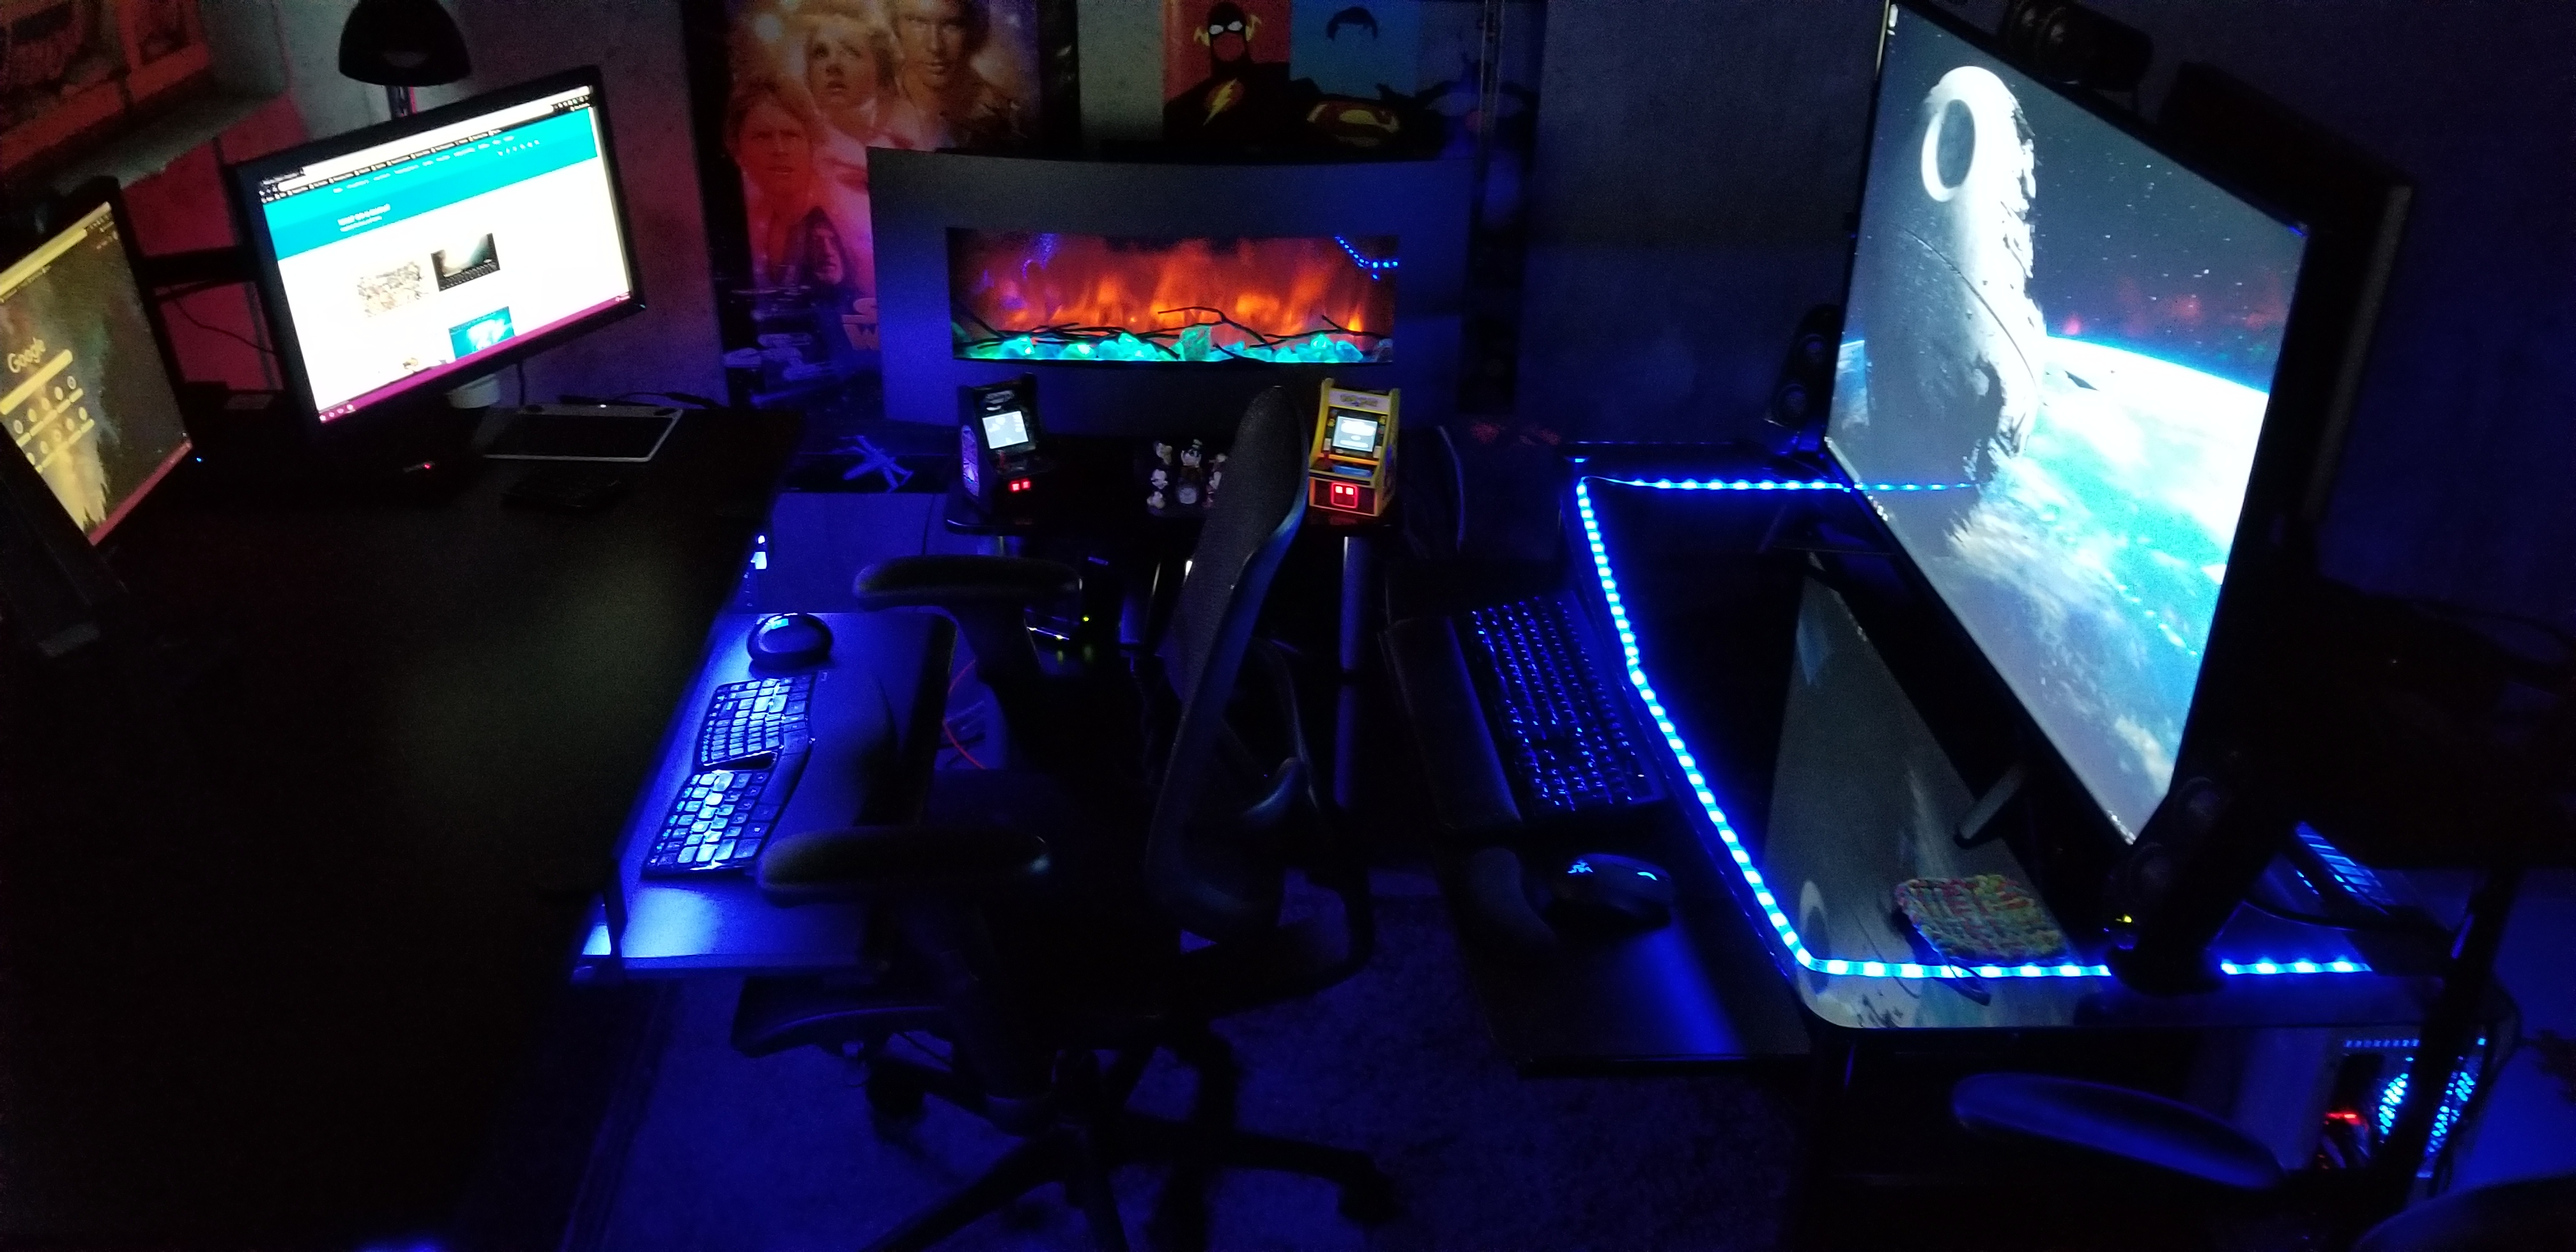
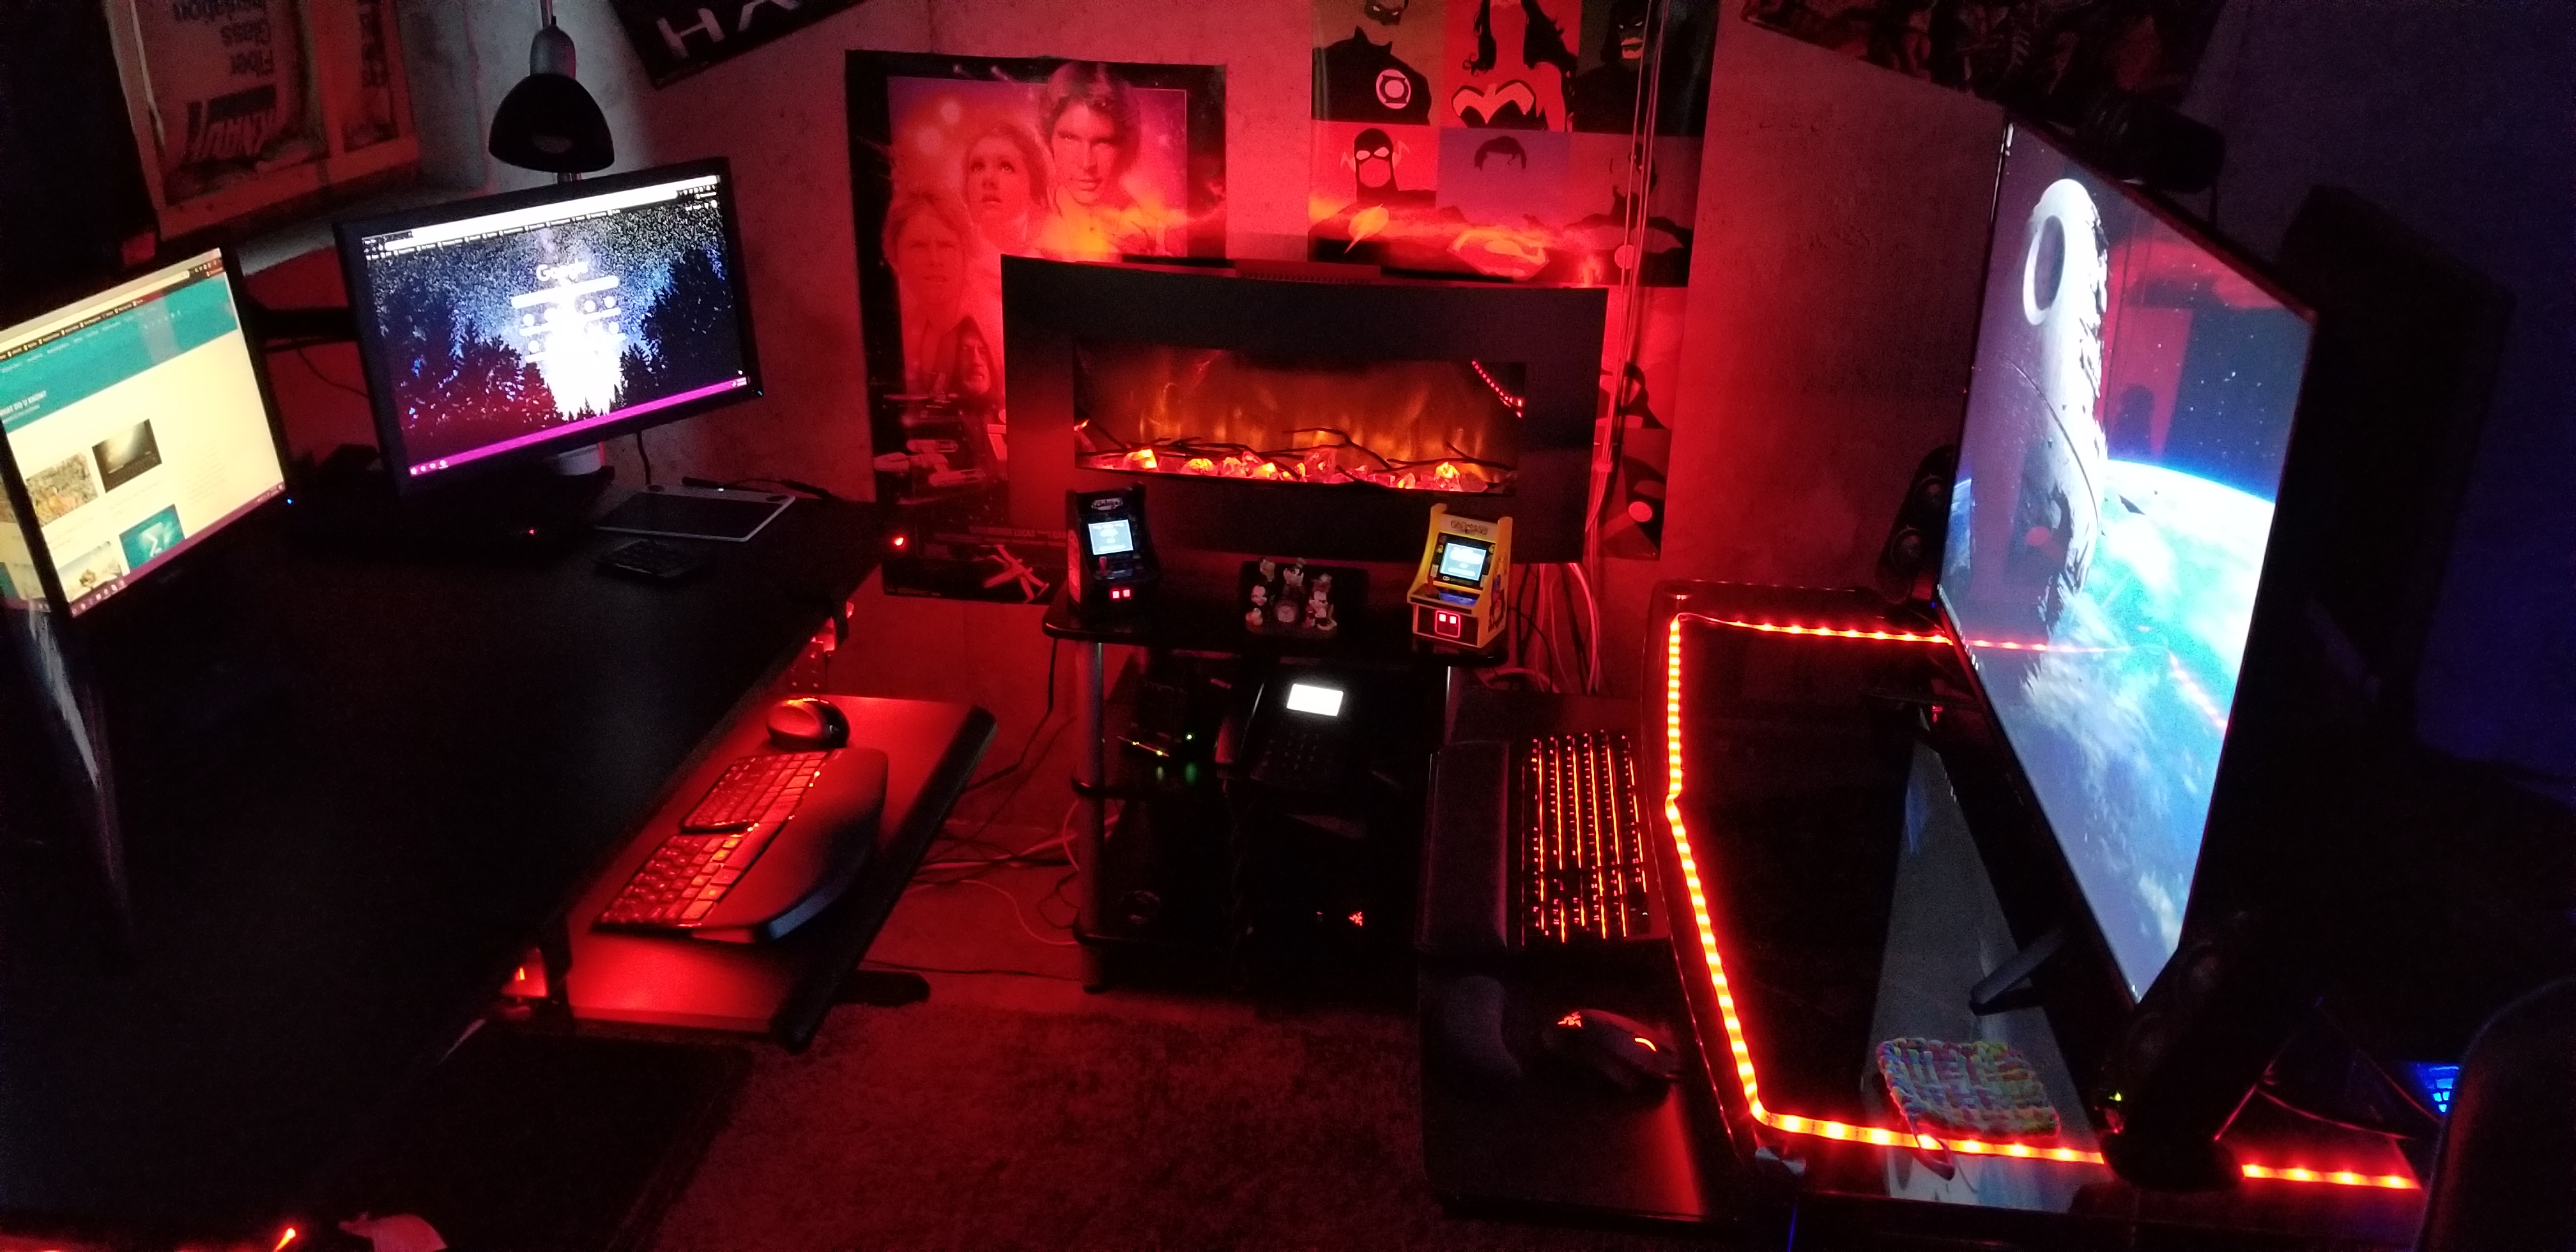
I suggest that you spend some time personalizing your space. Photos, knickknacks, posters, and the like, go a long way toward making a space comfortable to be in. The concrete walls in my unfinished basement are a depressing grey. I’ve hung gaming and pop-culture posters all over them to add some visual interest.
I’m a lighting geek, all of my lights are RGB, including the electronic fireplace. You can get in-expensive RGB lighting strips from lots of places. Most of them are peel-n-stick, USB powered, and include a remote control. Mine are connected to the RGB controller on my gaming computer’s motherboard. I change their colors to suit my mood. Red is DEFCON 5.
Focus and Motivation
Research suggests that standing and moving are important for our well-being. I find that I stand an average of 3 hours per day and move between standing and sitting multiple times. Obviously, a desk system that is easy to raise and lower is needed to facilitate this type of workflow, stay away from the hand-crank models if you can. I also find that padded floor mats are a big plus. For me, the ability to change positions helps me stay focused on the task at hand. When my mind wants to wonder, I change positions for a while.
Silence is golden, except when you’re working on tedious jobs. I really appreciate the ability to concentrate in silence. It’s one of the biggest benefits of working from a home office. No phones ringing, no loud talkers, no drive-bys, and no prairie dogging allow me to achieve laser focus on complex issues. That being said, when working on mundane tasks that take little thought, silence can lead to boredom and a loss of motivation. I play music, podcasts, and listen to various TV shows to keep motivated. Since I’m in my own space, no headphones are required!
Take short breaks. Multiple studies have shown that taking short breaks from work can actually increase your productivity. Contrary to popular belief, staring at it longer will not make the problem go away. Take a walk, shoot some hoops, play a game, the point is to do something else for a few minutes that lets your mind relax. My best creative solutions are always conceived when I am not actively trying to problem solve.
Get up, get dressed, brush your hair and teeth, wash up, and move to your “office” location. Laying around in your PJs or sweatpants tends to induce feelings of laziness. A lackadaisical state of being can get in the way of productivity. Lets face it, your boss can’t see what you are doing, so they are probably going to pay even more attention to how many tasks you complete.
Communication is Key

One of the draw-backs of not being in a traditional office is that communicating with your co-workers takes more effort. You can’t just lean over the cube wall and ask, “Hey, got a minute?” Asking for help when needed is something everyone will automatically do but that isn’t what makes a good team.
You need to purposefully make time to just talk with your team mates. Your company’s video conferencing solution is the best option. I know, I know, I don’t like the way I look on camera either, neither do many Hollywood stars if that’s any consolation. Fact is, we are hard-wired to see and that includes during interpersonal communications. Facial expressions communicate almost as much as the words being spoken in a given conversation.
Most companies will have multiple methods of video chatting. My current employer has WebEx and Skype for Business, both can do the job. I’ve found that turning on my camera when chatting or instant messaging with others, encourages them to do the same. My boss has scheduled a team meeting every morning for which video is required. Over time it has become second nature for us to enable our cameras pretty much all of the time.
Wrap it up
Working from home is not for everyone. Some people do better with more social interaction and some jobs require that workers be present in the place of business. IT jobs are often well suited for WFH employees due to the systems they work on being remote in the first place, their tasks often requiring a single person to complete, and little requirement for equipment.
With a little know how, the shortcomings of working from home are easy enough to deal with. When it’s done right, productivity is increased and stress can be lowered. I’m comfortable working either way but if given a choice, WFH is always my preference.