After I had a positive experience upgrading a system from air cooling to an AIO block, I decided that my next build would be based on a custom loop. For those who are new to liquid cooling, an AIO block is a closed assembly that you install as a finished unit. A custom loop is created from individual pipes, pumps, reservoirs, and components that resemble a plumbing project in minature.
Custom loops are often chosen for their aesthetics. There’s something mesmerizing about seeing liquid moving in and around electrical components. The drama can be heightened by adding RGB lighting effects. Beyond looks, liquid cooling can be more effective than air. I started researching and soon discovered that there was far more to designing a custom loop than just picking out some parts.
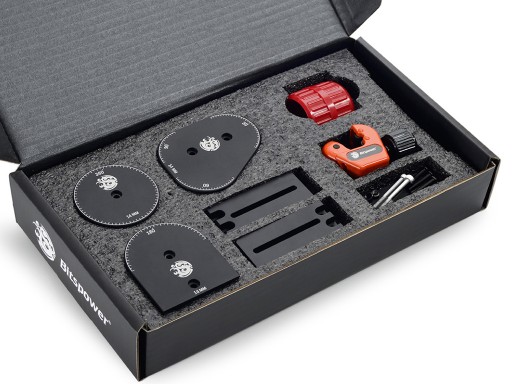
Lucky for me, I also found a company that was building so called bare-bones systems that featured a custom loop. I had never heard of Bitspower before. Their page indicated that their equipment was stocked at a chain store here in town. Intrigued by what I saw on-line and liking the idea of a starter-kit, I headed over to Microcenter take a look.

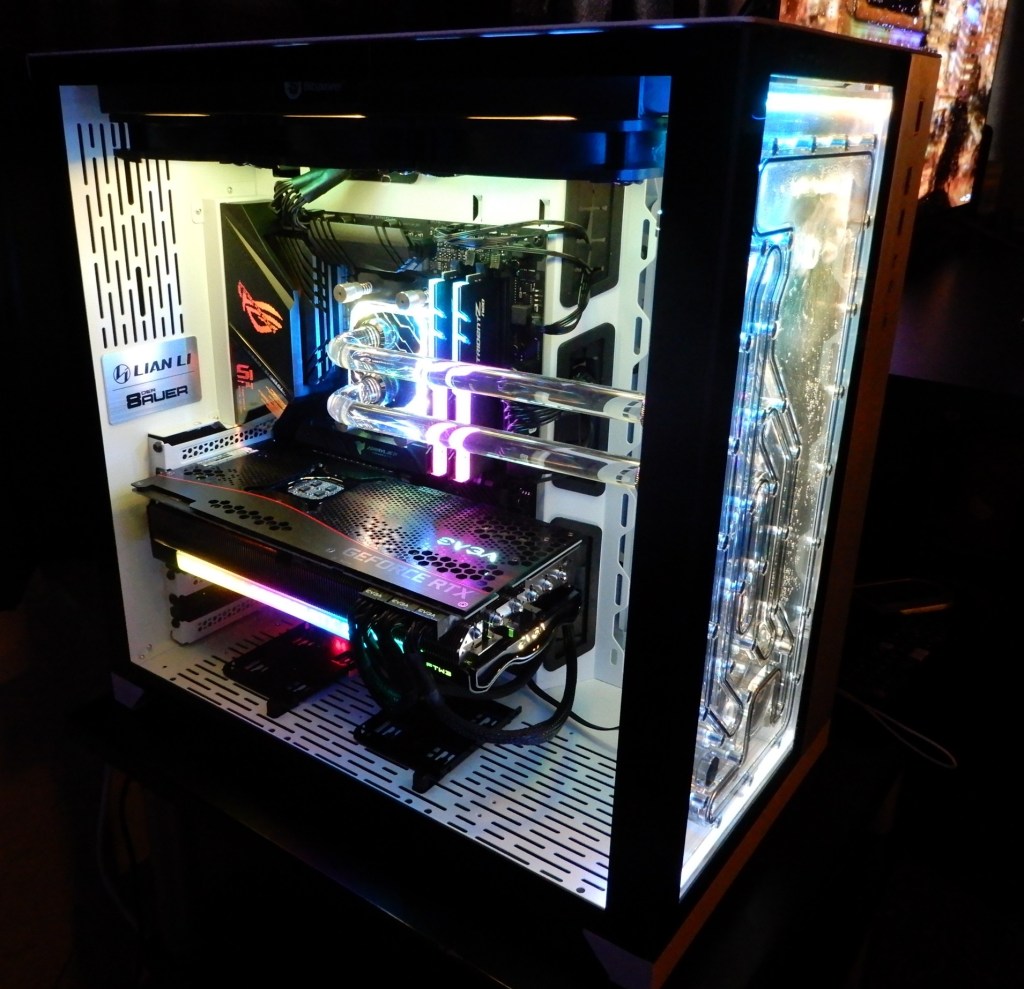
They had the Titan X 2.0 kit on-sale. The kit includes a pre-installed high-end gaming motherboard for your preferred CPU architecture, a pre-installed PSU, a boxed GPU of various caliber depending on the kit, and a partially installed custom loop. The reservoir, pump, power-supply, fans, motherboard, and associated parts and cables are all professionally installed at the factory in a top-tier case that comes in black, or white. You supply the CPU, memory, and storage.

I also picked up an AMD Ryzen 7, 32 GB of DDR5 GSKILL RGB RAM, and two 1TB Samsung 980SD Pro nVME drives. This system will be used exclusivey for gaming. I don’t intend to overclock it, at least not right out of the box.
To keep the costs down, I decided against getting the optional graphics card loop components. The add-on kit for my GPU was $279.00. The GPU PCI 4 riser kit, would have added another $49.00. They can always be installed later.
If you’re considering building a closed loop system, there are some specialty tools you need to have. The hole you fill the revivor through is rather small. It is also in an awkward to reach location. You will need a liquid syringe to fill it.
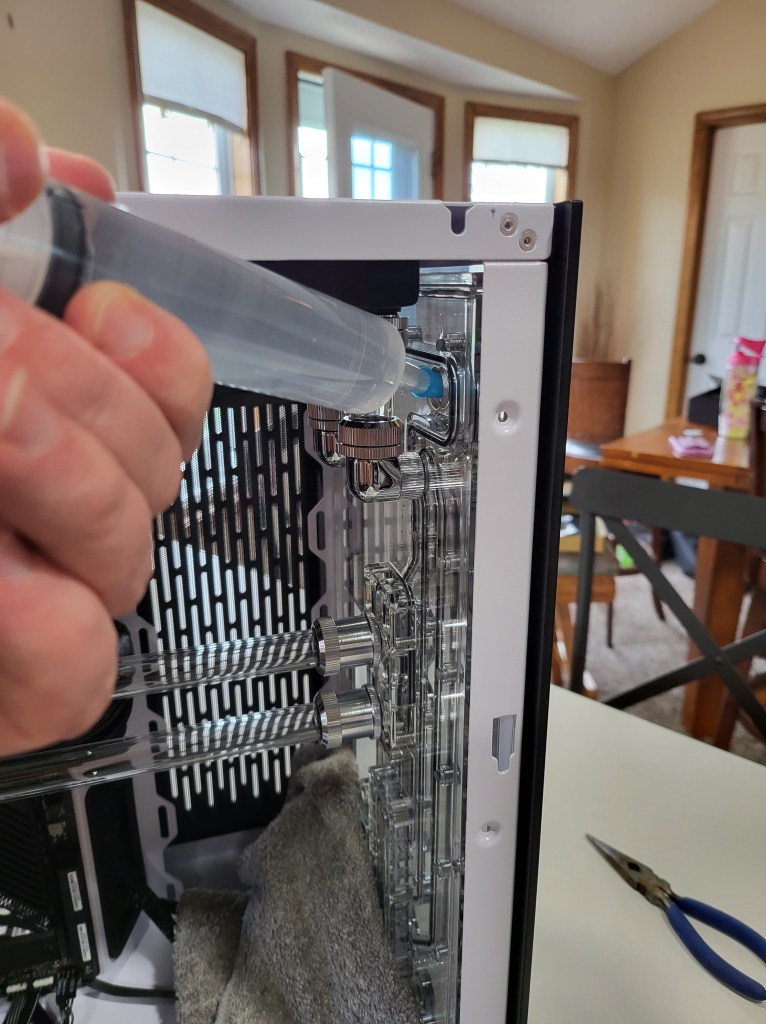
There isn’t one in the box. You get them on Amazon, many home stores, even pet stores. I recommend getting a brand new one to avoid introducing contaminates to the coolant. I chose to use distilled water in this build (not included). Most of the vendors make coolant. You should research other options too.
The other pieces of a-typical build equipment needed are a method to power the coolant pump while isolating it from the other components. Filling the reservoir without cycling the pump will result in huge air pockets.
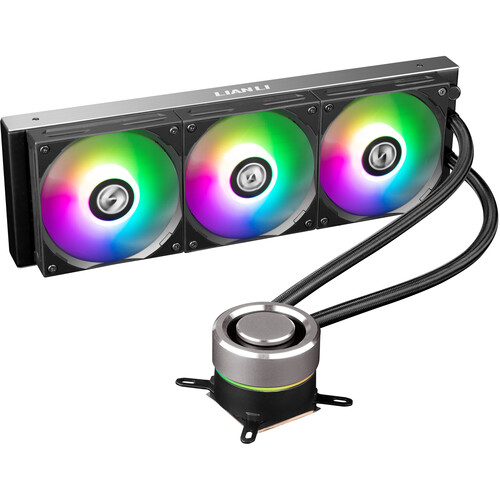
There are a couple of ways to go. One is to use the jumper bridge that ships with some gaming boards. The motherboard power leads will plug into it and you use your PSU’s switch to cycle the pump. The other option is to use a power adapter that connects directly to your pump. Refer to your motherboard and cooling system installation guides for the details.
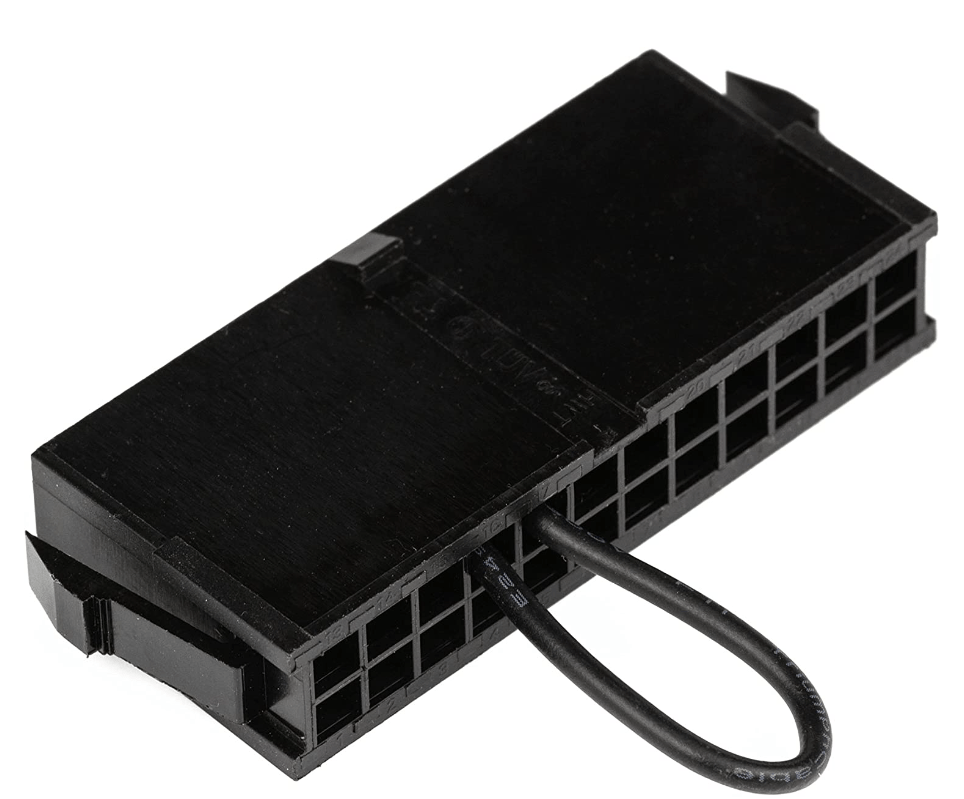
A PSU Jumper Bridge will let you disconnect the motherboard power while still powering the pump through a Molex adapter/lead. You may need to install the Molex lead yourself, it’s in the box. I used a 4-Pin fan adapter (not in the box) to connect the Molex PSU lead to the pump.
If you are building your own loop or need to modify the Titan kit you will also need a tube bending kit. Bitspower makes their own and there are several models available on Amazon. I did not need this tool. If you are sticking with the kit’s default layout for everything, you will not need one either.
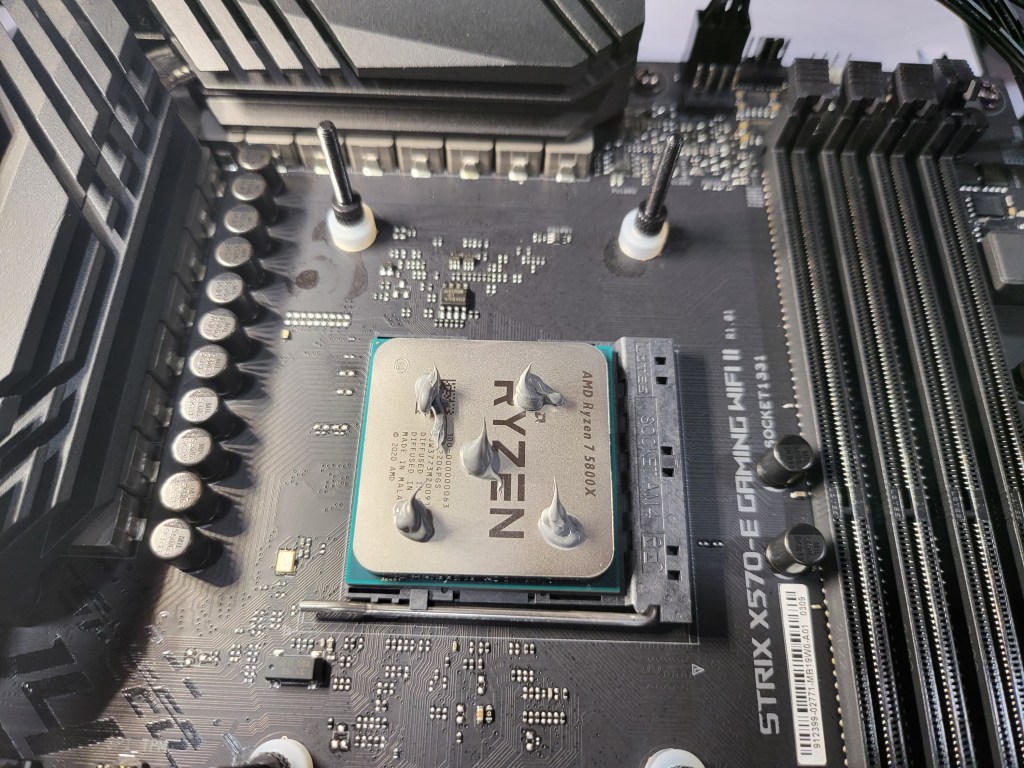
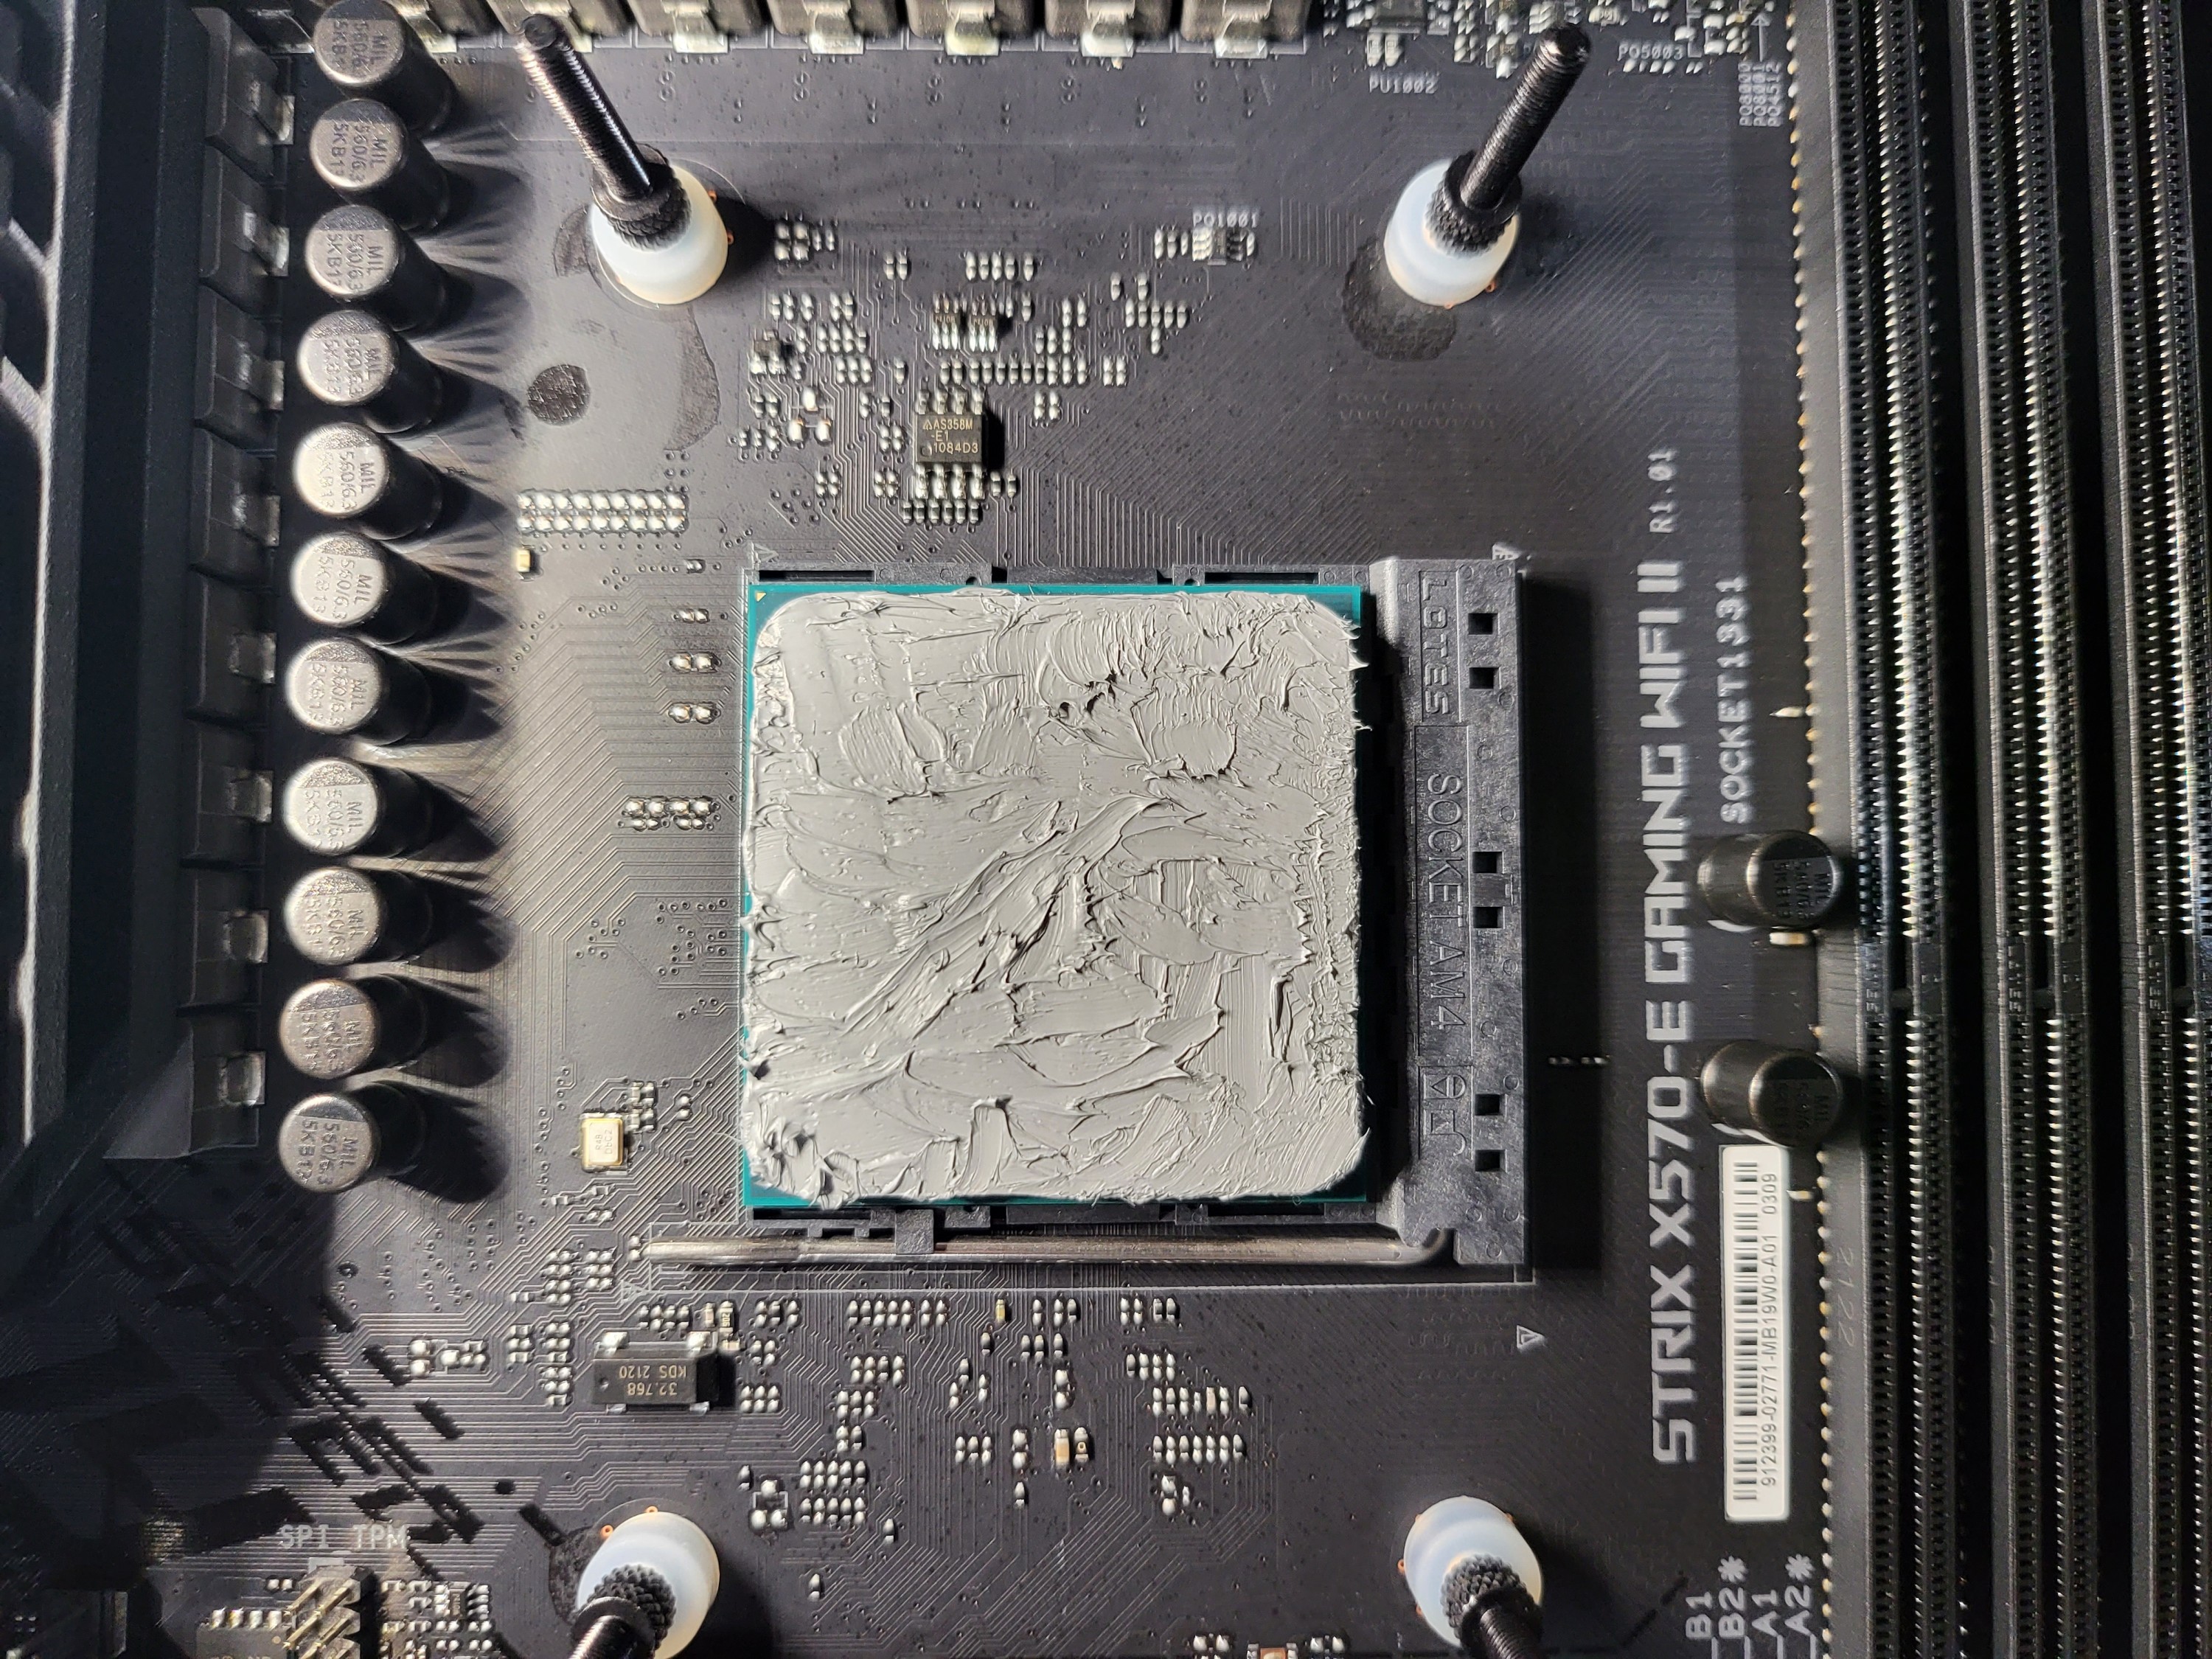
The rest of the assembly is straightforward. The instructions are short and written for experienced builders. Search Youtube for more help. The kit absolutely shortens the build time, but there are still advanced steps remaining. You’ll be installing the CPU, applying thermal paste, mounting the CPU water block, completing and filling the loop, and installing all the other components.

Disappointingly, the Titan kit does not include the thermal paste required to complete the project. I also reccomend adding a GPU support bracket. The case included is Lian Li, so I opted for their support bracket. Bitspower has their own brand of thermal paste. It was easy to apply and performs well, so far.
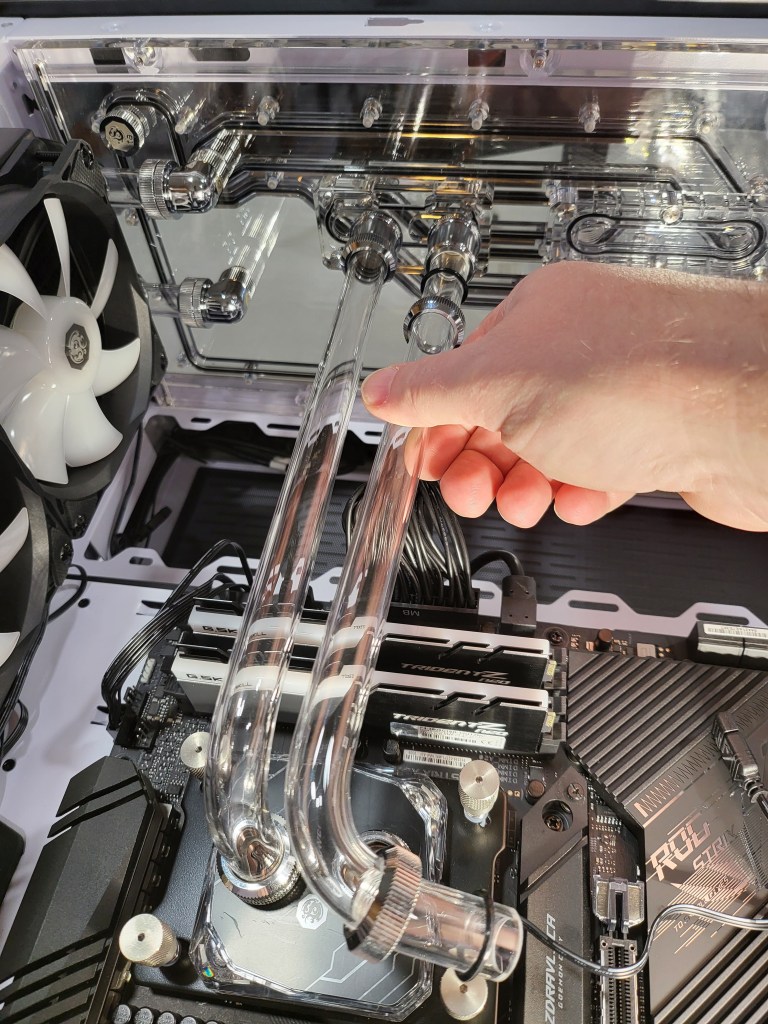
The tubes are already cut and shaped to fit. You will need to position the O-rings and caps on each end before making the connection. When connecting the tubing, be sure that the tube goes past the O-ring in the mounted end’s input. I was surprised at the amount of force I needed to apply to get them seated properly.
When you are ready to fill the system with coolant, I recommend covering the area with towels. Make sure that the only device receiving power is the water pump. If something gets wet, do not panic. Just make sure that everything in completley dry before before powering up. Run the loop for 24 hours with only the pump powered, after you get it filled, to be confident.