One question that frequently arises during remote work transitions is “What do we do about the physical mail?” One of my go to solutions has been to email enable SharePoint document library folders and point our scanner’s email function at those addresses. Unfortunately, SharePoint On-line lacks the ability to email enable folders.
If you are starting down this path and do not have a scanner, you should know there are devices on the market that can scan directly to SharePoint. You will most certainly have a better experience with these machines than will be achievable via any workaround method. Devices like the HP M577 series and the Plustek eScan SharePoint A250 are able to logon to SharePoint On-line via their built-in software.
If your current hardware lacks the direct to SharePoint functionality and a replacement isn’t an option, there are two methods that may work. Before we get started you should be aware that any of the following options will require that somebody logon to SharePoint from the system running the solution a minimum of every five days. SharePoint On-line sessions expire; refer to Microsoft’s documentation.
Method 1 – Scan to Synchronized Folder
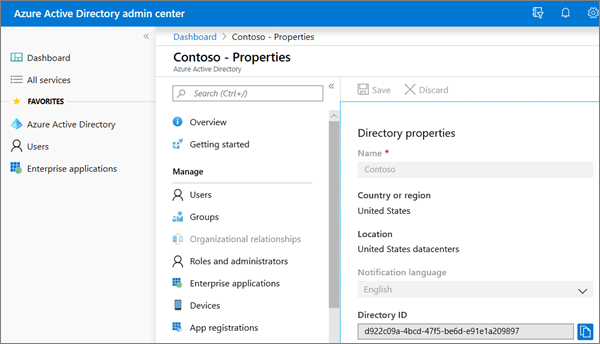
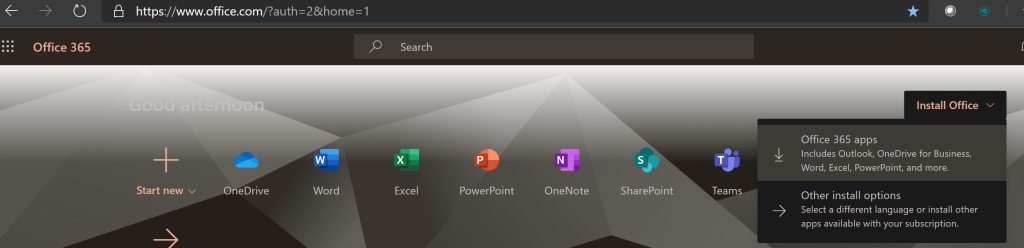
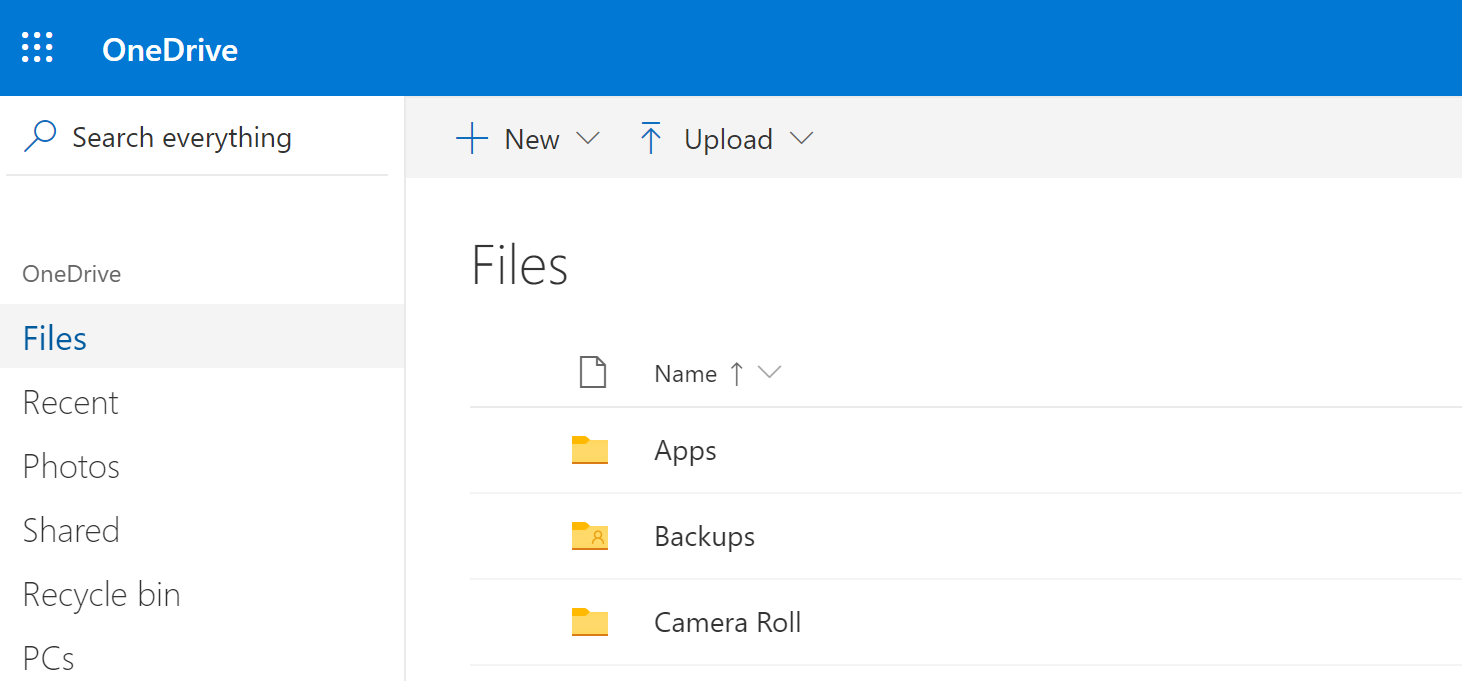
First be sure that Microsoft OneDrive is installed and setup on the computer you will send the scans to. Make sure the account that you are logging on to the computer with is licensed for OneDrive and SharePoint access in your Office 365 admin portal.
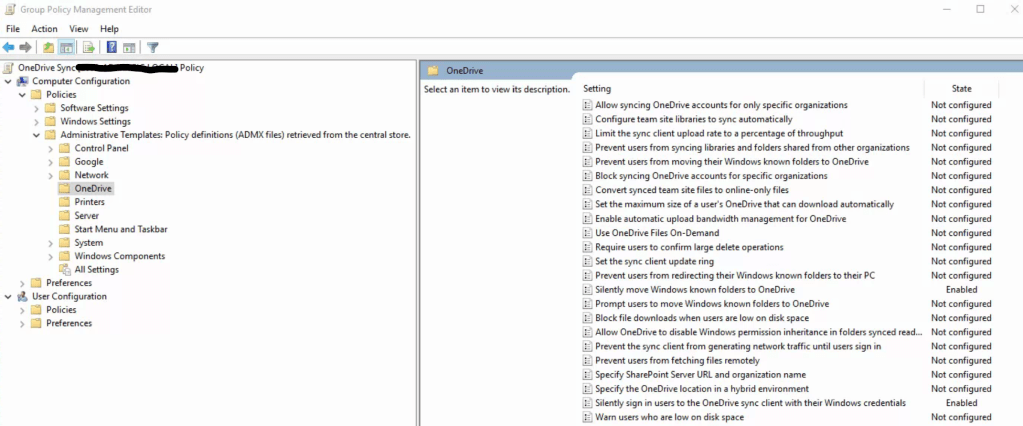
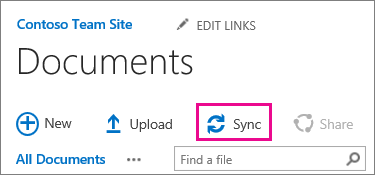
Logon to SharePoint and create a folder in the appropriate document library for your scans. Assign permissions for access, auditing, versioning, etc. open the folder from the computer and account that will run the process we are creating. While in the folder, use the Sync button in the SharePoint toolbar to synchronize the folder to your computer with OneDrive.
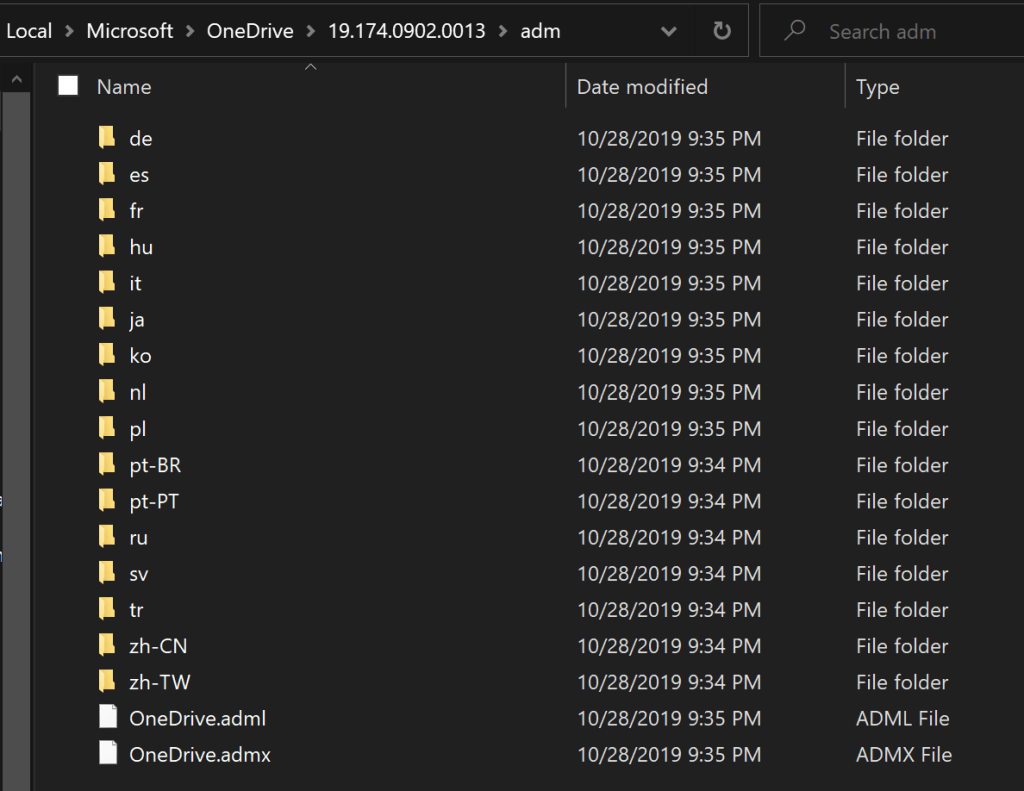
Once you’ve created your SharePoint folder and set it to sync, open Windows Explorer and you should see the SharePoint document library listed in the menu on the left. Right click on it and go to the properties to see the folder path. If OneDrive’s default settings were not altered the path should be something like: C:\users\yourname\yourcompany\sharepoint – yourfolder. If you’re having trouble getting the SharePoint sync to work review this Microsoft video.
It’s pretty common to try and get your scanner to use the local location (C:\users\yourname\yourcompany\sharepoint – yourfolder) as a target, but you will soon discover that it doesn’t work. This folder has special attributes that keep you from writing to it with most devices. We need to work around this limitation so that your scanner can write files to this synchronized folder.
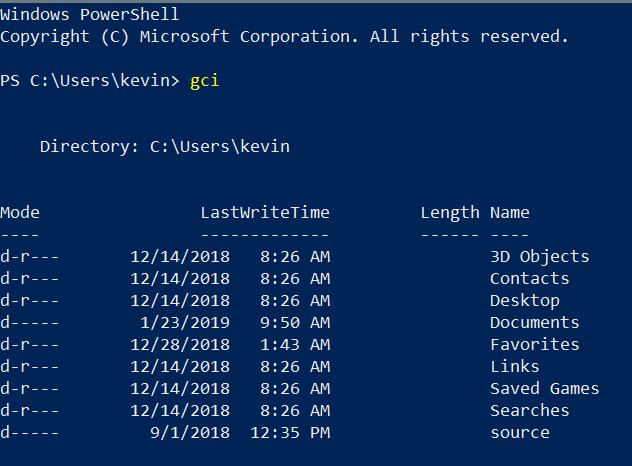
Open a CMD prompt and run: subst s: “C:\users\yourname\yourcompany\sharepoint – yourfolder” using the actual folder’s path. When you press enter a new hard drive will appear in Windows Explorer with the drive letter S. This is a virtual drive that is similar to a mapped network drive but connected to a folder on the local computer rather than a network share. The virtual drive will not honor the attributes, thus allowing our scanner to write files that are synchronized.
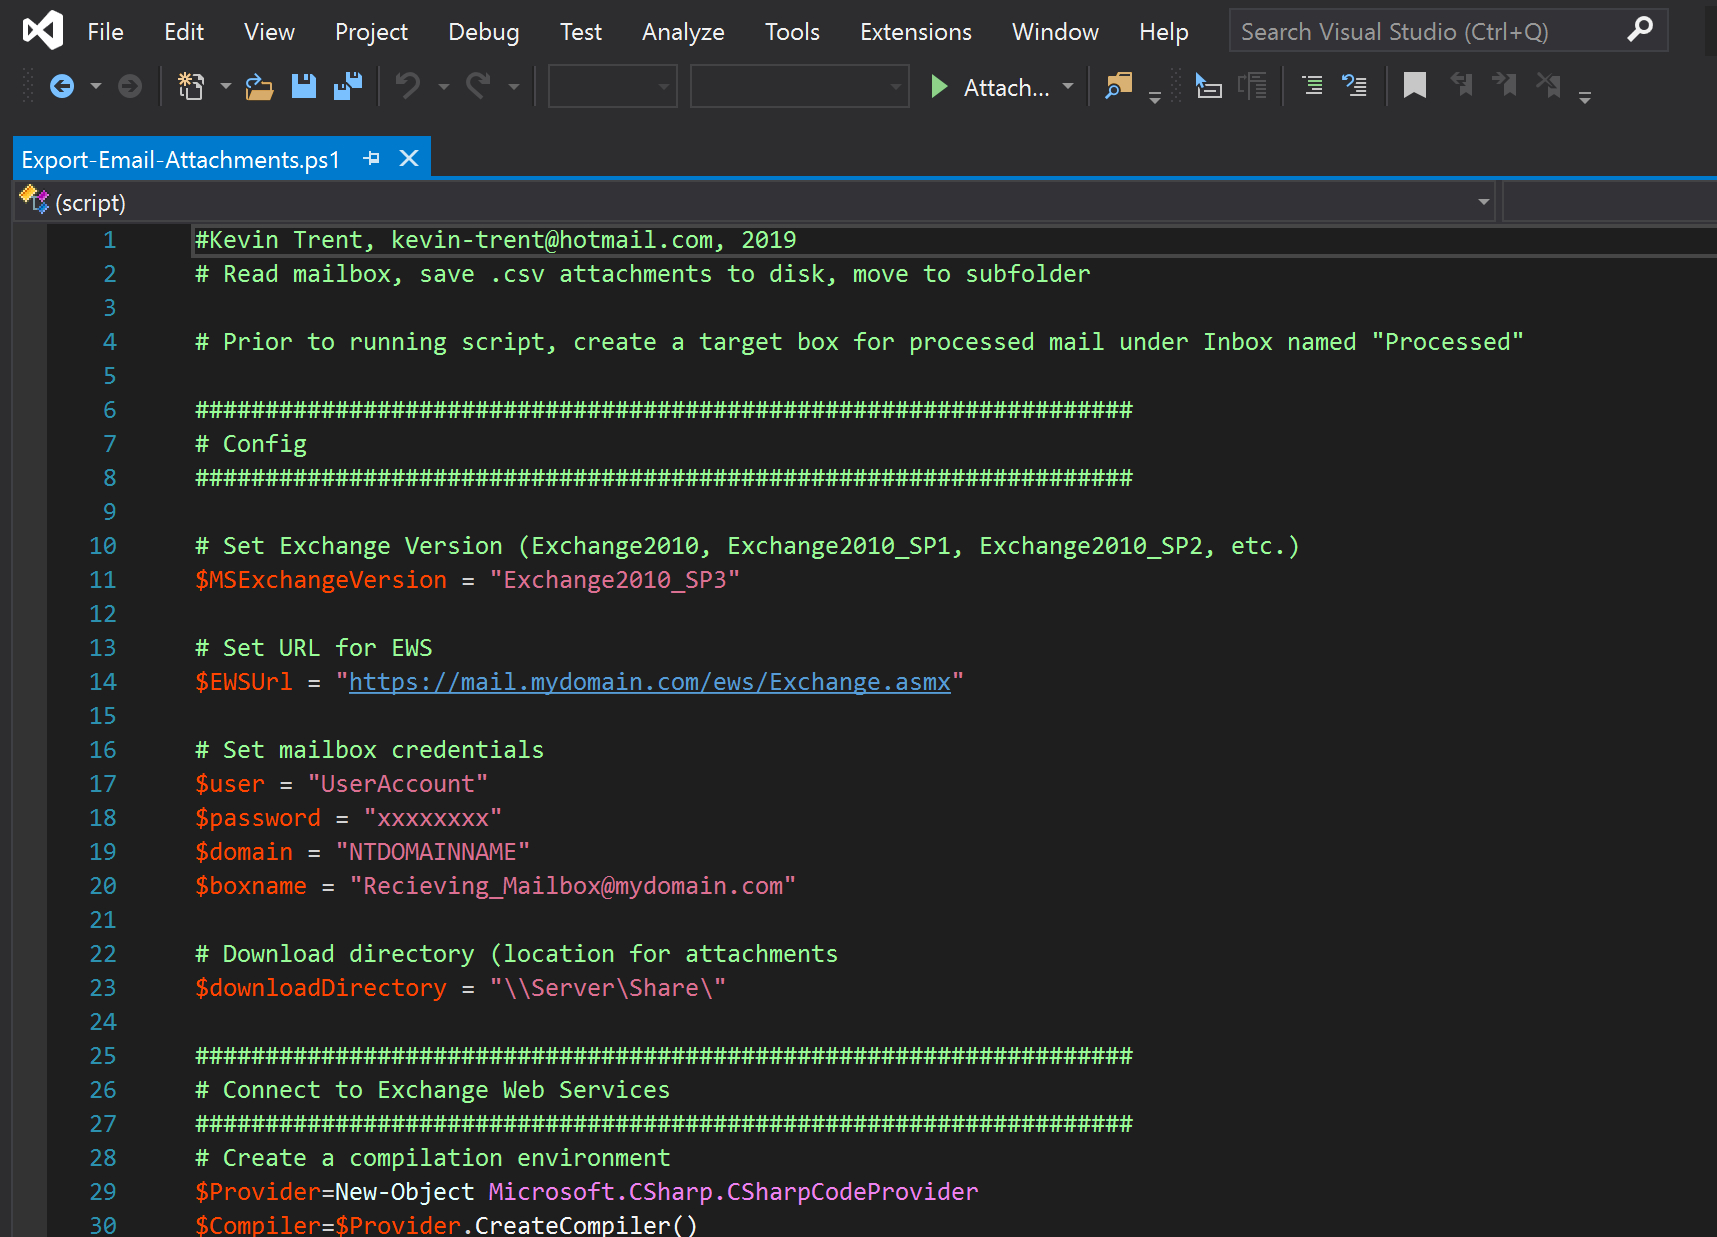
Right click on the S drive and share it. Configure your scanner to send its files to the S drive share. This process is different on every type of device, check your manual or Google it. Generally you logon to the web control interface and configure an address book entry. Scans sent to this destination will end up on SharePoint. With some scripting and/ or scheduled tasks you could automate all kinds of functions with the files.
Method 2 – Scan to Shared Mailbox and Move to SharePoint
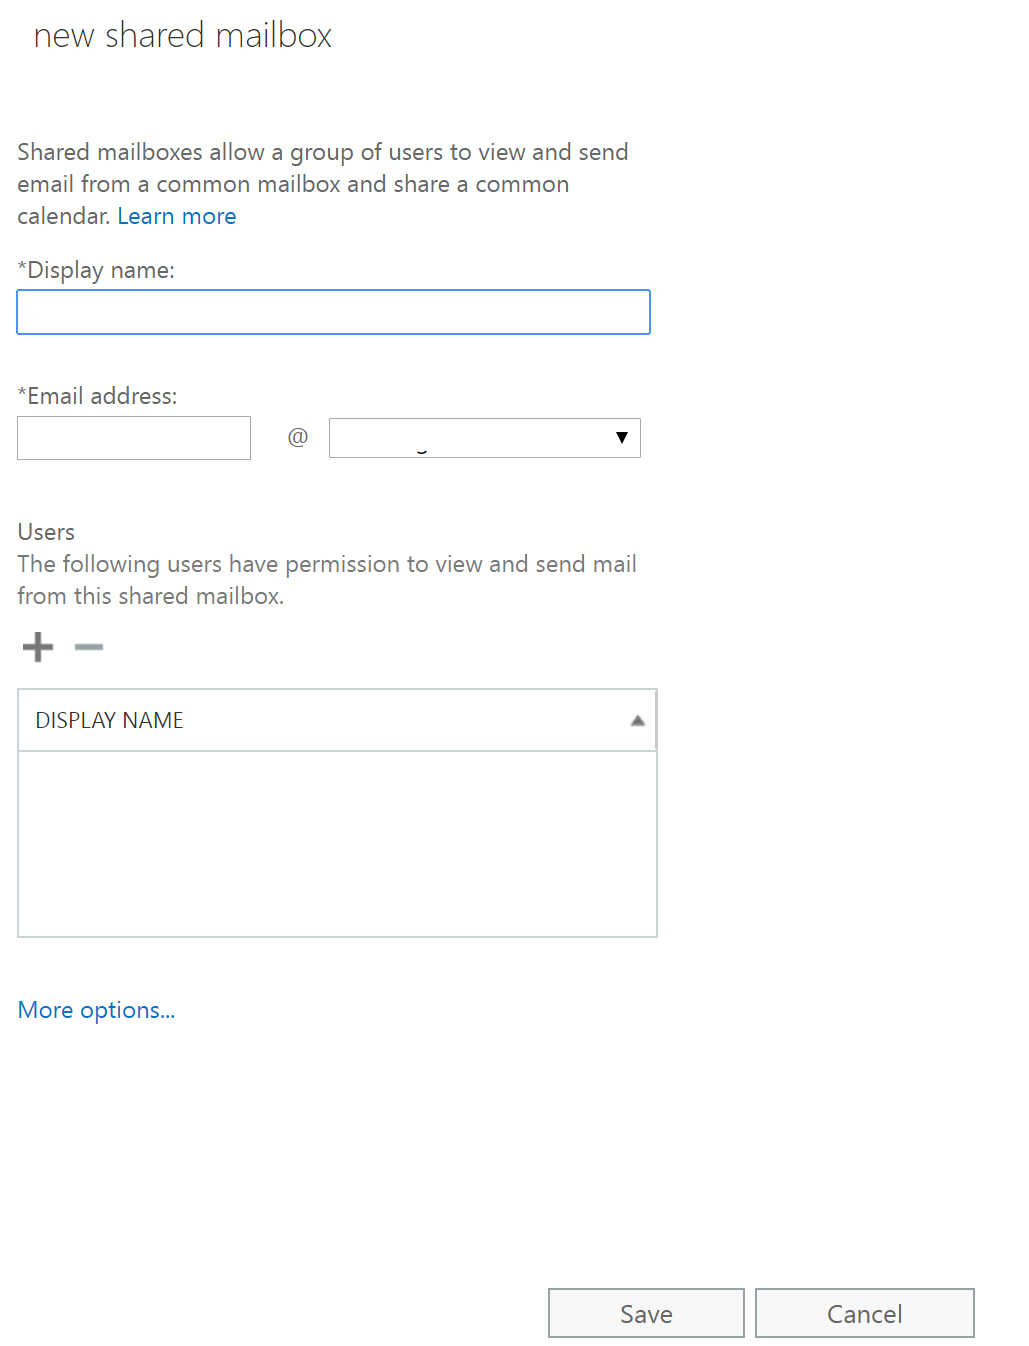
Microsoft 365 includes the ability to create shared mailboxes without consuming a license. Use the admin portal to create one following these instructions . Configure your scanner’s scan to email function to target the shared mailbox email address. Again, Microsoft provides excellent instructions.
Once you are able to scan to a shared mailbox the next step is to configure a process to strip off the attachment and move it to our SharePoint folder. Lucky for us, Power Automate has a built-in template specifically for this job. Open the template and provide the information it asks for. https://flow.microsoft.com/en-us/galleries/public/templates/f7a46809e53c42108034e56acf83bb79/save-my-email-attachments-to-a-sharepoint-document-library/