Intro
Valve’s Steam Deck has been evolving at a rapid pace. At launch, there were just a handful of games that were certified for the Linux-based system. Proton, the software bridge that runs Windows titles on the device’s Linux operating system, worked for some games. Not so much for others.
Fast forward and we now see numerous titles certified to run on the Steam Deck. Proton has been updated and improved in countless ways over the last few months. More games are auto recognized and run without issue or complex setup. There are still struggles with games that feature anti-cheat solutions like Destiny 2. As in, most competative multiplayer games require that you abandon SteamOS and install Windows.
The Story
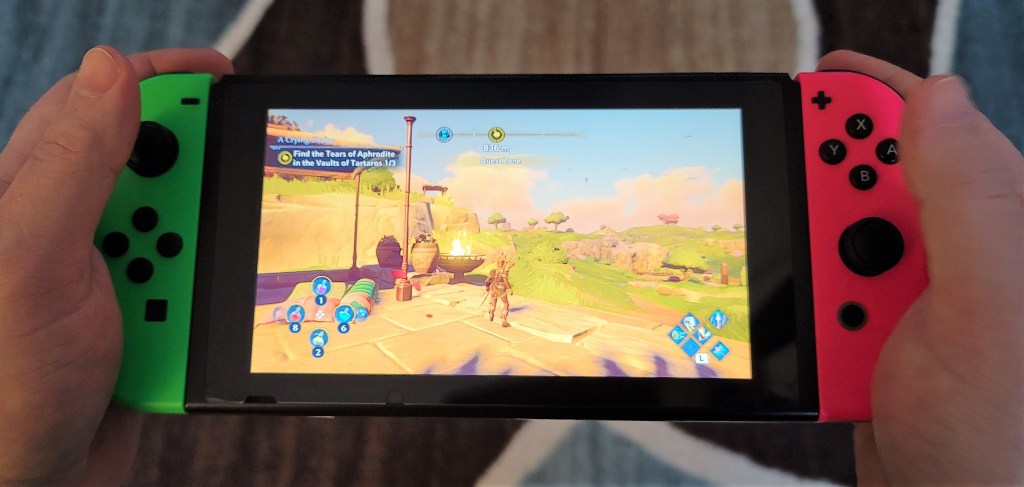
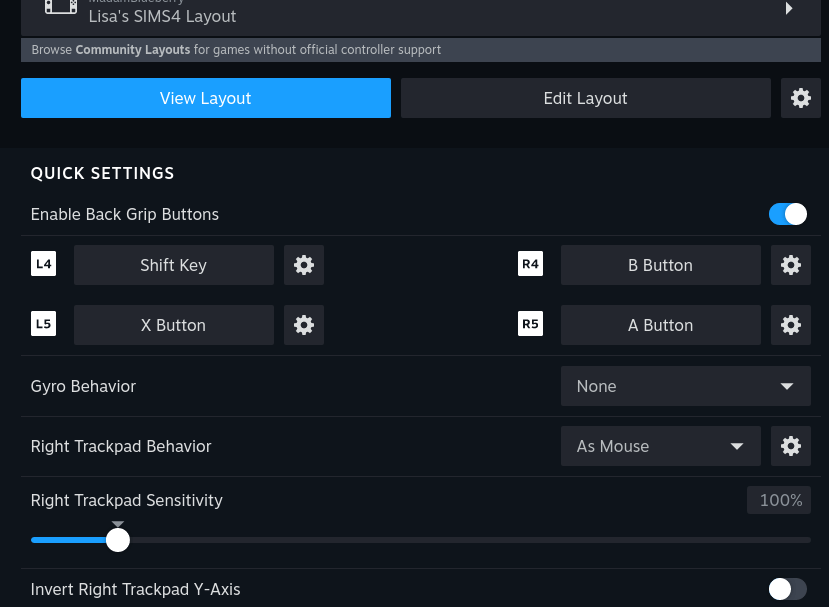
The problem that kicked this post off for me was EA recently ending support for the Origin game launcher. Steam Deck players with EA’s games (like SIMS4, the $1000 + monster I can’t afford to re-purchase) were using the Origin launcher running in Proton to access EA’s catalog. It was a clunky install process, but it worked. The key was that you downloaded and used a controller template. The magical template mapped the Deck’s sticks, trackpads, and buttons to the keyboard and mouse inputs the game needs. Without this functionality, you would need an external keyboard and mouse to play.
I started up the Origin launcher and was presented with a forced update to EA’s Desktop App (their new launcher). I clicked ok and was surprised to see the update install and the game launch. It even played and saved. Stuff went south when I exited. When I tried to open the game again, nothing worked.
I edited the Orgin shortcut in Steam to point at the new EA Desktop (EADESKTOP.EXE) and forced it to the Proton Experimental mode. This let the game start up far enough to sign-in to the new EA desktop app but when you tried to open SIMS 4 it errored out saying that it was “missing services”.
Next I tried installing the new EA Desktop separately, as an app in Steam and got it running. I attempted to copy that installations’s files (including the services folder) over the same directory in the recently upgraded SIMS 4’s location. I had hopes that I could avoid re-installing and dealing with the saved games.
It was close, but no joy. The game wouldn’t get out of the startup screen, the green diamond spins forever. I’m used to dealing with SIMS4 and tried all the tricks. I even cleared the options.ini and deleted the Proton files. Nothing helped.
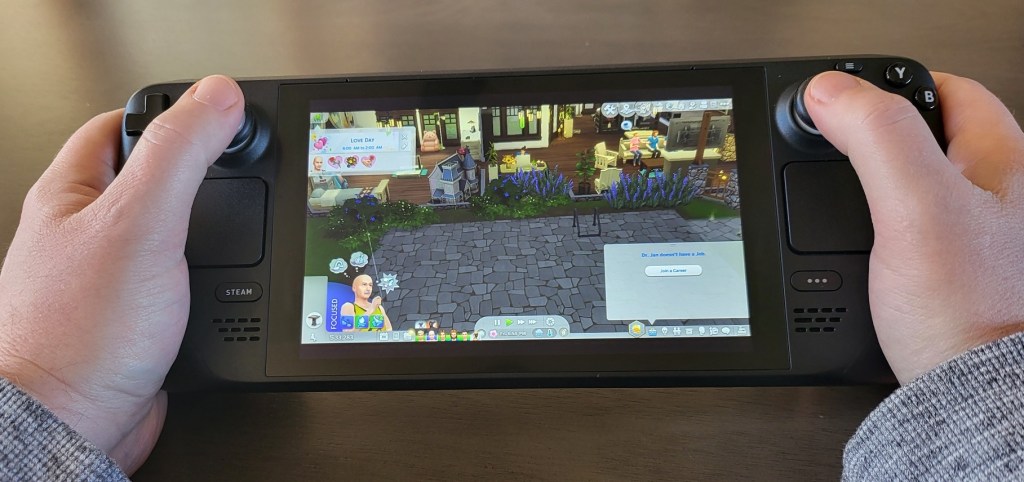
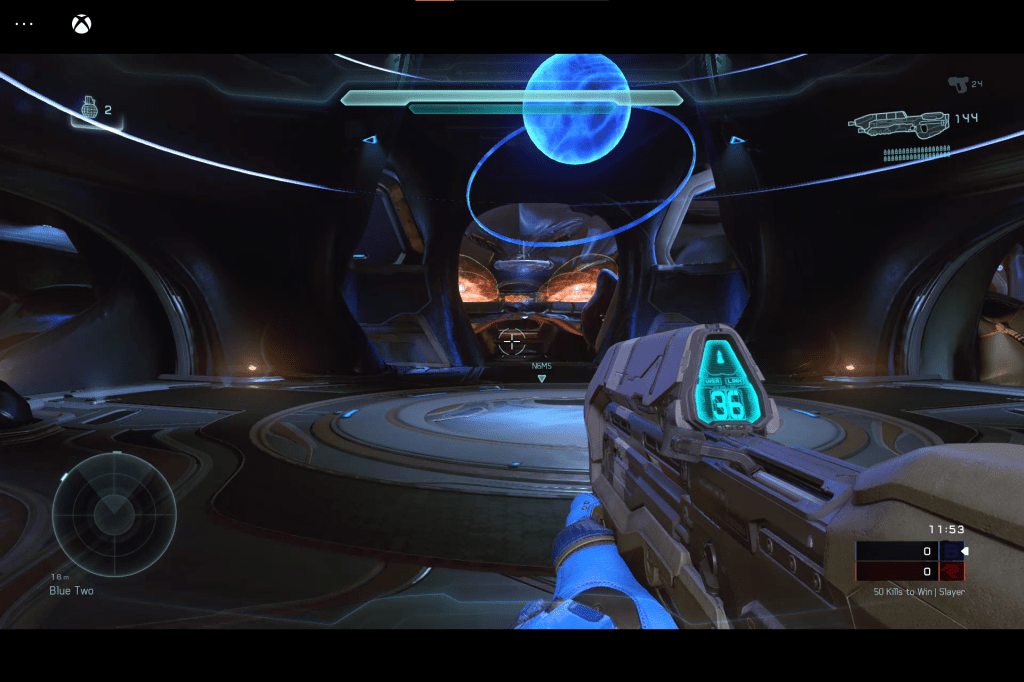
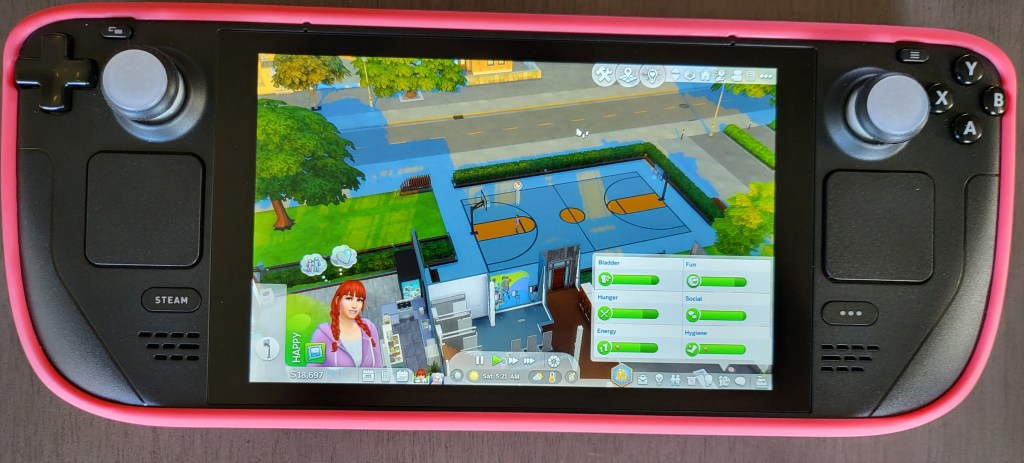
Eventually, I re-installed SIMS 4 using a pristine, working installation of EA Desktop. I opened SIMS 4 and played through long enough to save. I overwrote that save location with the save folder structure from the failed upgrade’s save folder. All of this lets the game play in Desktop mode. Without the fancy controller template that makes it possible to play the game on the go. If you open the game from Game mode it never fully launches, displays various errors about your video card, etc.
Eventually, I was able to get the game to run in Desktop mode with the controller template from the previously working Origin install. Read on for step by step instructions. Other wise, this tale has a happy ending. The game plays using the controls built into the Steam Deck. There’s no extra interpretive layer like Lutris slowing it down or breaking on-line functionality (item downloads).
Step By Step
Warning: This process is complex, tedious, and requires interacting with data that may not be backed up. Variations in software may result in your experience and results being different than mine. Proceed at your own risk.
Step one is to install all updates in both game mode and Desktop mode. I highly recommend connecting an external mouse, keyboard, and monitor if possible. If not, pressing the Steam button + X opens the on-screen keyboard in Desktop Mode. To visit desktop mode; Steam button-> Power-> Switch to Desktop-> Wait for the initialization.
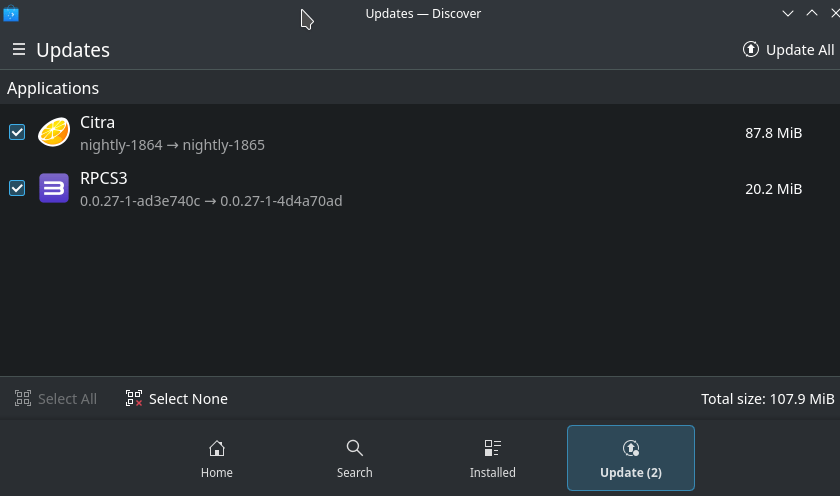
When desktop mode (a full KDE Linux GUI Shell) loads, open the Discover application from the icon that looks like a blue shopping bag, then click the updates button. Use the Update All button in the upper right. Reboot the Steam Deck then check for updates again. Continue until there are none left. Always check for updates is the golden rule of PC gaming.
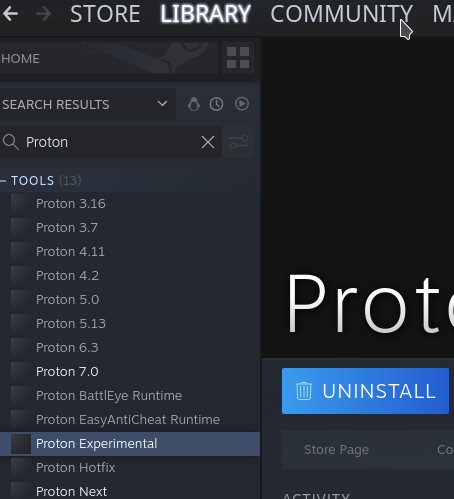
In Desktop mode, open Steam (usually running in task tray) and go to the Library. Make sure you are showing all software and search for “Proton”, install Proton Experimental if it isn’t already.
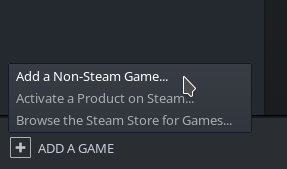
Open the web browser and visit EA’s site to download the new EA Desktop installer (for Windows). https://www.ea.com/ea-app. Once that download completes, return to the Steam Library. Use the menu at the bottom to Add A Game and choose Add a Non-Steam Game from the menu.
Browse to the /home/deck/downloads folder, set the file type selector to All Files and click the file EAappInstaller.exe
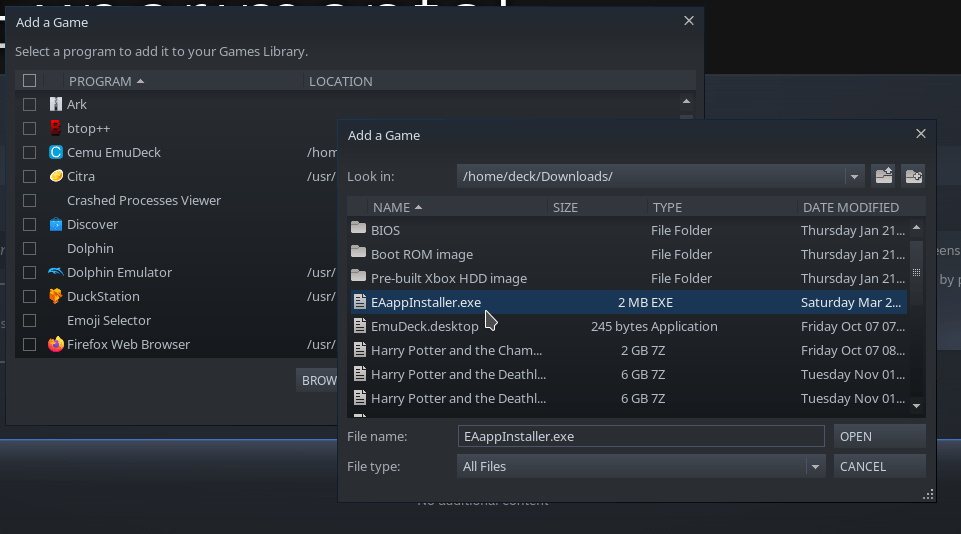
Choose Open, then on the next screen verify the EAAPPINSTALLER.EXE is still selected and click the Add Selected Programs button.

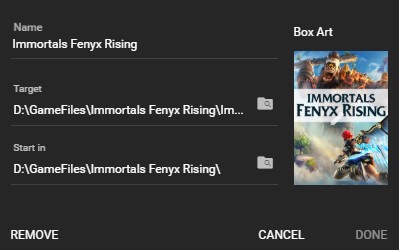
Now back in the Steam Library, find the app you just added in the list of software (check filters if you don’t see it) and select it once. Click the COG icon on the right of the title screen and go to Properties. Rename the shortcut to EA Desktop (do not change the paths yet).


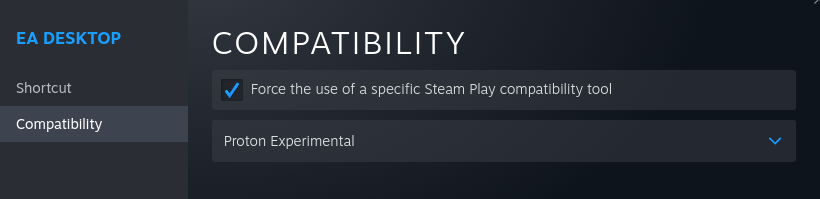
Go to the Compatibility menu and check the box to Force the use of a specific Steam Play compatibility tool and set the drop down to Proton Experimental.
Click the small X in the right hand corner of the Properties screen to close it and click the Play button in Steam on your EA Desktop shortcut. It should open and begin the installation of EA Desktop. Take the default settings and Next, Next, Finish your way to the end. When it opens, sign-in with your EA account user name and password.
Wait for the EA Desktop App to fully install and sign-in. Be sure that it is operating normally (touch-screen controls mouse if pads don’t) then close it. Make sure you click the stop button in Steam to fully exit the application. You should not see the Red EA App icon next to your clock. If you do, the app is still running. Reboot your Deck to force it to close.
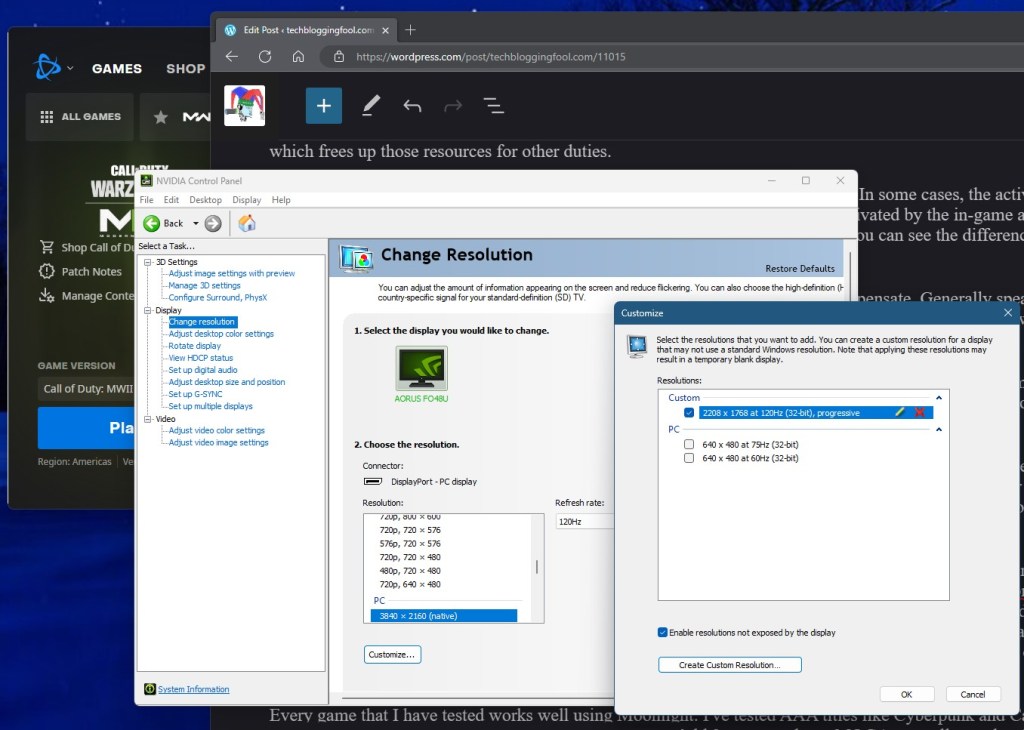
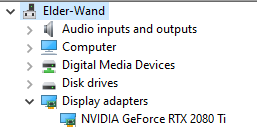
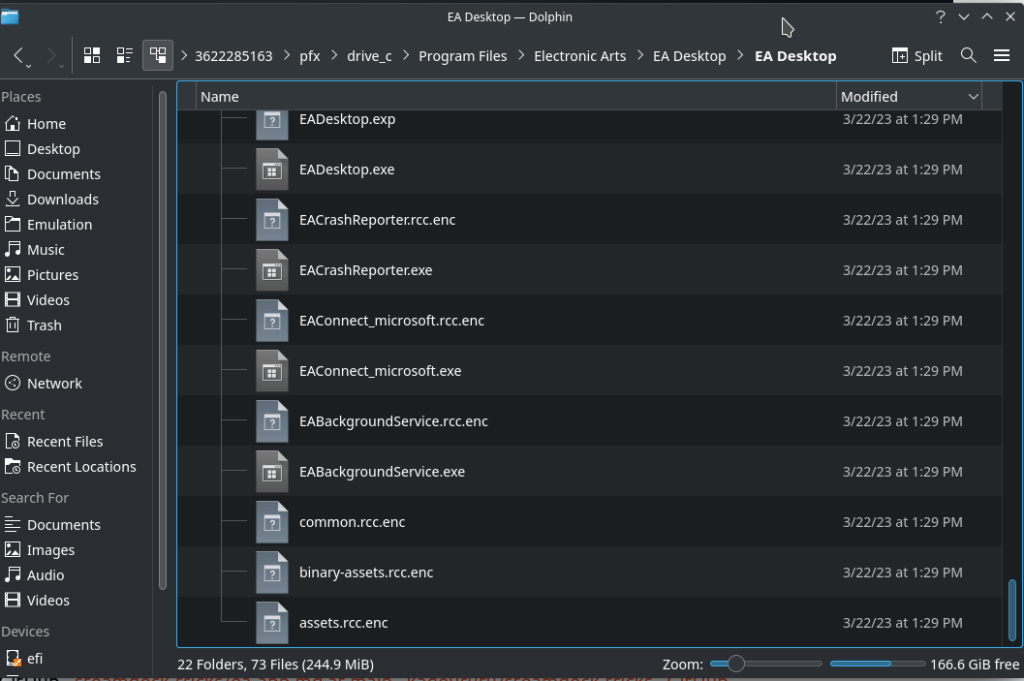
Next we will be altering the path of the shortcut to point at the EA Desktop App instead of the installer. I recommend locating the file in the Dolphin Explorer before trying to edit Steam. Open it from the Folder icon on the task bar or look in the Start Menu. Browse to /home/deck/.local/share/Steam/steamapps/compatdata and sort the files by Modified date. Go into the newest folder, it should be your EA Desktop App install. The folder name will be a long series of numbers mine is 3622285163, but I think they are randomly generated (screen shot below).
Open the newest number folder and continue to pfx/drive_c/Program Files/Electronic Arts/EA Desktop/EA Desktop/EADesktop.exe do not open the file, just verify that its there and note your app ID number. Copy the path if you are able to (external keyboard and mouse).
Now still in Desktop Mode, open Steam and go to the Properties of the EA Desktop App again. Use the browse button and make your way to the EADesktop.exe we located above. Selecting the exe should automatically update the Start In folder, if not set it to the same folder.
Now close the Shortcut screen with the X in the right corner and Play the EA Desktop App from Steam. The EA Desktop App (not the installer) should open and sign-in (assuming you saved your username and password). Use the EA App to Install SIMS 4 just like you would on any other system.
Even if your are upgrading from Origin and already have the SIMS 4 installed, you still need to re-install it from this working version of the EA Desktop App. I tried multiple ways to get the system to recognize the already installed game without success (see story section above). I got a little further each time and could probably make it work, but I would be concerned about stability and future updates or modifications.
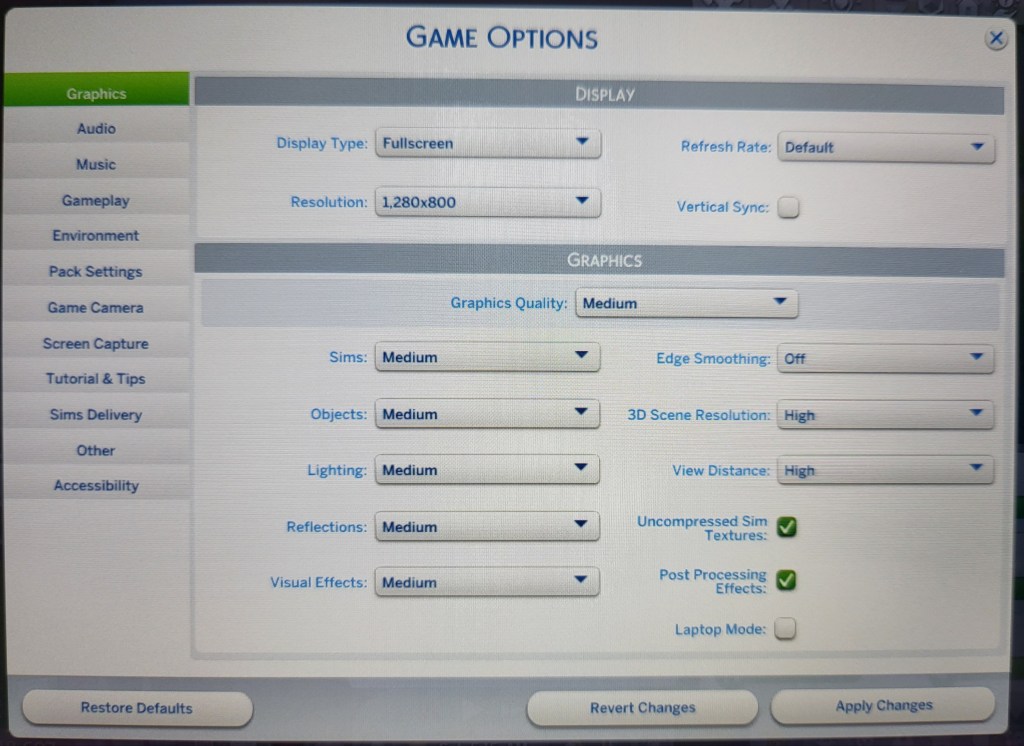
When the download and install finishes, open/play SIMS 4 from inside the EA Desktop App. You need to play the game through basic character creation and picking your first house before you can save which we need to do once. Again, I am assuming that you have connected an external mouse and keyboard. We don’t have a template loaded for the Deck’s controls yet. Once you get far enough to save the game hit escape and open the options menu. Set the graphics options to your liking close that window, then and save the game (this creates the folder structure we need, do not skip).
Close SIMS 4.
If you are using this guide to install EA Desktop and SIMS 4 for the first time you can skip down to configuring the controller template.
If you are upgrading from a failed forced update we have some file work to do. Make sure the EA Desktop App is fully closed (should not see app tray EA icon). Open Dolphin Explorer and find your original install folder ID.
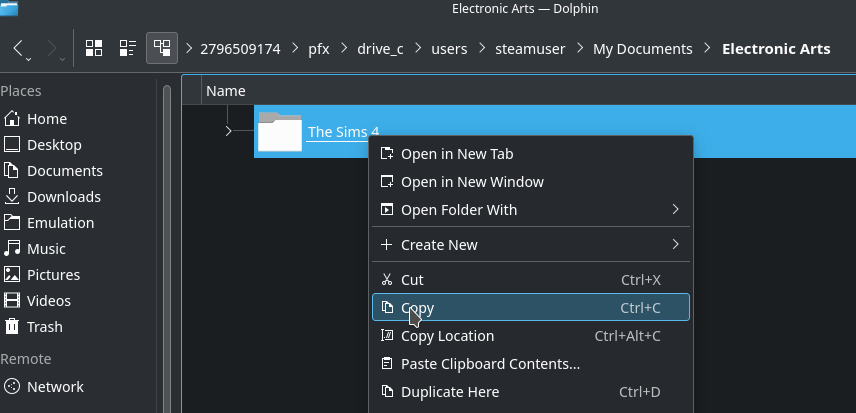
If you still have the Origin shortcut in Steam, go to its properties and copy the path to the folder ID number (/home/deck/.local/share/Steam/steamapps/compatdata/2796509174/), you can paste it in Dolphin’s address bar and go straight to the location. If the paste trick gives you trouble just note the folder ID number and browse to it. Then continue on to pfx/drive_c/users/steamuser/My Documents/Electronic Arts/ you should see a SIMS 4 folder. That is where your saved game and downloaded items are located. Right click on the SIMS 4 folder and copy it.
Paste the folder into the corresponding location for your new working SIMS 4 installation. I like to rename the existing SIMS 4 folder to (blank install) and keep it just in-case I need a base line later. Open the EA Desktop App from Steam and start the game. You should be able to resume playing where you left off.
At this point you should have a fully functioning install of SIMS 4 and the same technique should allow you install basically any other EA Game. You will always use the shortcut to open EA Desktop and start the game from there.
Desktop Controller Template:
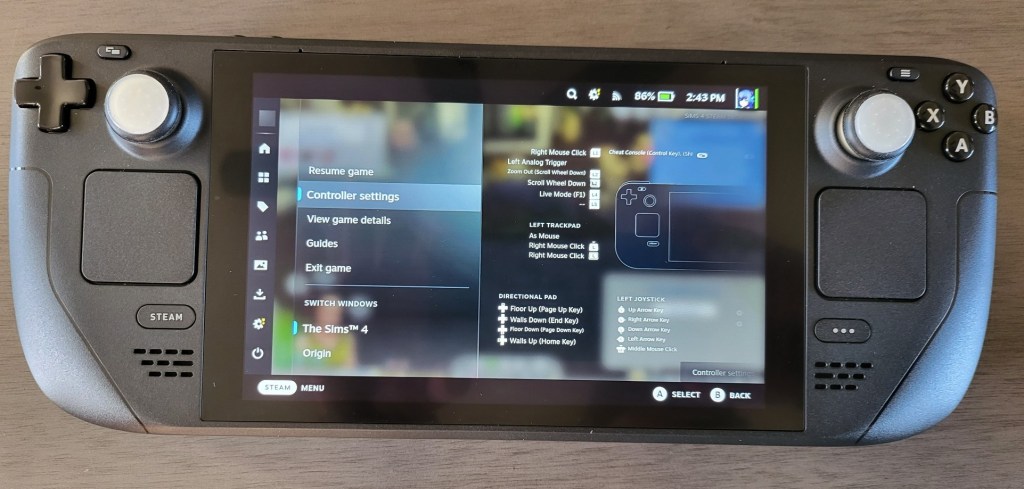
To setup the controls in Desktop mode is relatively easy. In Desktop Mode, Open Steam and click the COG for EA Desktop App. Go to Manage -> Controller Layout. Use the menu to Edit your layout. This can be very, very tedious to do manually due to the sheer number of controls used by SIMS and PC games like it. Fortunately there are plenty of community templates to get you started.
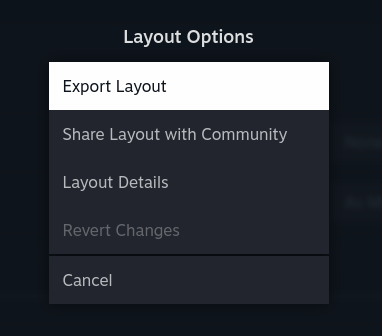
If you are coming from a previously working Origin installation, you can export those controls you loved, as a template. From there you can import them to the new EA Desktop App. Use the COG next to Edit Layout to access the Export function they’ll show up in the search menu for other games after you’ve saved them.
Delete the old failed install folder using Dolphin to free up several gigabytes of space after you have verified your save games are working from new location. That’s as far as I have taken the project. The game runs, and my thousand plus hours of save files are there. If you enter cheat codes in SIMS 4, keep a Bluetooth keyboard handy when you first start the game. I have not found a workaround for this. The on-screen keyboard is not able to enter text into the game’s cheat box. If you know of a fix please hit me up in the comments.
I suspect it is possible to create some type of shortcut directly to the games themselves and use the launch options to ensure EA is running but I haven’t gotten that far. Hopefully the fancy things in Proton Experimental that let this technique work will make their way to the Game Mode run times in the near future. Even if they don’t, the game is fully playable and portable this way.
Research I used for this solution:
Reddit – https://www.reddit.com/r/SteamDeck/comments/ugcbxn/using_ea_play_on_steam/
GitHub – steamdeck-tricks/ea-app.md at main · kageurufu/steamdeck-tricks · GitHub